
Recently Cooler Master released the MB600L, a case aimed towards budget pricing while still giving the user the essentials.
![]() All too often are enthusiasts on a budget stuck with the dilemma of choosing between components and aesthetics. Cooler Master recognizes this issue and allows you to make that decision towards your components while keeping some of the flare to the chassis itself.
All too often are enthusiasts on a budget stuck with the dilemma of choosing between components and aesthetics. Cooler Master recognizes this issue and allows you to make that decision towards your components while keeping some of the flare to the chassis itself.
Today we done a small build to show you the MB600L.
 While This chassis is not one of our favourites to come from Cooler Master we are also biased given we have had the opportunity to build with some pretty nice chassis’ from them in the past.
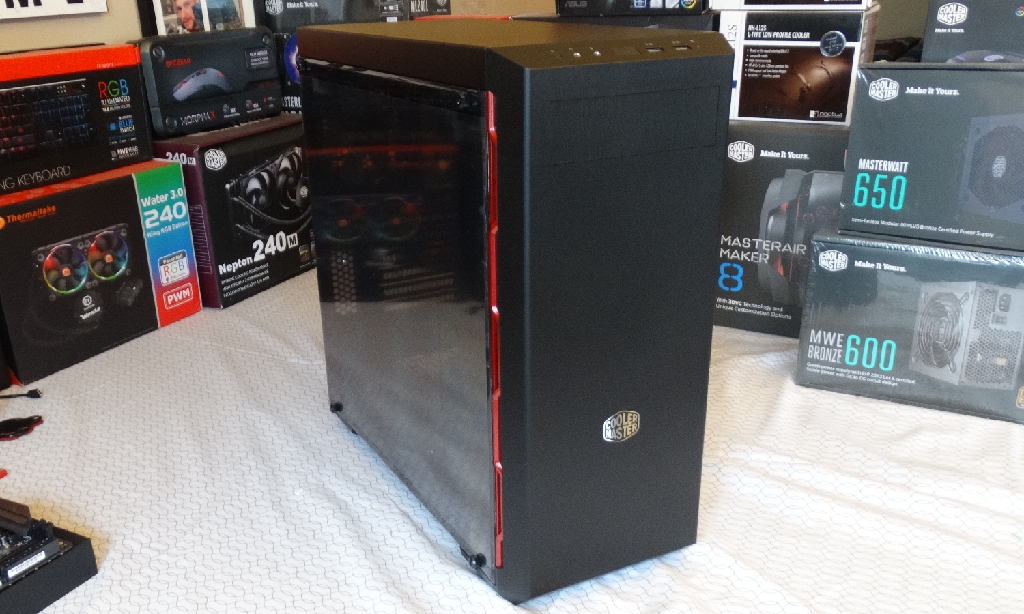
The MB600L is pretty much as basic as they come. Hitting the shelves at an MSRP of $49.99 the price is virtually unbeatable. With the decline in price always follows is the features. The MB600L is by no means a case that allows many modifications.
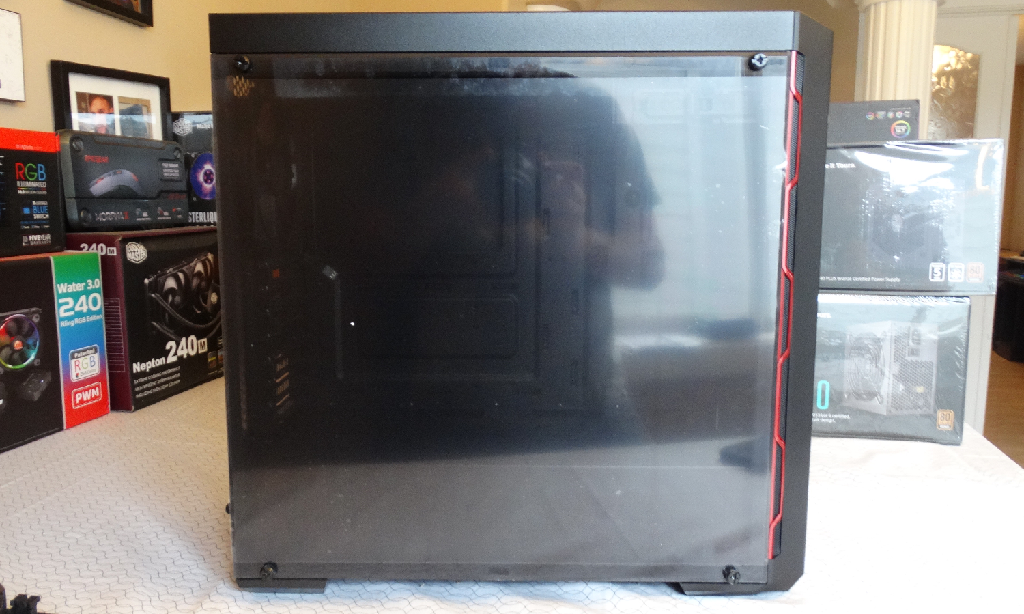
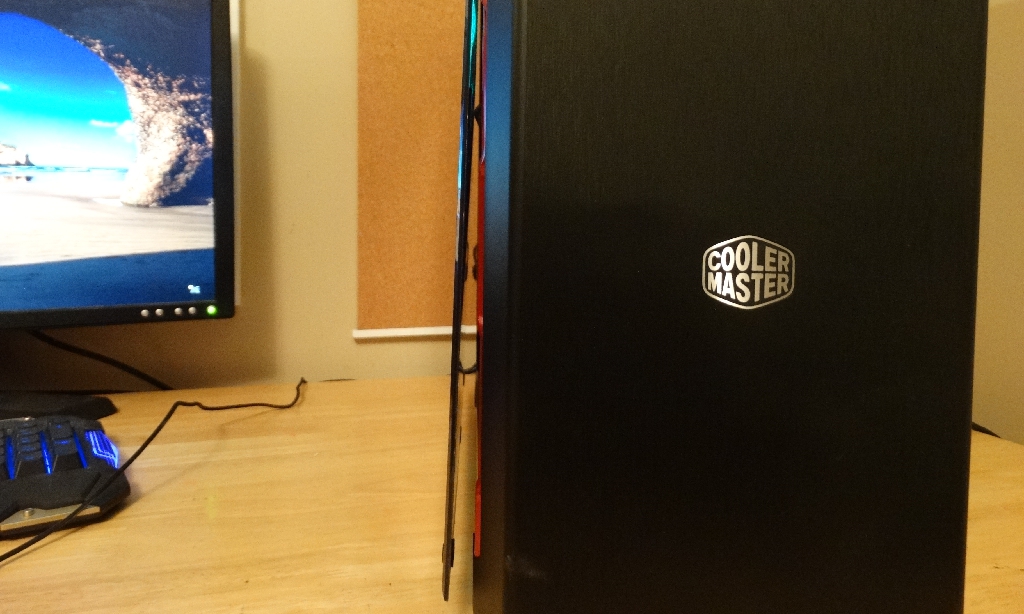
Built with a steel frame with a plastic front panel and a tinted plastic viewing window allow some of the feel of what a tempered glass panel would give you while saving some money on the materials.
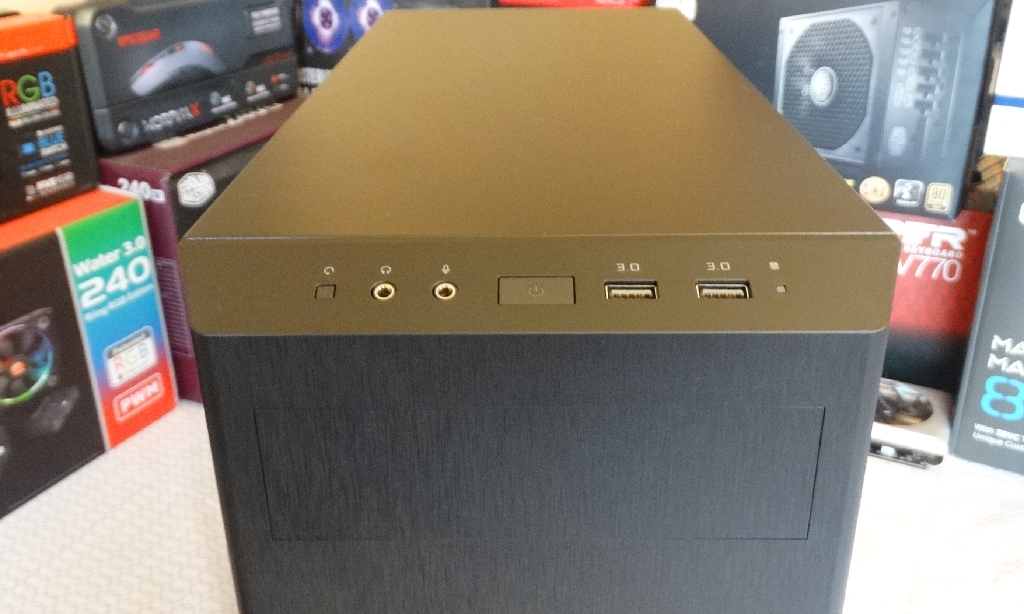
 The front panel holds your standard audio jacks, power button, and two 3.0 USB ports. Running smooth onto the top panel, we can see this chassis does not support top panel cooling. However, there is room for a 5.25″ drive in the front panel.
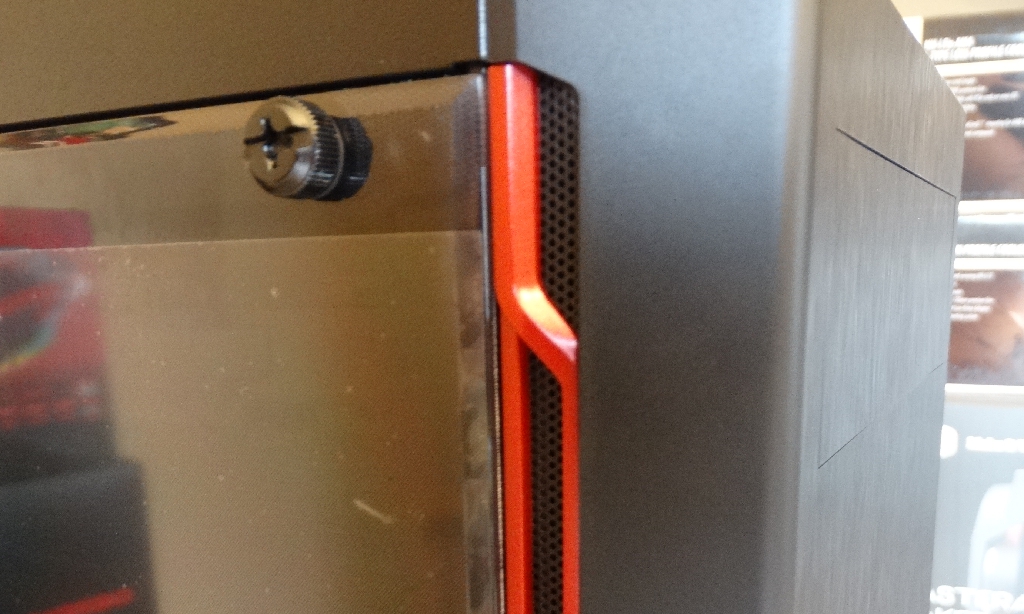
 Running along the front panel is the air intake vents on either side with a red plastic patterning. These slots seem a little small given we have support for up to three front mounted 120mm fans (without use of the optical drive bay).
 When we open up the front panel we get a better look at what we are going to be building with.
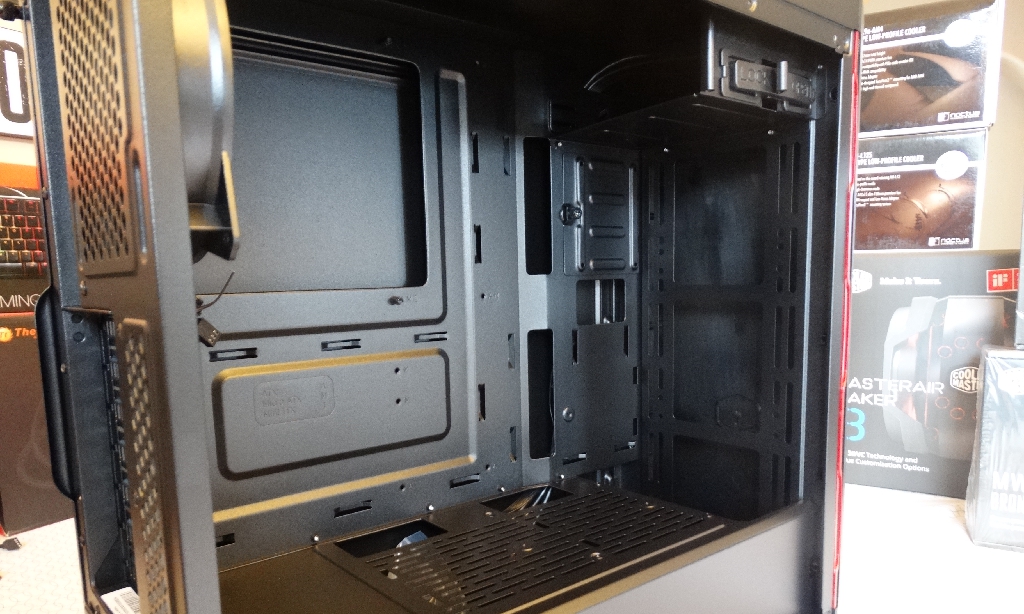 The inside of the chassis you can see is very simplistic. With a large opening for mounting coolers after the motherboard is installed along with some pass throughs for cords, they have really tried to cover all the bases while keeping the price down. Liquid cooling in the front is possible for up to 360mm rad’s however the rad needs to be low-profile (under 50mm thickness without fans mounted).
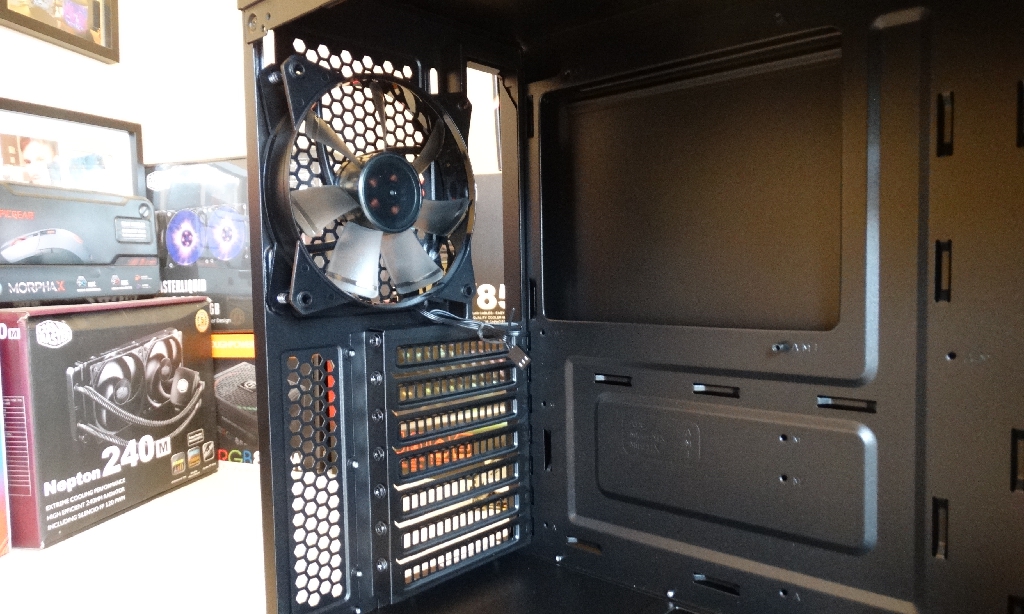 The rear allows for one 120mm fan and room for up to seven PCI-e slots. The indentations you see are used for cable management ties on the rear side of the chassis.
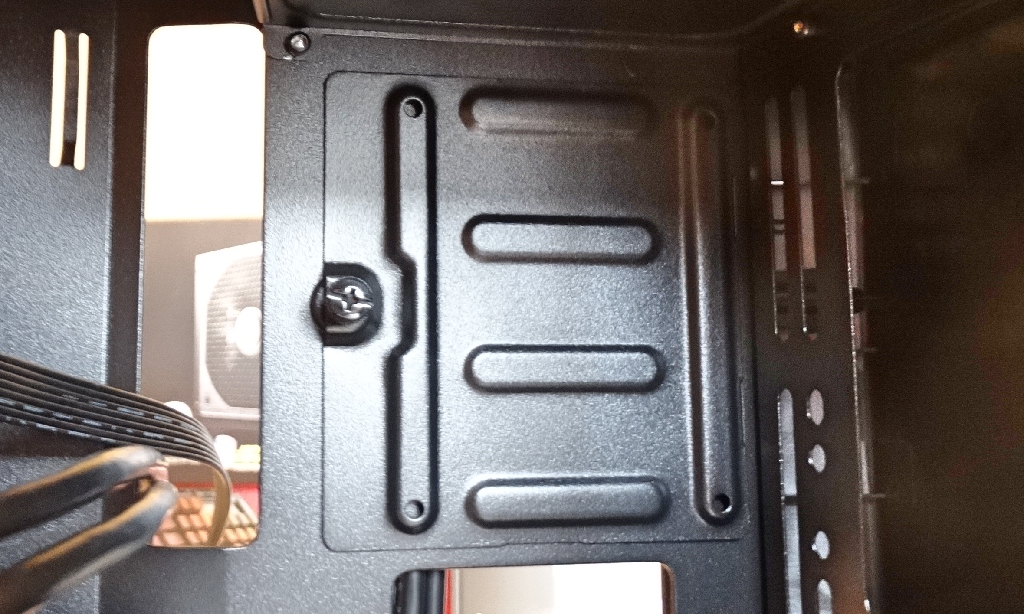
The PSU is closed off from the main compartment minus the vents and cable pass-throughs. This allows you too keep a nice clean look even if your cable management skills aren’t up to par.
As for drive support you have the availability of a 2.5″ mount in the main compartment as well as the addition of two quick install 2.5/3.5 bays which are located down in the PSU compartment. While the trays are removable, the frame itself isn’t which can cause some issue with managing cables if you’re using a PSU that doesn’t have removable cables such as our MWE Bronze 600 PSU.
 Clearances are one of the main concerns we were looking at when we first pulled the MB600L out of the package given it is such a small case. CPU coolers will have to stay below 160mm in height as we learned the hard way when we decided to jump right in and throw our MA610P in. Off by a few milimeters. So we decided to go with the ML120L RGB, which you’ll get more info on in a future review.
Holding up to an ATX size board we have decided to go with our ASUS Strix Z270I mini-ITX board for this build.
 As you can see with the mounting of our ML120L RGB space is definitly limited and we were only able to mount the cooler with the cable connections at the top.
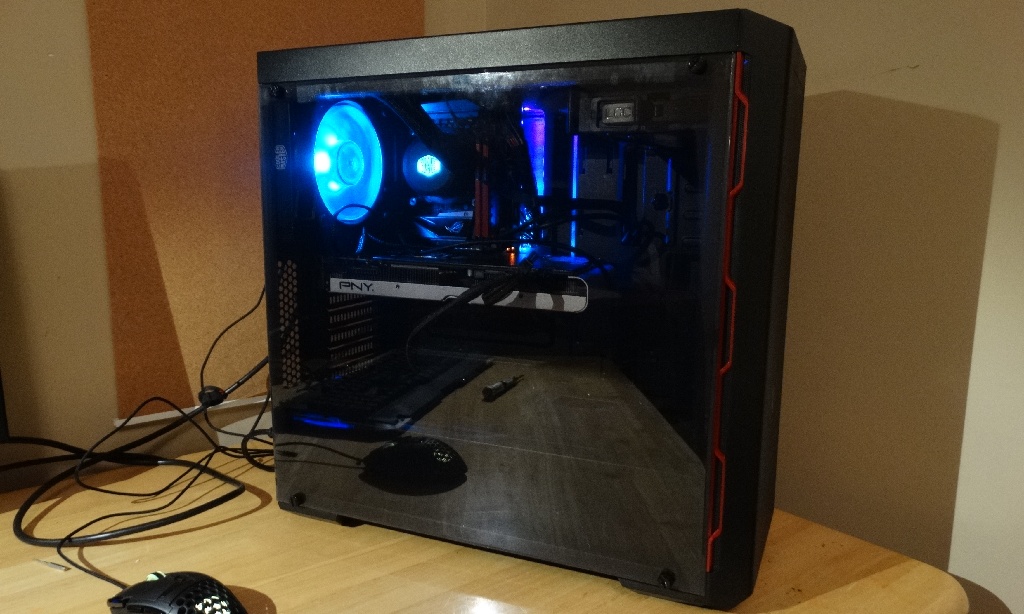
While finalizing our build and installing the plastic viewing panel we once again noticed the lack of space, the cables which protrude from the GPU pushed back against the closed panel.
 As you can see this creates quite the gap, which if you secured the screws in place would not be good for either the GPU nor the dust that would get pulled in through the gaps.
All in all given this is a $50 chassis, there are definitely better options out there. If Cooler Master would have made this case just a little wider it would have solved many of the issues of this chassis. From lack of cable space to components just not fitting due to size restrictions.
 When all is said and done the chassis is decent given your components don’t break the size restrictions. The basics of a chassis are all there and the plastic viewing window is a great addition to the loss of a tempered glass panel while also wanting to keep the components in view. For it’s low cost and budget categorizing the MB600L is granted our bronze seal.
 CHECK OUT COOLER MASTER ON AMAZON!!!
Review Overview
Structure and Appearance
Ease of Build
Specifications
Features
Price
Too Budget
While the MB600L does fit the bill for a budget chassis, we feel it may have skimmed out a little too low on the scale with the clearance restrictions and lack of ability to modify even the drive trays.