
INSTALLATION
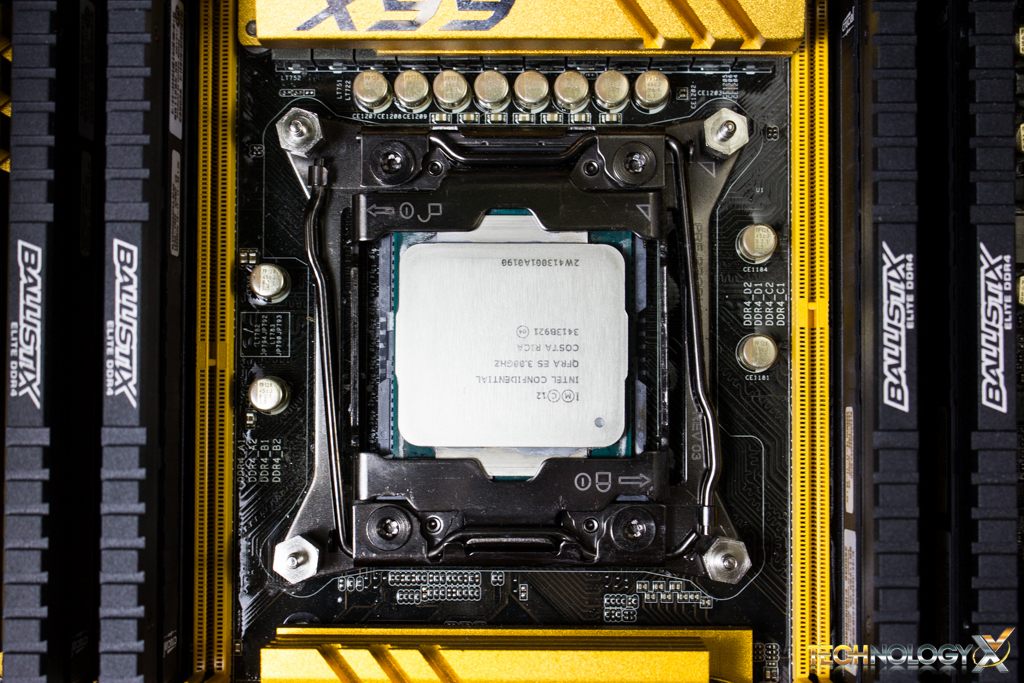
Installing the NH-D9L is a breeze. You start by identifying which CPU socket you have, in our case it is the Intel LGA 2011-3, after that it’s as simple as following the detailed installation guide for that platform.

All of the different parts for the mounting kit are identified in the instruction guide with detailed illustrations and unique names, which make the process even easier as it eliminates the possibility of confusing components. In total there is about 6 steps to the whole installation process on our platform, but there will be others as you have to install the included back-plate for Intel’s mainstream 115x sockets.
The first step is securing the NM-IBT2 bolts into the threaded sockets on our motherboard, these bolts will provide posts for the mounting bars to attach to. Once we have them securely fastened, we then place the two NM-IMB3 Mounting Bars on top of the posts in the desired mounting position, making sure the holes on the bars are aligned properly with the posts.
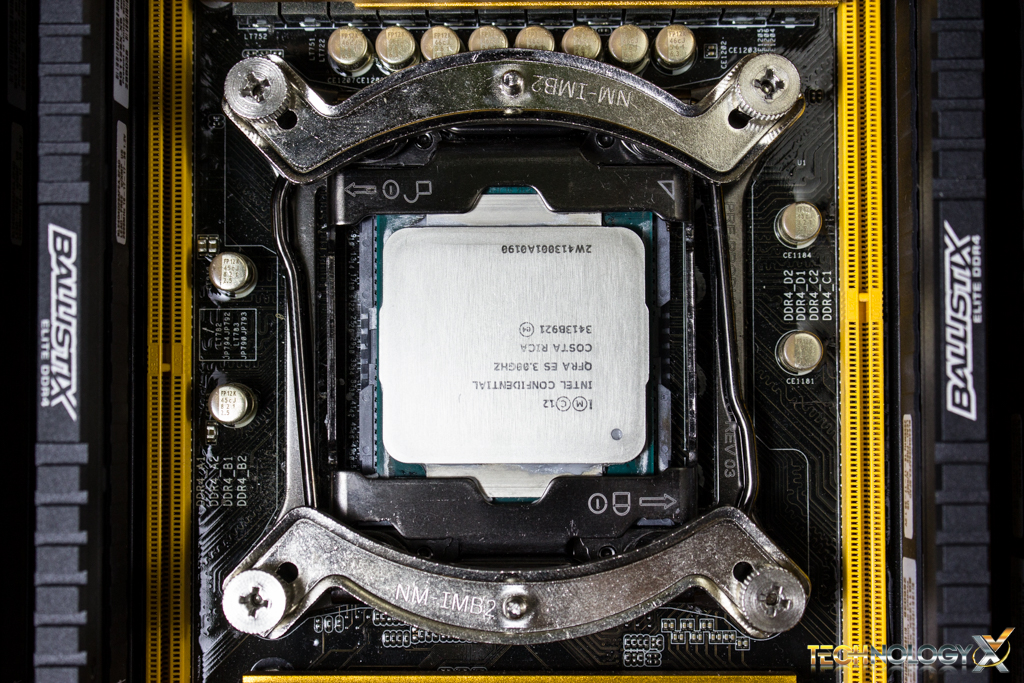
Once the posts are on we’ll secure them with the four NM-ITS1 Thumbscrews, you may want to use a screwdriver to ensure they are properly fastened, but be sure not to use excessive force as you can strip the threaded sockets on your motherboard.
Once we have that sorted out, we then apply the thermal paste. We don’t go into details on how to do that, as there’s clearly no wrong way to do it (unless you’re putting it on your toast instead of the CPU, that’s obviously the wrong way to do it).
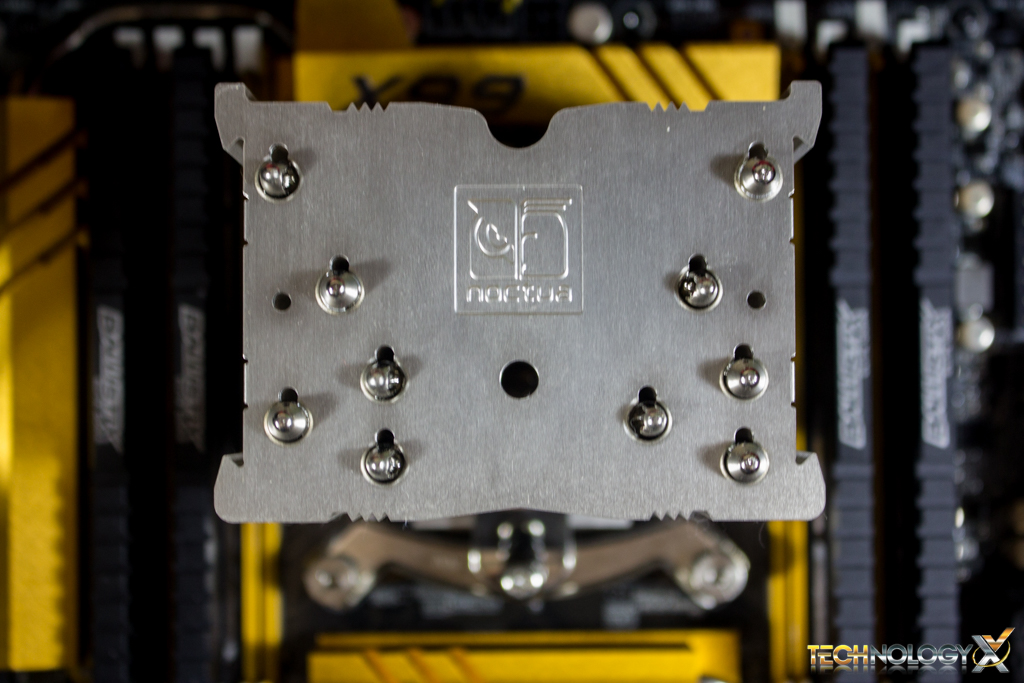
We’ll then place the heatsink itself without the fans installed on top of the threaded posts on the NM-IMB2 Mounting Bars, and then carefully tighten the spring-loaded screws onto the posts. You’ll want to tighten the screws until they stop, and not force it to go any further as applying too much pressure to your CPU can result in serious damage.
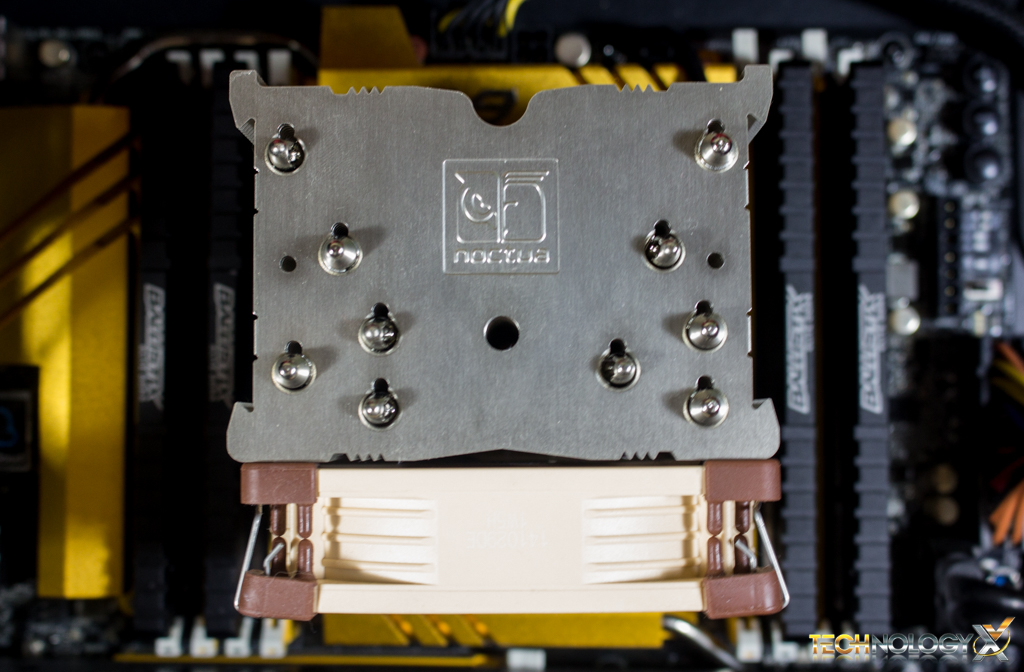
Once you’ve secured the heatsink, we then attach the fan using the included clips by pressing the fan up against the heatsink and pulling the clips over the slotted sections on the heatsink. You’ll then want to route and connect the fans power cable into a 4-pin PWM CPU fan header on your motherboard.