Build
Putting together our Core P5 Snow Edition build was fairly expedient as we have previous experience with the chassis that some of the initial questions one may have were avoided through previous trial and error. As you can see our final result is a great looking piece.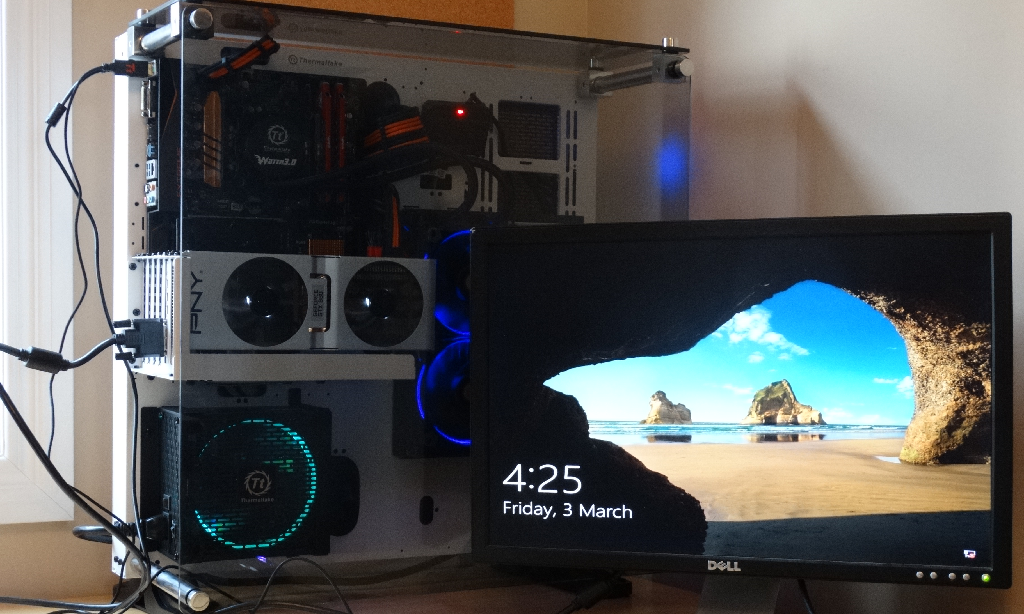 First things first as always we drop in our motherboard. we pre-installed our i5 CPU as well as our Samsung 950 Pro M.2 and Patriot Viper DDR4. The Extreme 4 is a perfect fit and there were no issues installing the stand off screws and attaching the board.
One of the great things about this chassis is that it doesn’t limit your range of movement when you are installing components. Given there are no walls and you install the tempered glass last there is next to nothing obstructing your rang of motion or sight.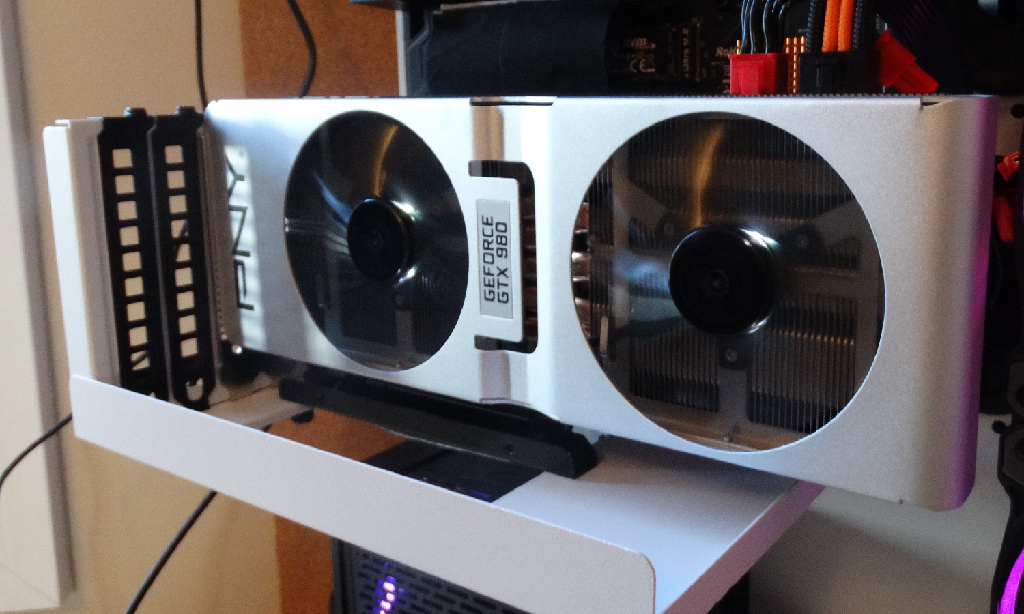
Next we set up the PCIe extension to allow us to vertically mount our PNY GTX 980. The whole point of this chassis is open concept and showing off components so we will take full advantage of that at any opportunity.
Attaching the Thermaltake Water RGB 3.0 240 AiO cooler was fairly easy as well. The addition of the brackets really opens up the chassis to accommodating any size liquid cooler.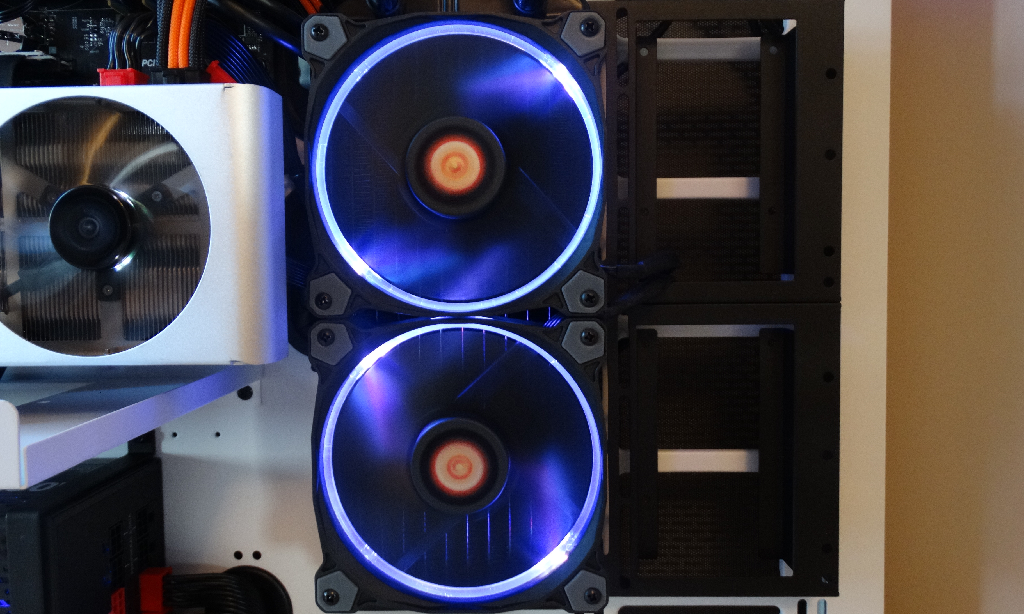 The bracket set comes with three brackets; you’ll need to use one for every 120/140 fan on your AiO cooler you’ll need one bracket. So, for our 240mm cooler we have two brackets in use.
Installation of the cooling block on the CPU was easy once you remove the drive bays and shelf from the back giving you access to the opening for mounting installation.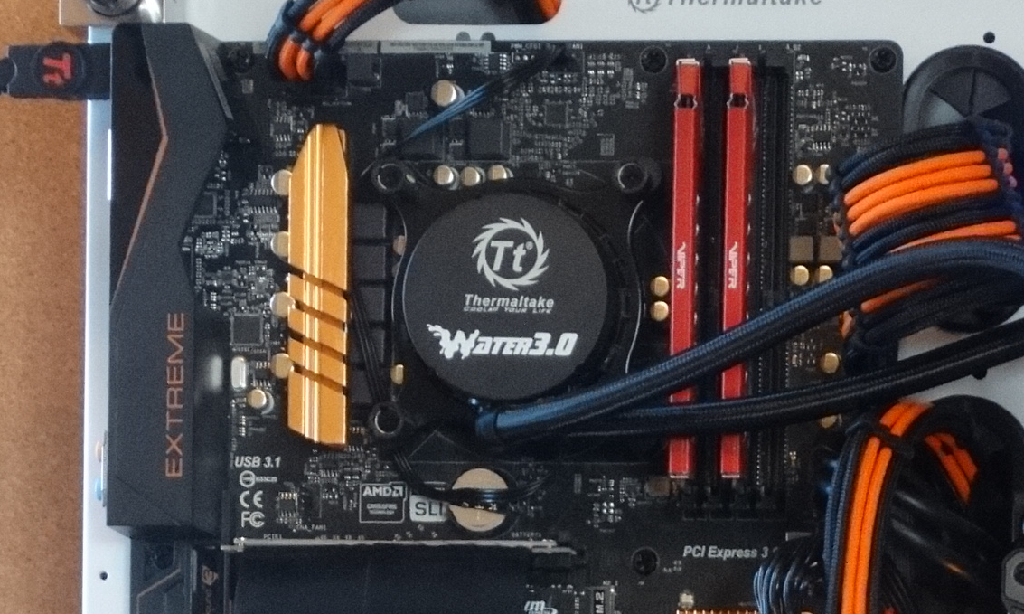 One curiosity we have initially is the fact that the AiO brackets move the cooler over putting the air pressure from the fans directly onto the steel of the chassis and seemingly will restrict the path of the forced air. Mind you there is standoff on the back, this is just something to keep in mind later on, if it does or doesn’t affect temperature.
With the Water 3.0 being RGB we have to find room for the fan controller. This will control visuals as well as fan performance.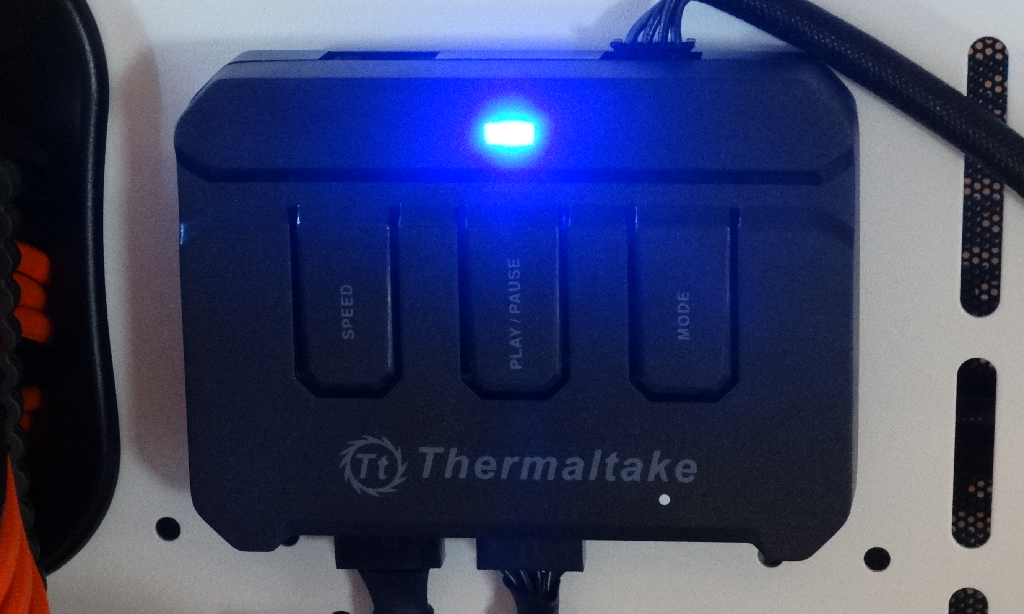 Staying with our topic of RGB we move to installation of Thermaltake’s Toughpower Grand 850w PSU. The installation of this is fairly straight forward as there are two mounts necessary to hold it in place.
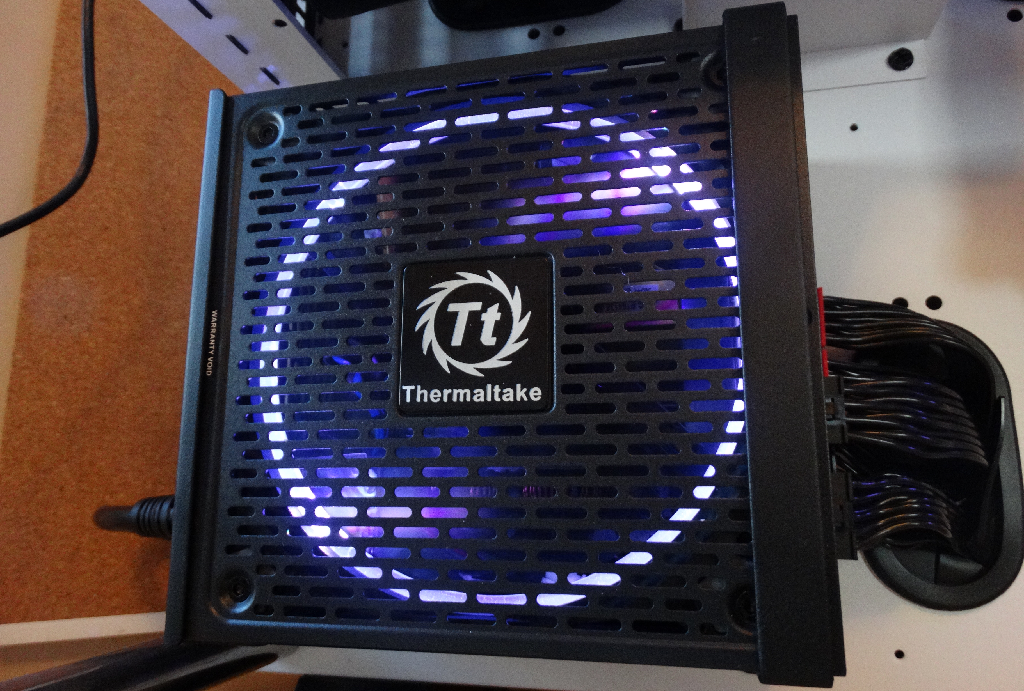 Now that we have all of our components installed its time to get some cable management in order as we install our orange and black extensions for our component cables, give it that extra pop.
One thing to keep in mind is to remember not to run any cables on the outside of the mounting frame and ensure they all go around or on the inside; otherwise you’ll end up with an inability to install the back panel and properly wall mount.
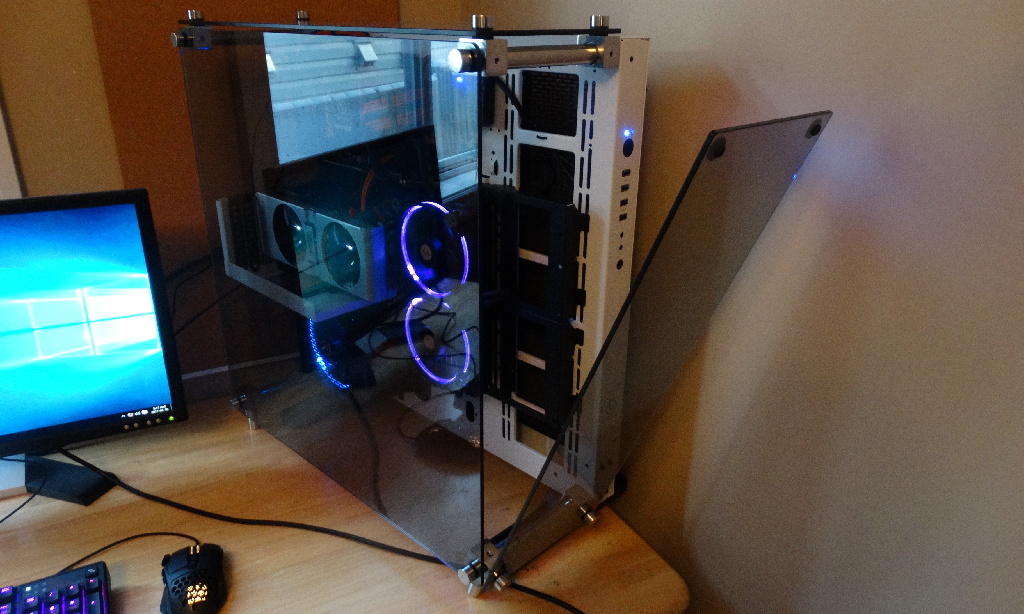
Before installing the back panel we also need to install the tempered glass stand off poles. This is done easy enough and we install the front tempered glass panel. Easy!
With all the instructions in the box we couldn’t find a clue as to proper installation for these panels.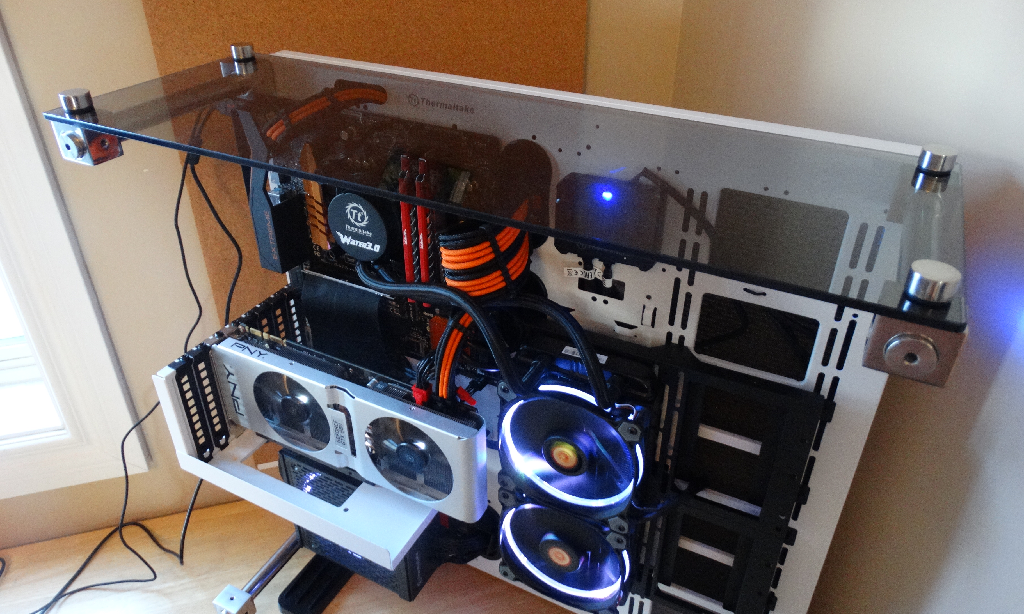 It took some quick research to see how they sit, one on top (obviously to protect from falling dust and debris) and another that is supposed to resemble somewhat of a right side panel, which when installed gives the rig a unique look.
We attached the feet since we will be using chassis in it’s vertical position rather then horizontal or wall mounted.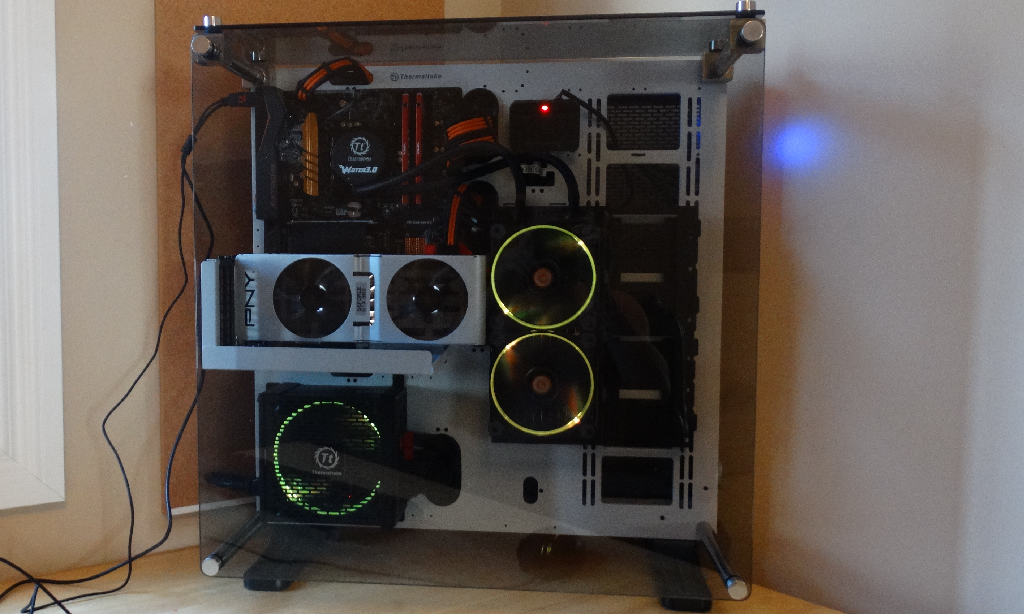 Adding the final panel we were hesitant to as it really restricts our access to the inside of the chassis. But, after a little playing around we realized if you undo the top two pins holding the glass in we could use the panel as an access door.