
A CLOSER LOOK — EXTERIOR TOUR
FRONT PANEL
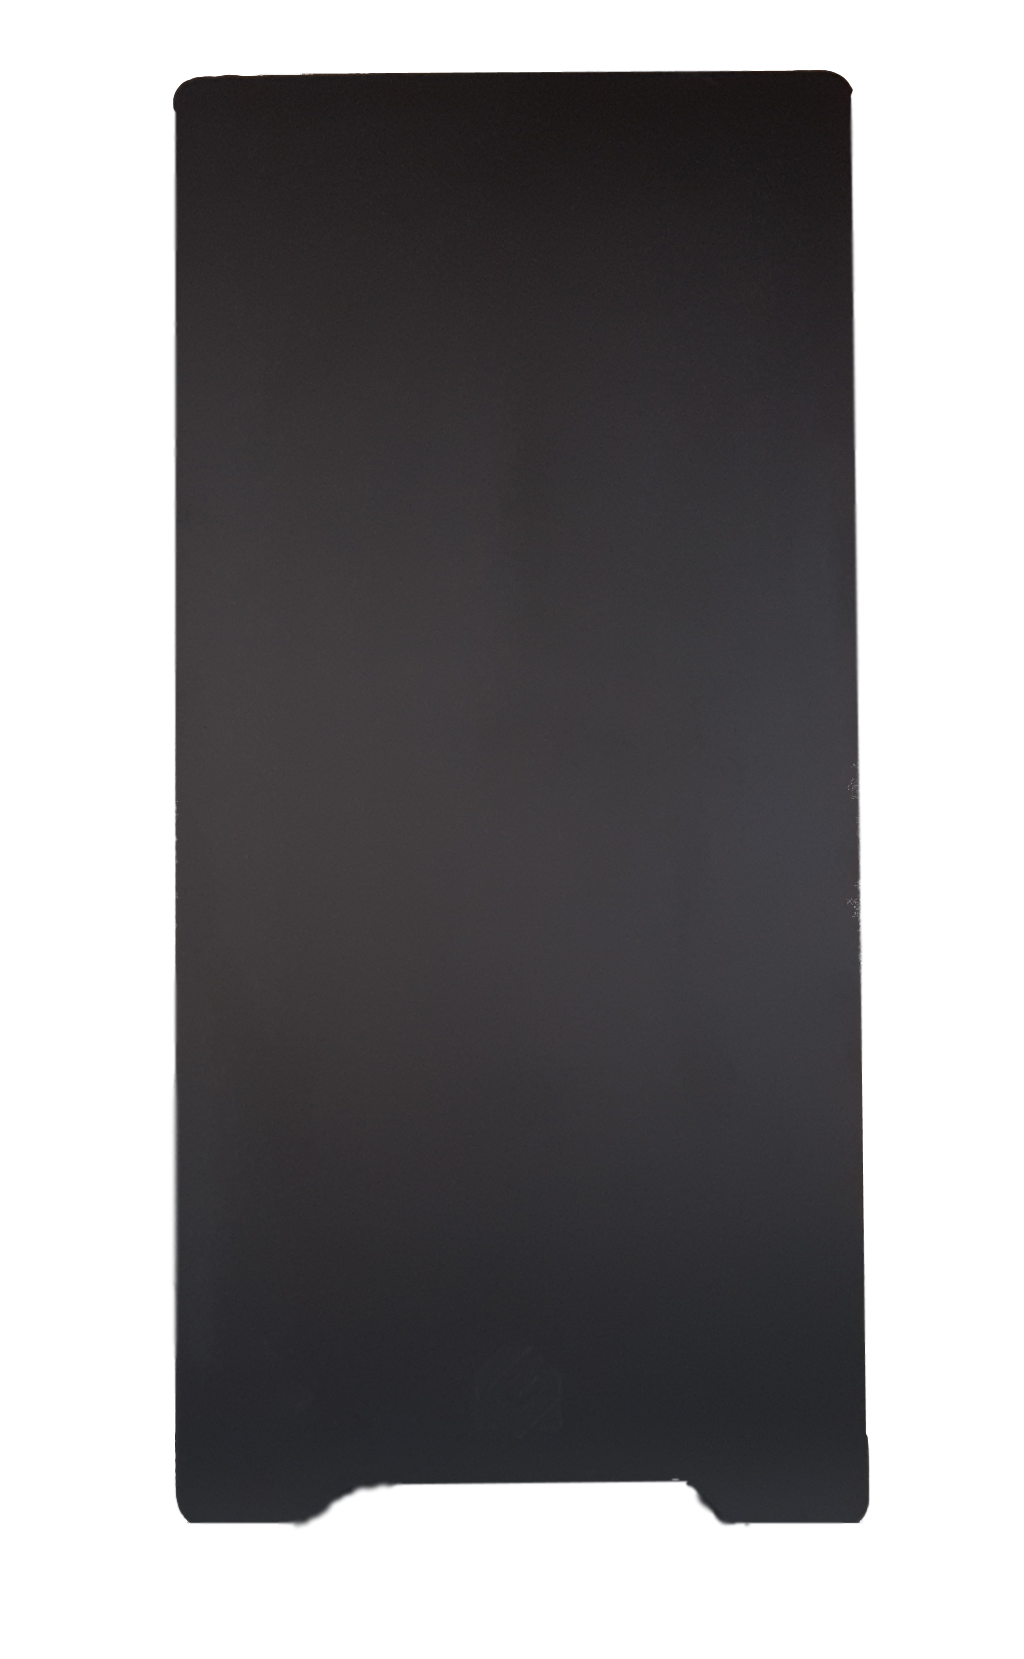
The Metallic Gear NEO’s understated and clean appearance starts with the front panel. It is a one-piece, smooth surface with only a Metallic Gear logo present at the bottom center, which illuminates when the PC is powered on. Both side edges of the front panel include ventilation openings (where front-mounted fans pull air in from) along their entire length, except for the left edge. The upper 1/3 of the left edge incorporates most of the front I/O functions, including 2 x USB 3.0 ports, microphone and headphone jacks, and a reset button (power switch is on the top panel). The front and top panels do tend to readily show fingerprints, so bear in mind that a bit of a cleanup may be necessary after your build is complete.
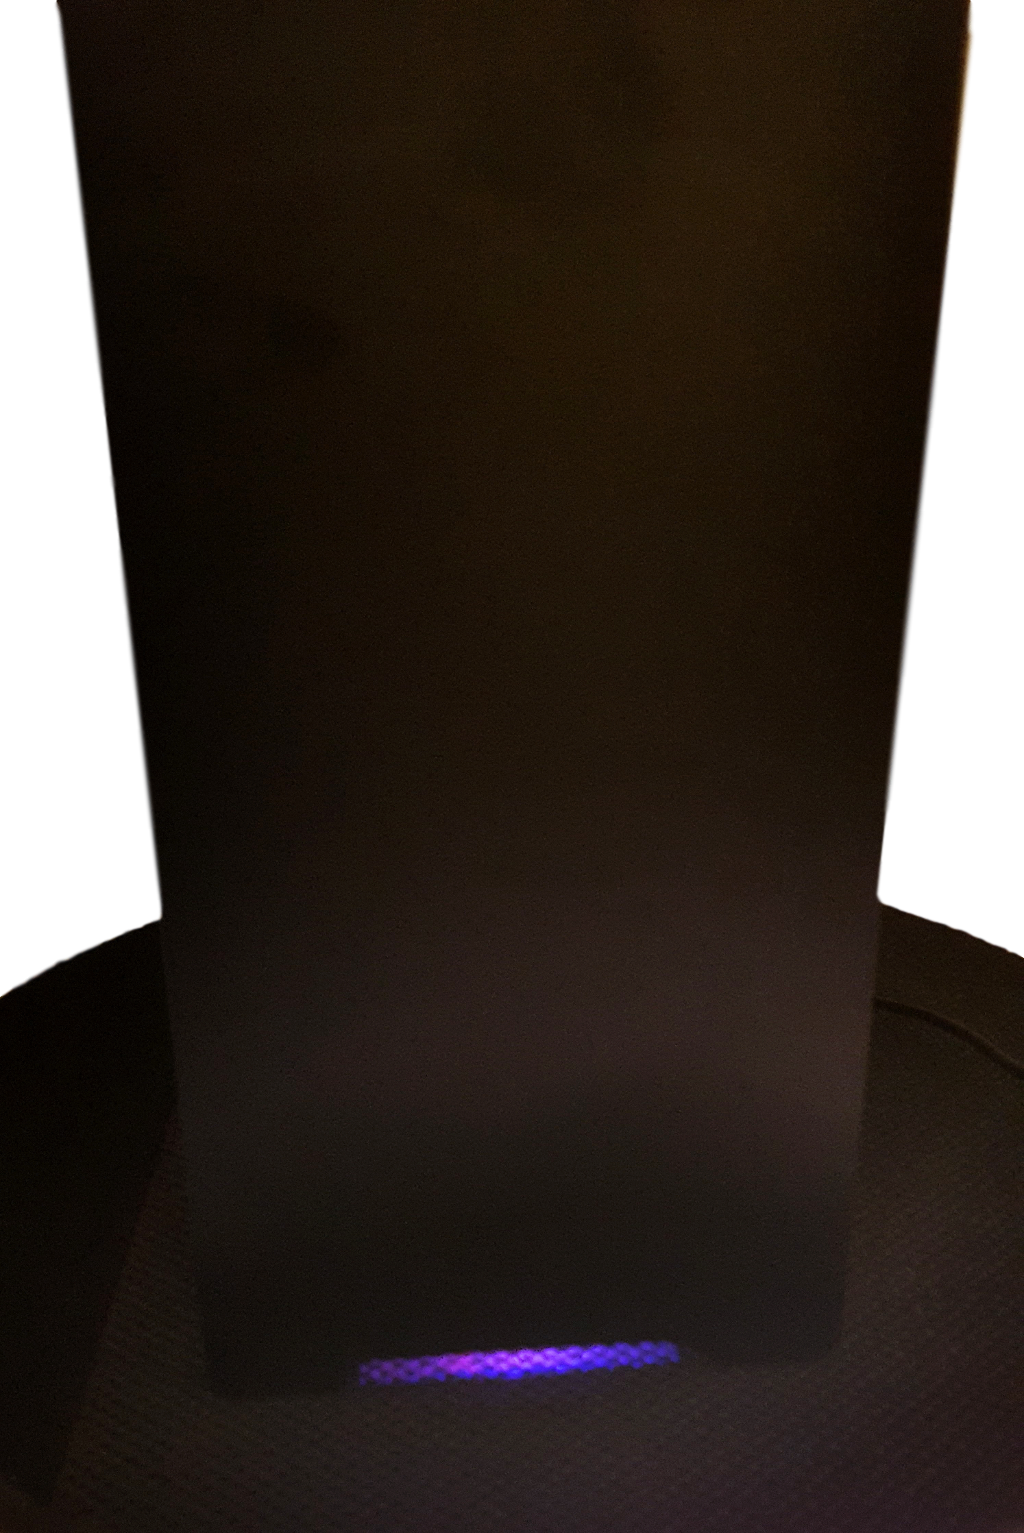
Now we see the NEO and the LED illumination at the bottom of the front panel.
LEFT & RIGHT SIDE PANELS
The NEO’s left side panel is completely tempered glass of a slightly darkened tint. It is held in place by four identical knurled thumb screws.
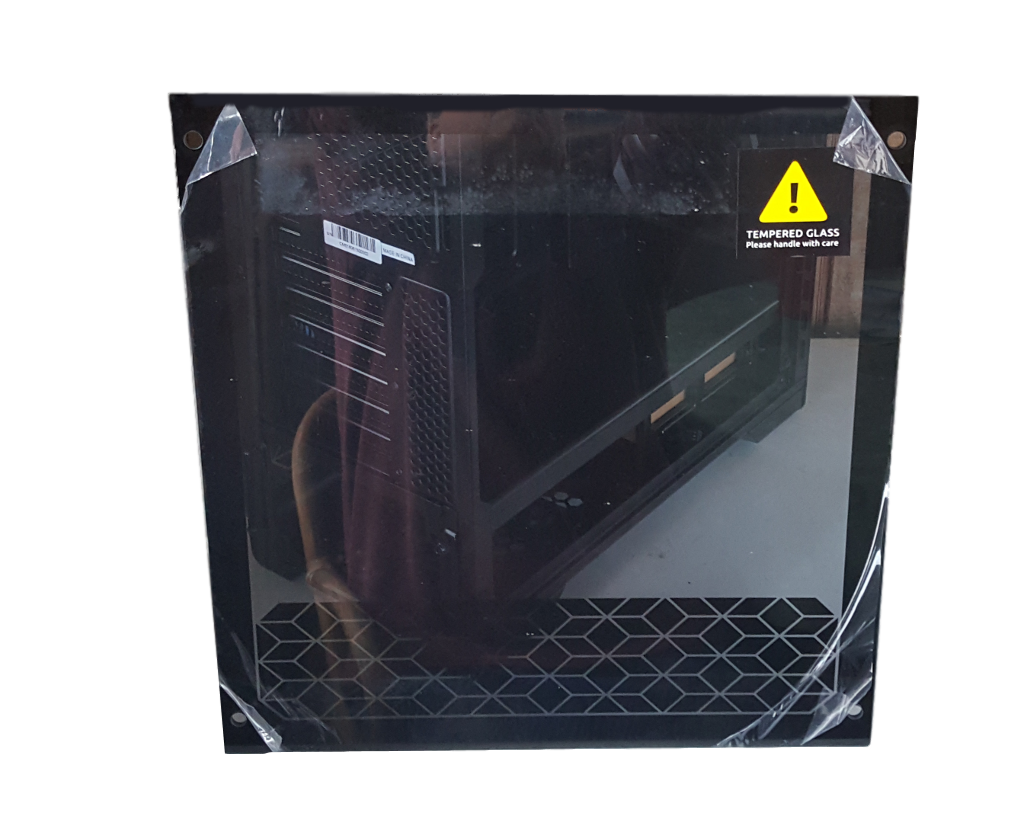 The right side panel is a mirror image of the left, being entirely slightly darkened tempered glass, again held in place by four identical knurled thumb screws.
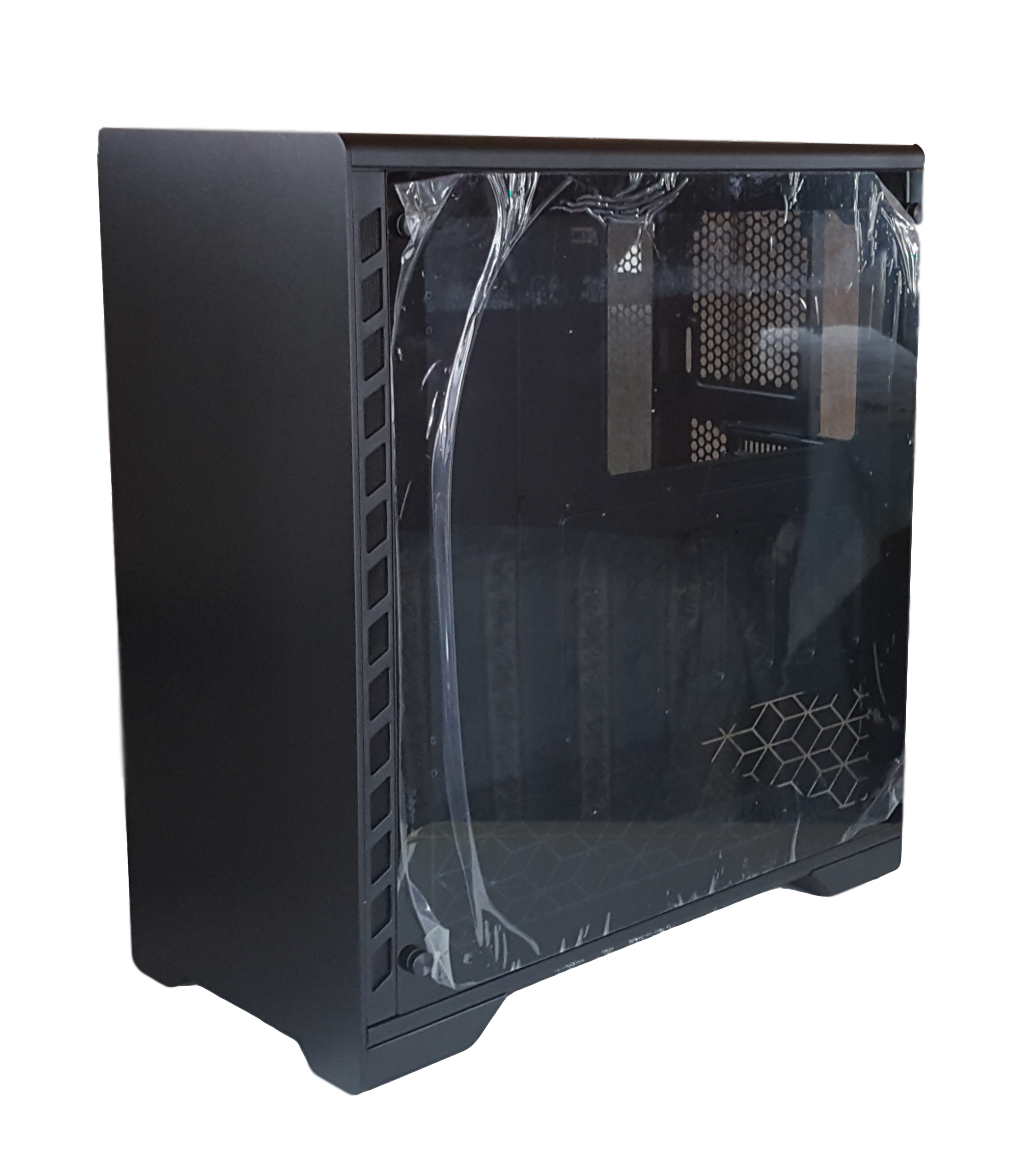 REAR PANEL
The NEO’s rear panel is fairly standard, with the power supply opening at the bottom. The handle for the power supply’s dust filter is visible and accessible at the very bottom edge of the power supply opening. The motherboard’s I/O opening is at the top left of the rear panel, with 7 x PCI expansion slots present.
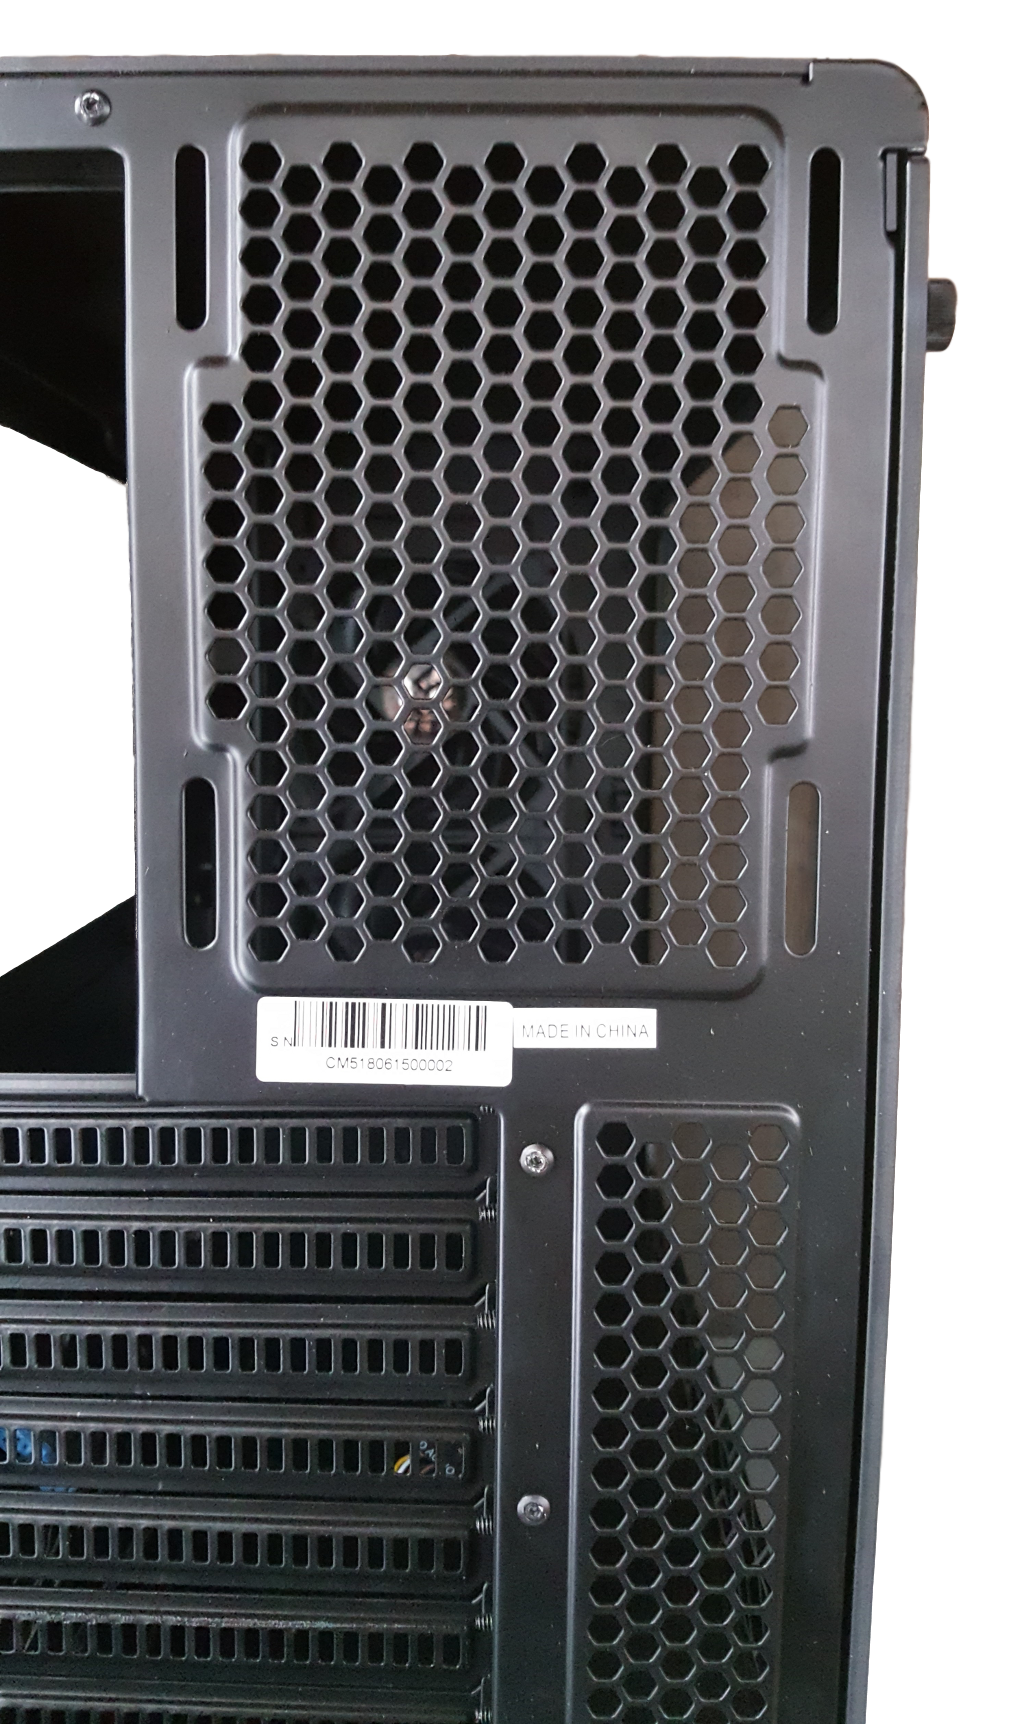
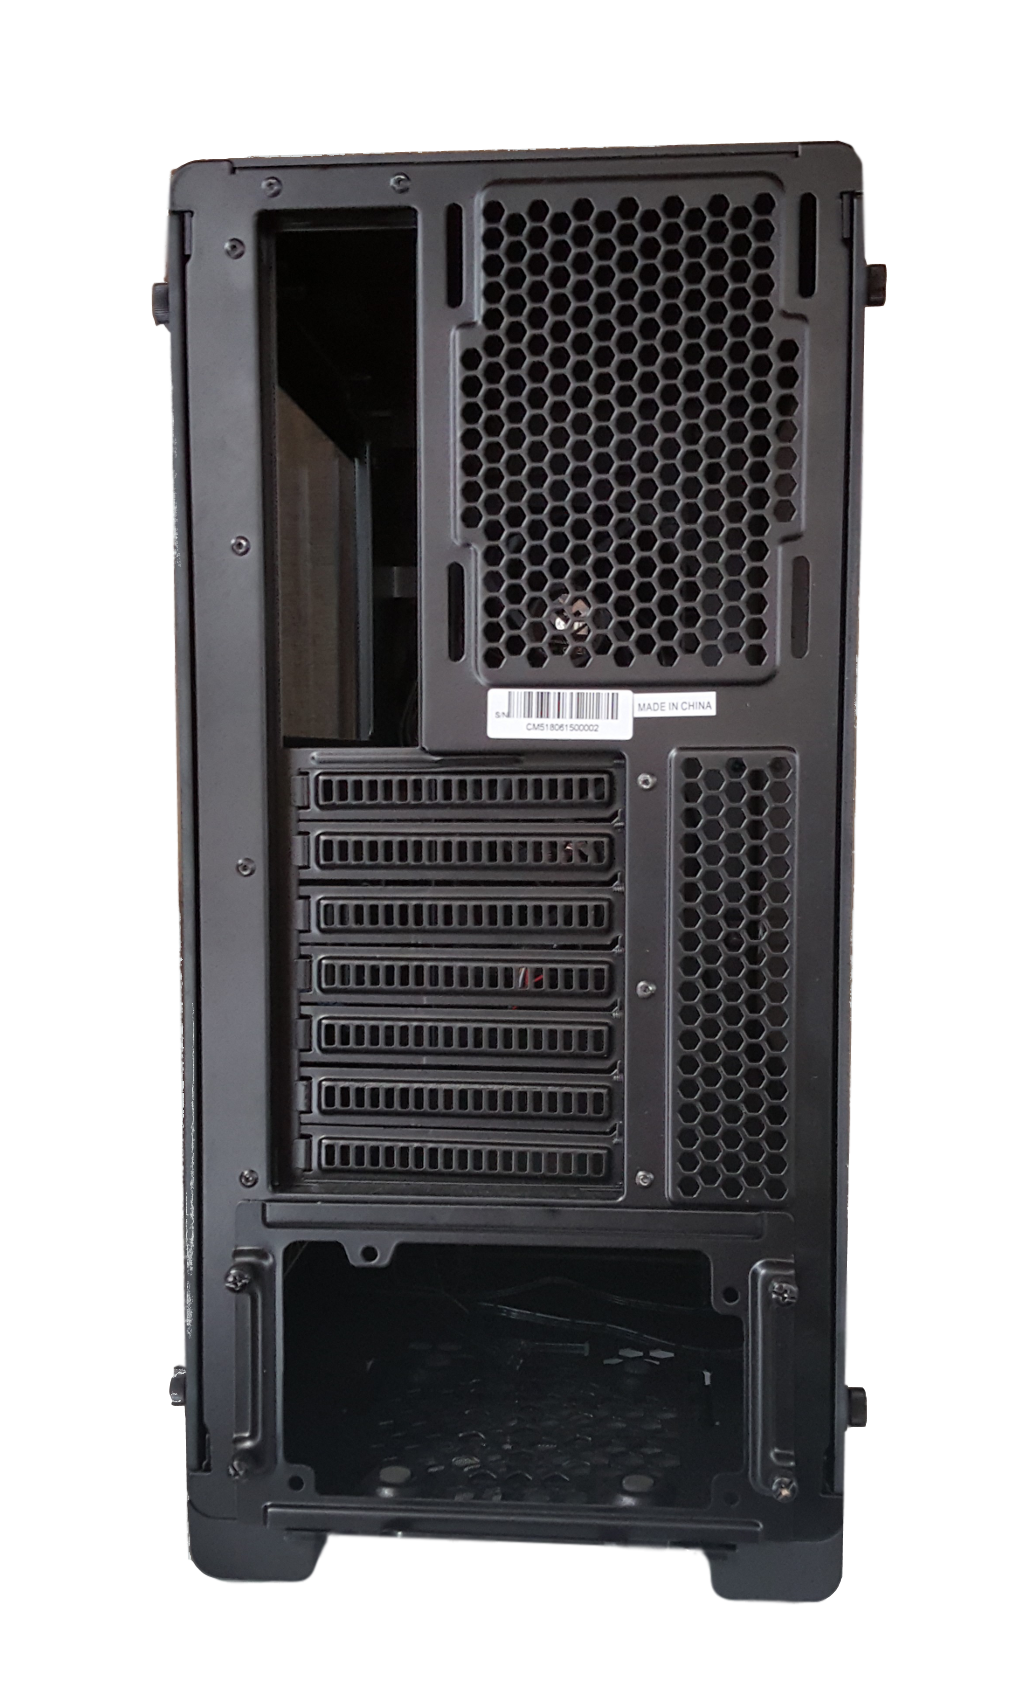 The remaining areas of the rear panel are perforated to improve ventilation, although smaller perforation holes or a finer mesh would likely do a better job of mitigating dust intrusion.
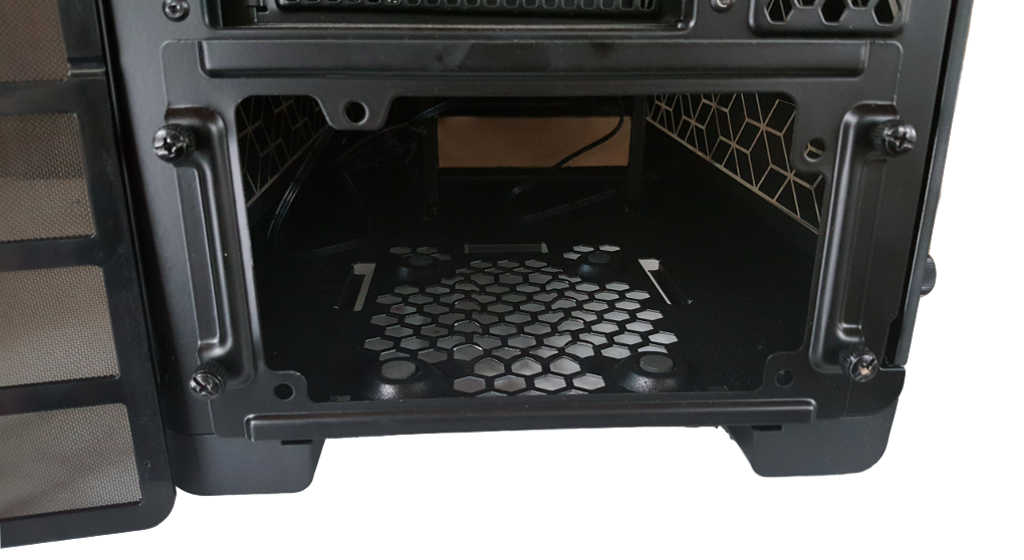
 The power supply is bottom-mounted in the NEO, and as we see in the below image, rubber pads on raised dimples are present to isolate the bottom of the power supply from the bottom of the case, mitigating potential vibration and noise.
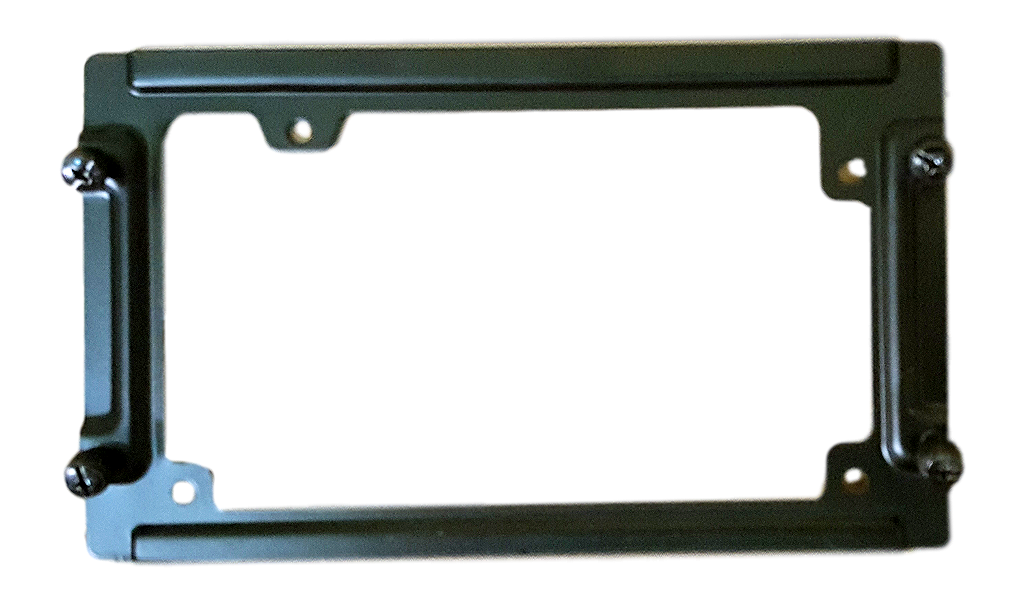
Note the two screws on either side of the power supply opening above. These are thumbscrews that hold in a removable mounting bracket for the power supply. Remove the bracket, mount your power supply to the bracket, and reinstall the “assembly” into place. The biggest advantage of this is being able to remove/install the power supply from the rear, as opposed to out the side where clearances after all components are installed could be a potential issue.
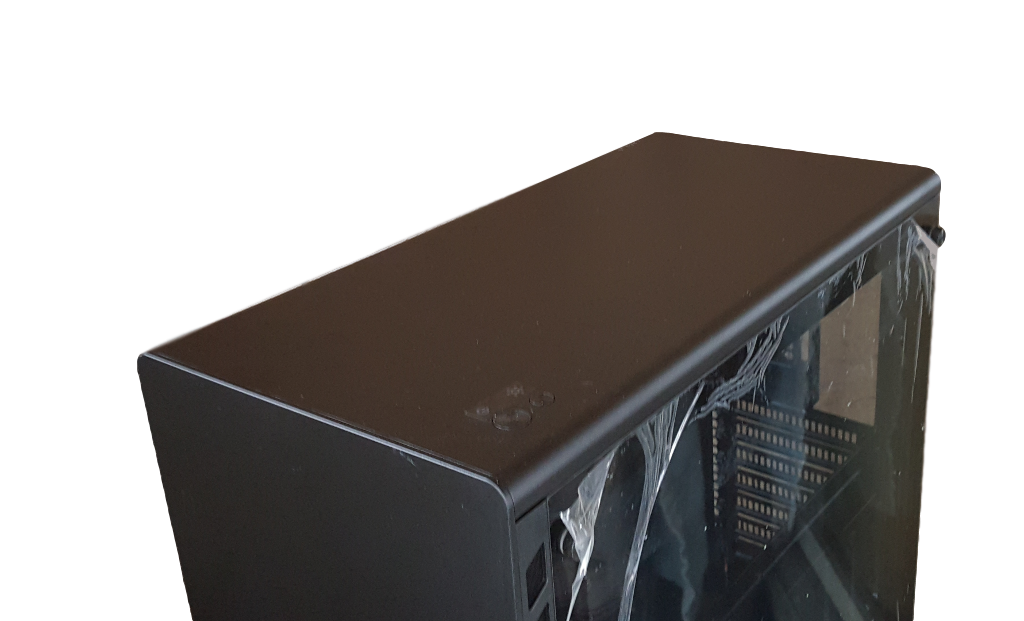
TOP AND BOTTOM PANELS
The top panel of the Metallic Gear NEO is not designed to accept ventilation fans or liquid cooling in this area. It has a one-piece solid panel with softened edges that curve downward to mesh smoothly with the tempered glass side panels.
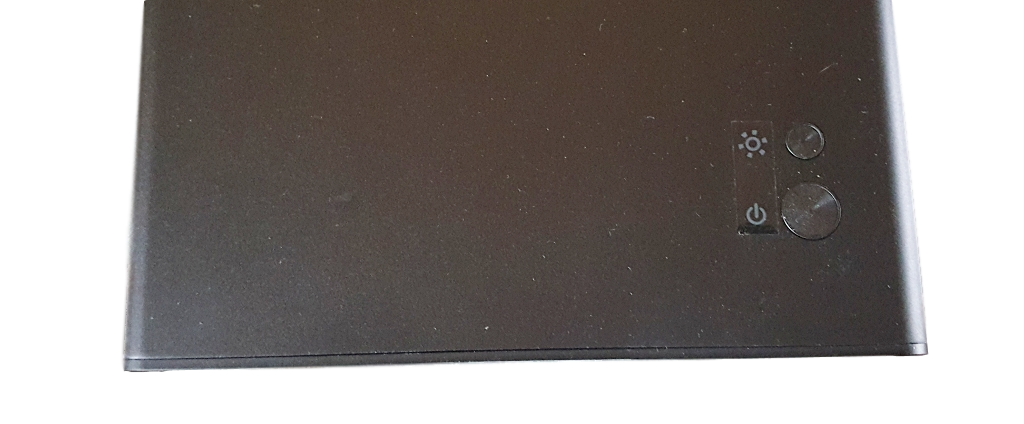
 The illuminated power switch is present at the right front of the top panel, with a slightly smaller RGB lighting switch present directly behind the power switch.
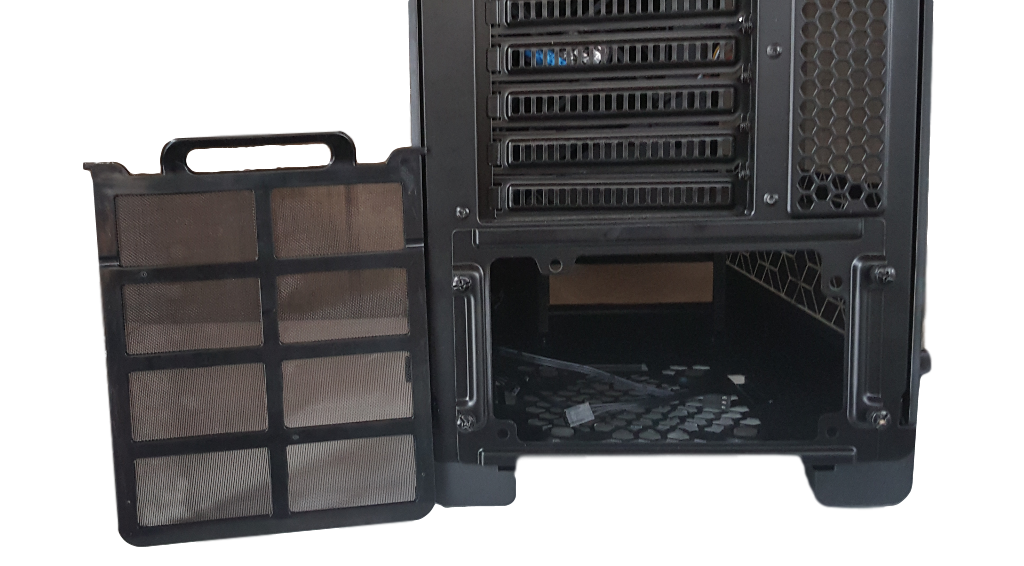
 The NEO’s bottom panel is again standard fare, with the power supply dust filter present directly under the power supply area.
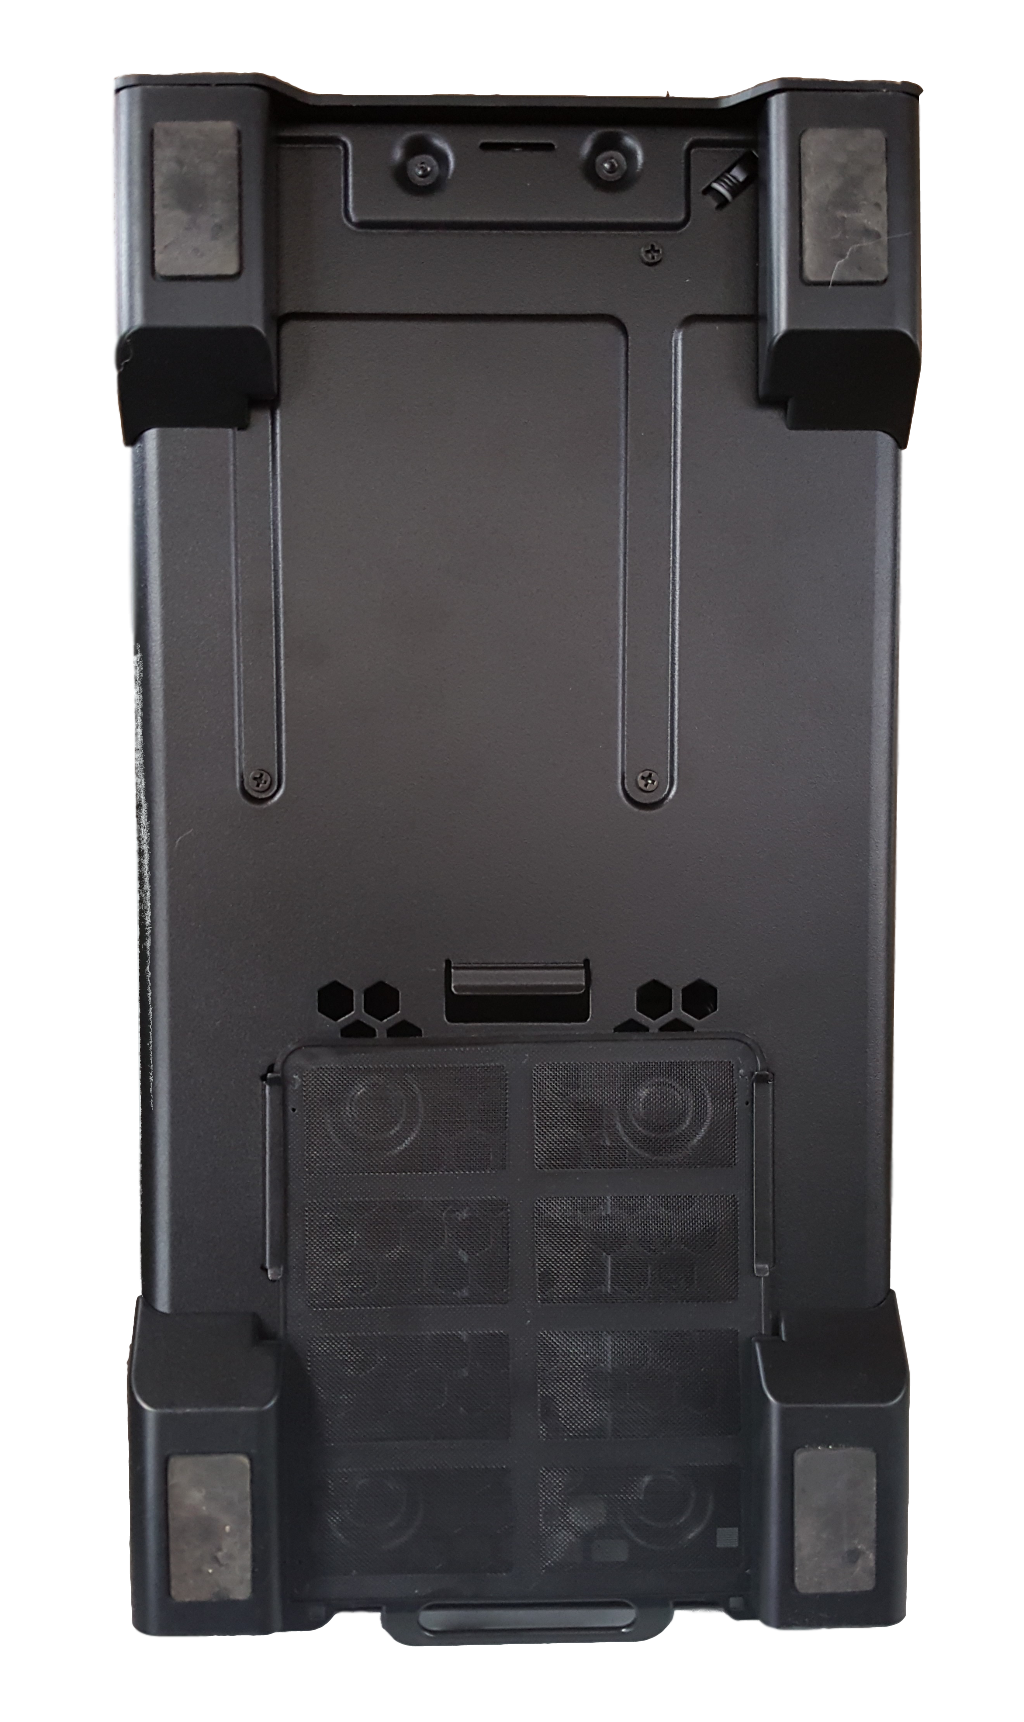 The filter pulls out from the bottom rear. The legs/feet are molded right into the bottom, with rectangular silicon rubber pads at each corner.
Clean gaming build!
Appearance, performance and usability - 92%
92%
Great bang for the buck!
An excellent option for a non-outlandish gaming build