
SYSTEM ASSEMBLY
We will be transferring one of our primary testing systems over to the Enthoo Pro M. The basic components are as follows:
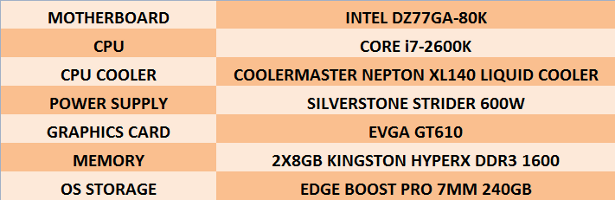 We will be installing our liquid CPU cooler in the place of the rear 140mm fan, and re-utilizing that fan, along with three other 140mm fans, to end up with two in the front panel and two in the top panel.
An often recurring issue with chassis designs is lack of adequate clearance at the top edge of the motherboard for routing your CPU power cable behind the motherboard tray to keep it concealed, rather than having to route it right over the front surface of the board. For mATX and ATX motherboards this is completely a non-issue with the Enthoo Pro M. An ideally located wide, grommeted opening at the top of the motherboard tray allows for routing the CPU power cable behind and back out right where it is needed for convenient connection of the cable.
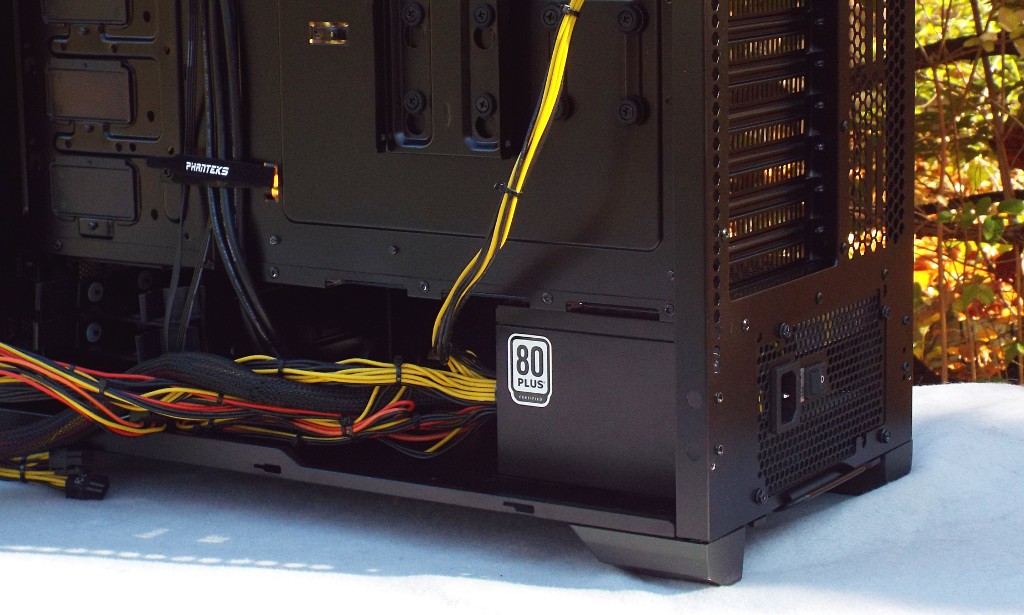
Previous designs often require system builders to situate the CPU power cable in place before installing the motherboard into the chassis. Hence, the first component usually installed is the power supply. Even though it is likely unnecessary for this build, we will hold with convention and install the PSU first. Mounting the power supply in the segregated lower chamber is quite straightforward. The power supply rests on four rubber cushions at each corner, allowing it be secured snugly and relatively vibration-free. Below is the image of the PSU installed and with the CPU power cable routed up through the top grommeted opening.
 The liquid CPU cooler will be replacing an air cooler, so next we will assemble it to the motherboard. Once that is accomplished, we will install the motherboard (with CPU, CPU cooler, and memory already installed) into the Enthoo Pro M. We have removed the rear 140mm fan to give us a little more clearance for installing the motherboard, as we are replacing that fan with the CPU cooler’s radiator anyway.
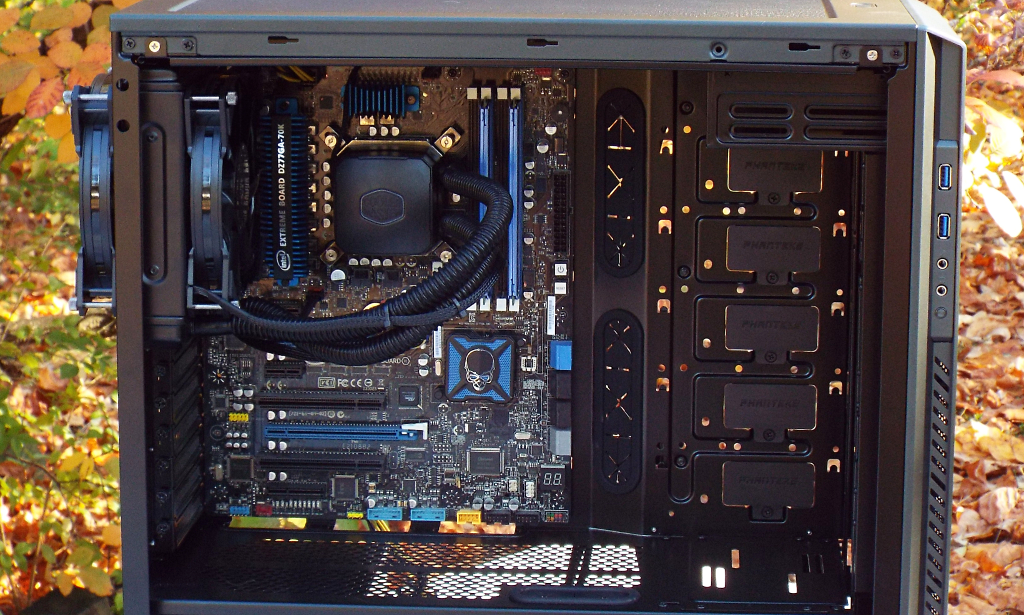
Now that we have the motherboard secured, we will install the radiator in the rear 140mm fan position. This is a dual-fan radiator, and we have our choice of installing the outer fan either inside or outside of the chassis. Installing it on the outside gains 25mm additional clearance inside in that immediate area, which gives us a good bit more room to work with for connecting and concealing cables. The next image is with our ATX motherboard assembly and the CPU cooler installed.
 If you are using an air cooler, there is almost no limitation on what size cooler you can install, with clearance of 194mm (7.6″)
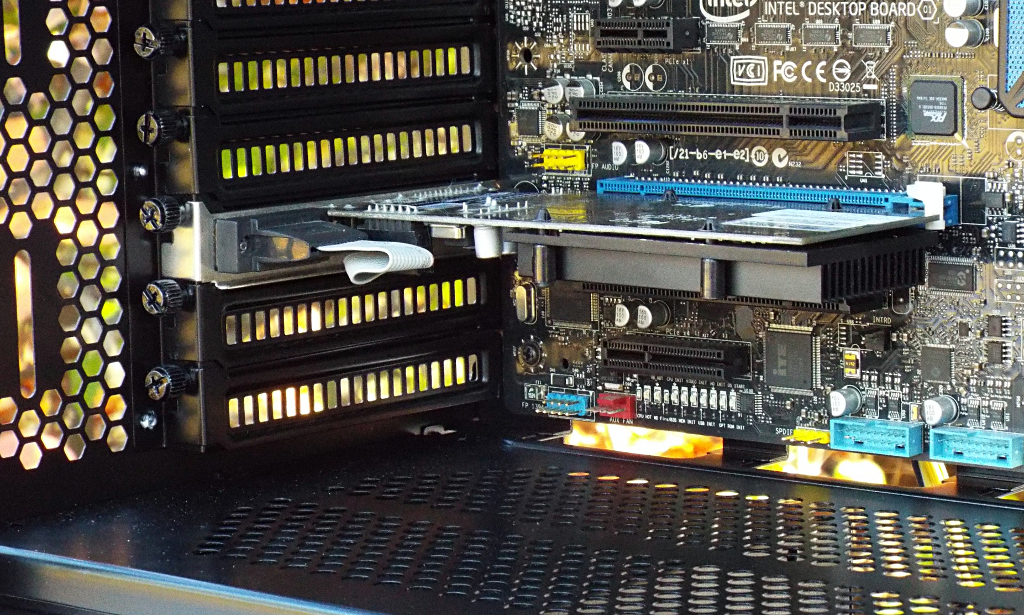
The graphics card is up next for installation. Since this test system is used primarily for storage-related reviews, we are not utilizing a graphics card that requires a separate power cable(s). However, for those using graphics cards that do require the additional power cable(s), these are able to be routed through a grommeted opening in the floor of the upper chamber within a very short distance of where they will connect. This helps make for an even tidier build as most of the cable(s) will be concealed. Graphics cards of up to 420mm (16.54″) long can be installed if one is not using any of the optional storage drive mounting brackets. With bracket(s) being used, maximum graphics card length is reduced to 300mm (11.5″).
 We will be mounting our operating system drive in the upper tray on the right side of the Enthoo Pro M. We will then leave the lower tray removed to give us additional space for tucking away excess cable length(s) if needed.
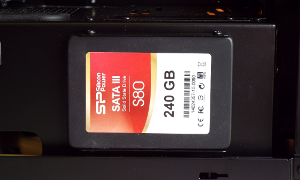
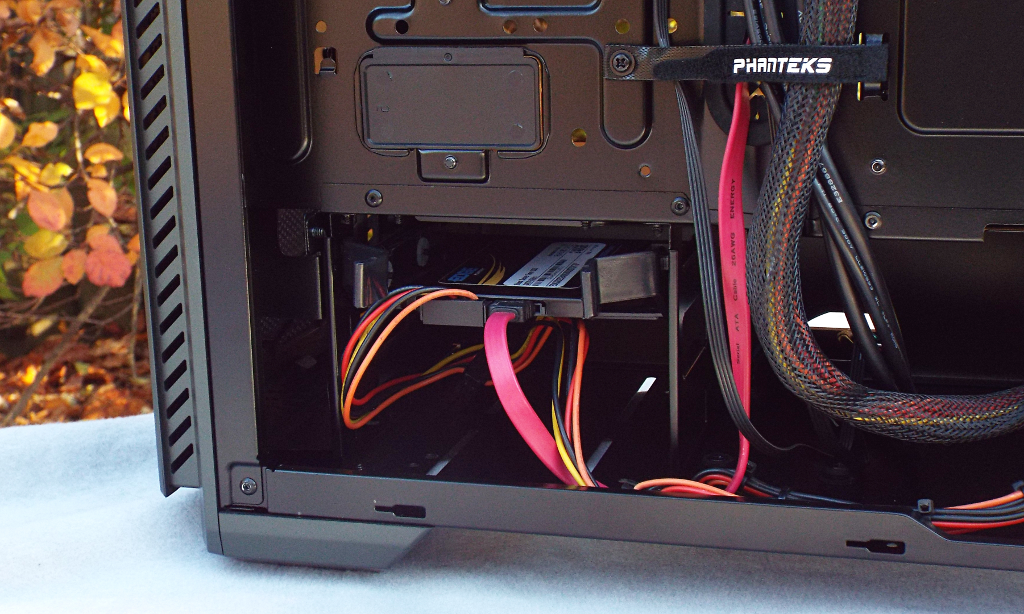 To give you an idea of how the “drop and lock” bracket for mounting an SSD works/looks, the left image below shows a second SSD installed on the back side of the motherboard tray, while the right image below shows the same SSD installed in the front vertical SSD mounting position at the bottom front of the chassis.

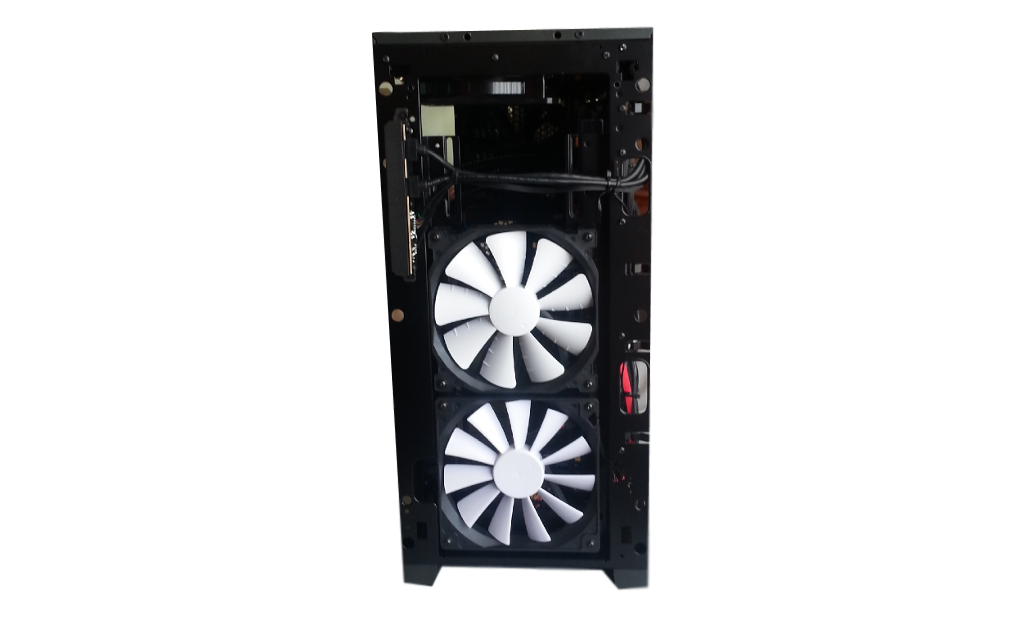
Next we will install a pair of 140mm fans as intake in the two lower front panel positions. The image below shows these fans as seen from the front with the front panel still removed.
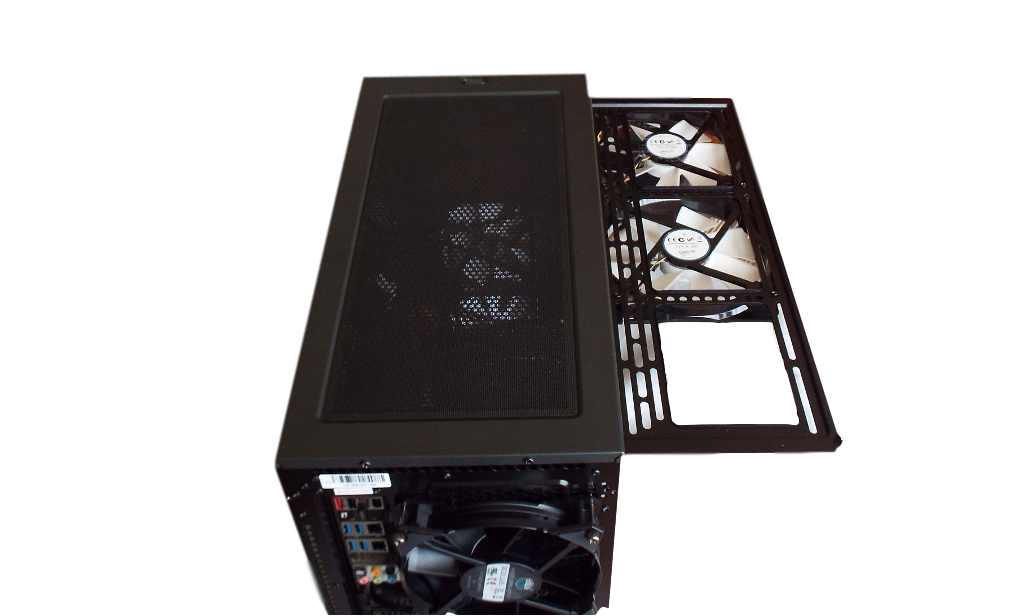
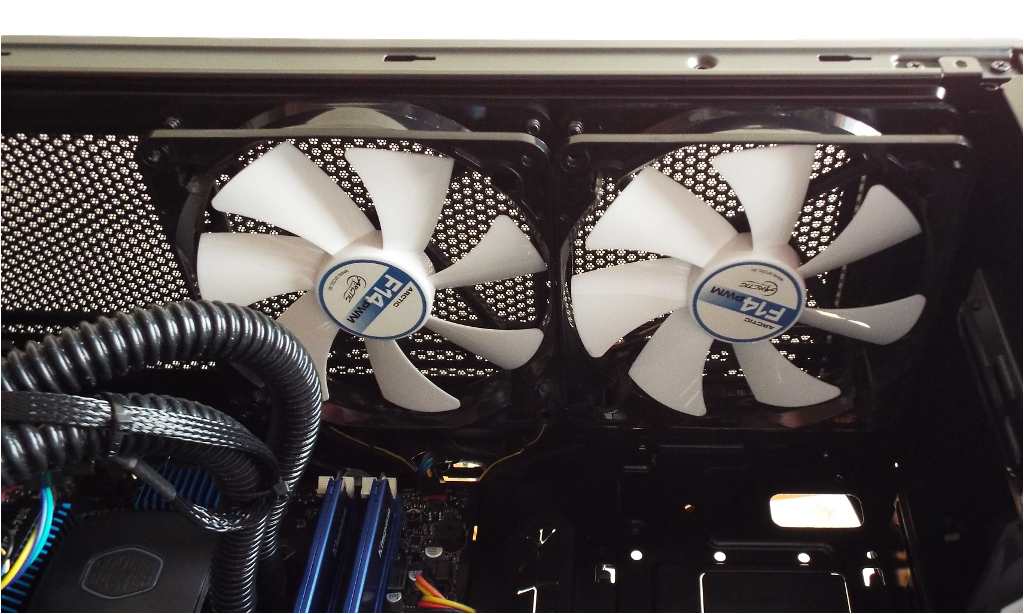
Our final aspect of airflow is to install another two 140mm fans as exhaust in the top panel area. We will situate these in the front-most pair of openings. The length of the 140mm radiator mounted in the rear panel prevents a fan being installed in the top rear-most position. Here we see the two fans mounted in the removable fan/radiator bracket before we slide it back into position in the top of the chassis and re-secure it. The correct screws to remove to take out the bracket are easy to identify as they are the only silver screws present — all others are black.
Now we see the bracket with fans installed re-secured in the top of the Enthoo Pro M, as seen from inside the chassis.
Review Overview
Product Build
Specifications
Features
Pricing & Availability
Warranty
Builder-Friendly!
The Phanteks Enthoo Pro M is one of the most builder-friendly chassis we have worked with.