
Installation and Test Bench
We went with the build we used for the two other Cooler Master chassis to keep our format very standard.
| Motherboard | Gigabyte Aorus Z370 Gaming 7 |
| Processor | Intel i7 8700k |
| Graphics | Gigabyte Aorus GTX 1080 ti |
| PSU | EVGA 1000w G3 |
| CPU Cooler | Cooler Master ML360R RGB |
| RAM | 4 x 8 gb 2933 mhz HyperX Predator |
| Fans | Stock Fans |
| SSD | Samsung SM951 512 GB M.2 |
| HDD | San Disk 1 TB |
Reference the above chart as to what has been installed in our build!
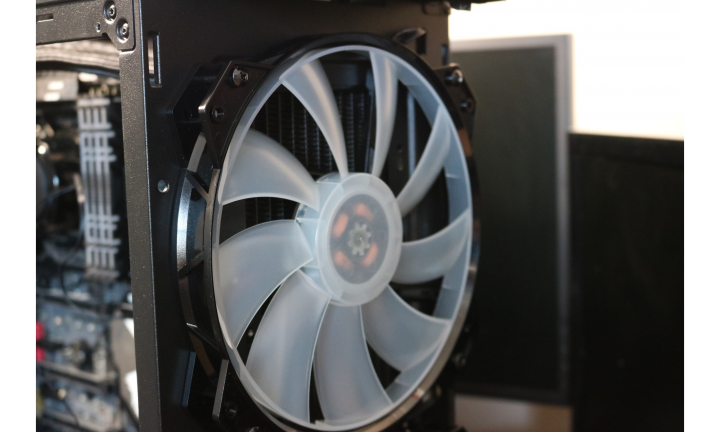
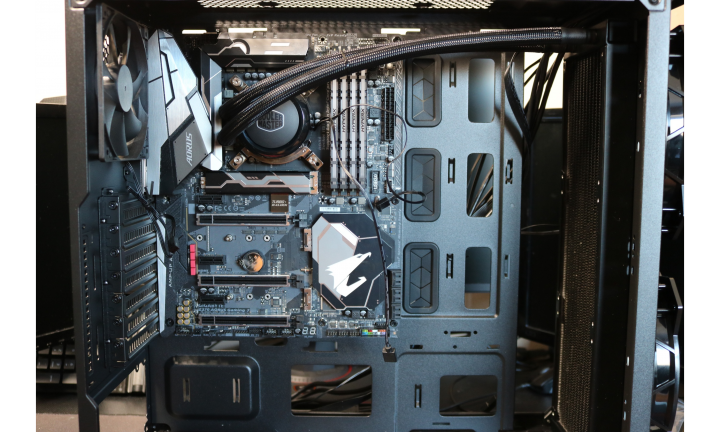 Motherboard installation was very easy and as you can see here we ran our 360 mm Cooler Master AIO radiator to the front intake area. Instead of using the stock fans on the cooler we used the 200 mm fans as the intake. The tubing fit almost perfectly and left us with tons of room to build in.
 Here is just a front side view of our monster cooling device. Hopefully this performs admirably.
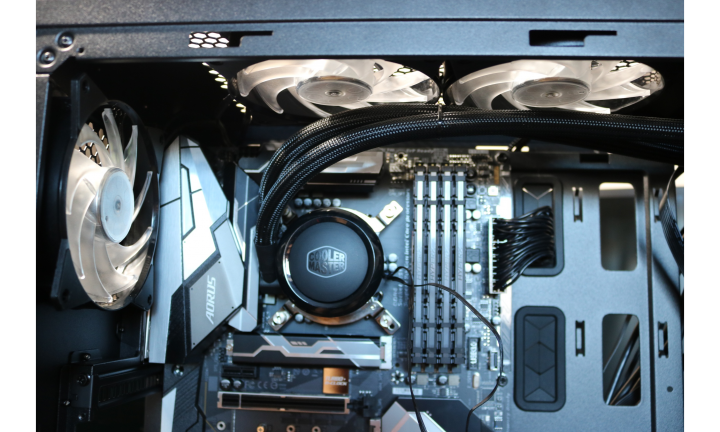 The three RGB fans from the AIO were put to another use. We used these three as airflow exhaust. Our reasoning was to add much more of an RGB presence to dazzle those around us.
 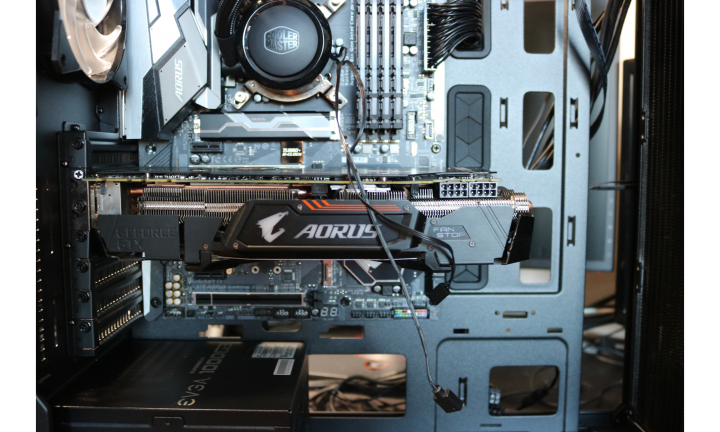 Our GPU had no problem fitting right into place here. We didn’t want to go with a vertical mount, however, it is a possibility depending on the wants of the builder.
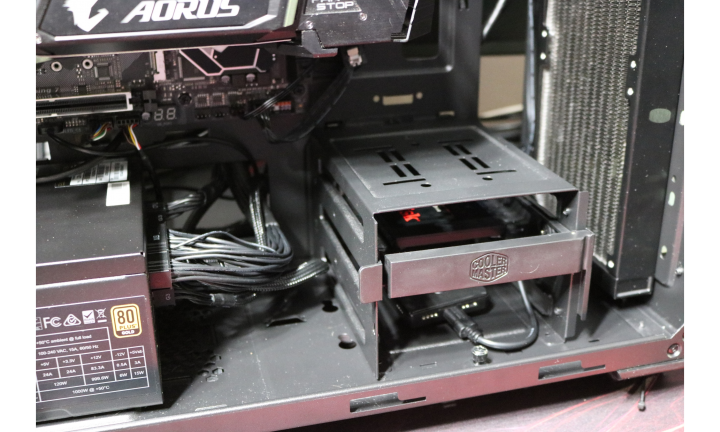 The drive tray here was used for two specific reasons. One reason was to hold our 2.5 ” dive and the second was to house our Cooler Master RGB controller for our fans. It was a great place to put the controller as it is almost out of view but still accessible. Right next to the drive tray is a huge amount of space to run cables through.
 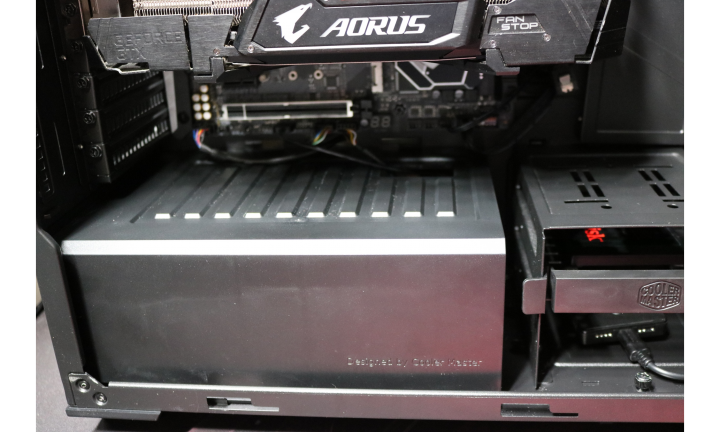 After the installation of the PSU cover we are very excited to get this baby fired up. Only one thumb screw attaches the plastic cover which makes it easy to use if you have to switch out cables.
 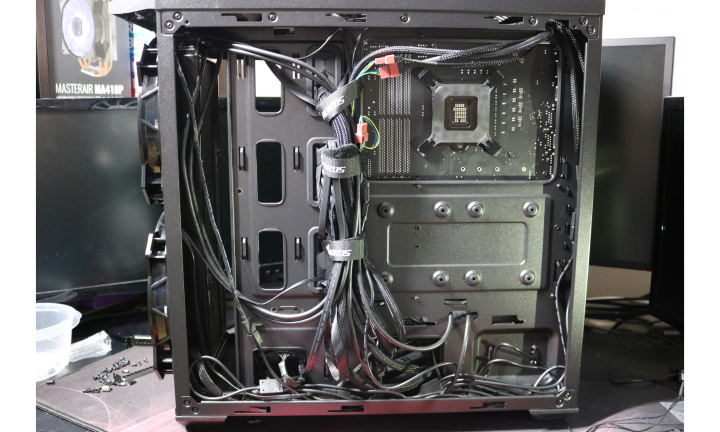 As we mentioned earlier, cable management is one of the hardest parts of a build. We ran most of our cables down the center here to see if the 30 mm of room would be enough to prevent any side panel bulging. It proved to be an ample amount of space!
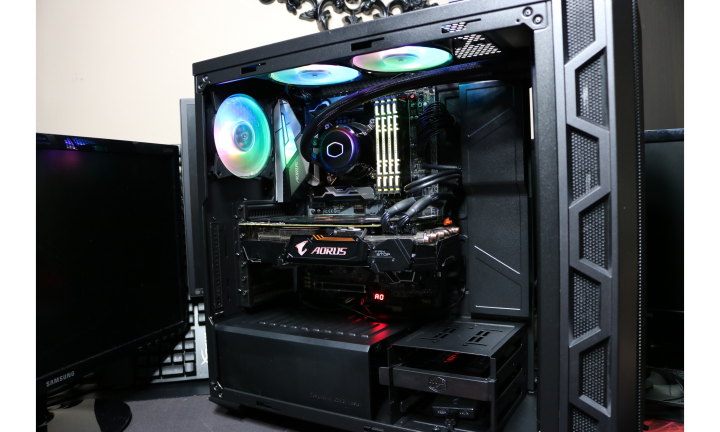 With all the extra cable room in the back and the addition of a PSU cover we are met with a very clean build. This chassis may look original on the outside, however, on the inside is where it really matters.
I would have liked to know:
What configuration for airflow did you use on the radiator?
3 fans in “push” mode and 2 fans in “pull” mode or all in “pull” mode or all in “push” mode?
And if possible, comment a little bit on the experience of temperatures. Thank you very much