
Installation & Test Bench
For our build today were going to be sticking higher budget components in. We really like to stick these chassis full of components to see how much a case can handle. 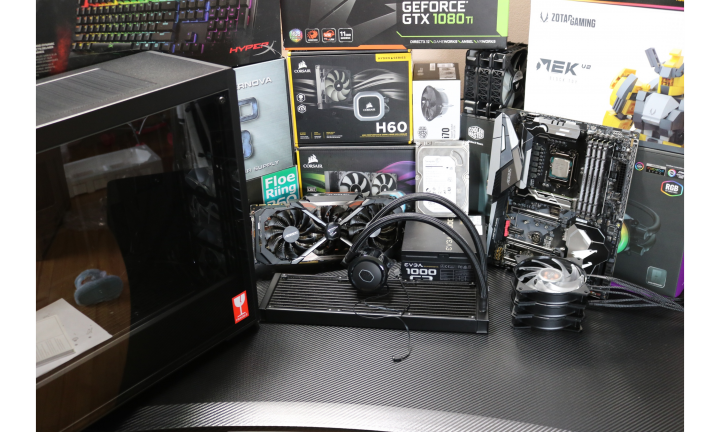
| Motherboard | Gigabyte Aorus Z370 Gaming 7 |
| Processor | Intel i7 8700k |
| Graphics | Gigabyte Aorus GTX 1080 ti |
| PSU | EVGA 1000w G3 |
| CPU Cooler | Cooler Master ML360R RGB |
| RAM | 4 x 8 gb 2933 mhz HyperX Predator |
| Fans | Stock Fans |
| SSD | Samsung SM951 512 GB M.2 |
| HDD | Seagate 1TB HDD |
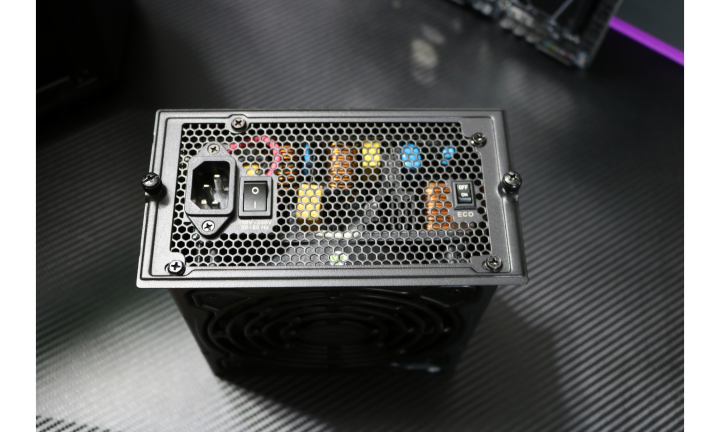 First things first, we installed our EVGA PSU in its bracket. This is a really good idea and cuts down on the time it takes to remove and re install power supplies.
 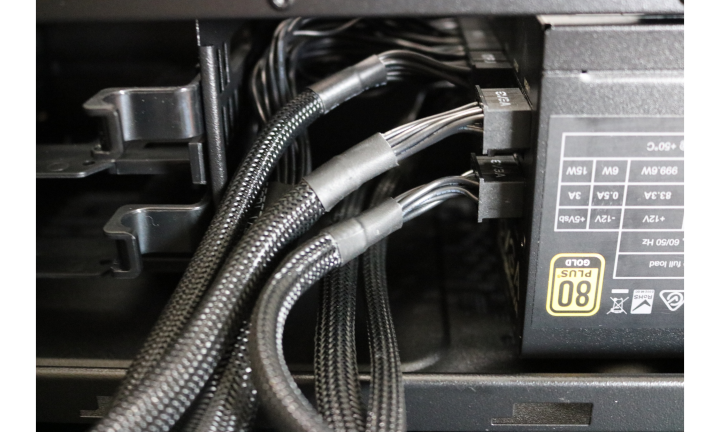 After installation of the power supply you can see the limited amount of room here between the cable connections and drive bays. We recommend installing the cables first here to avoid pulling out your hair.
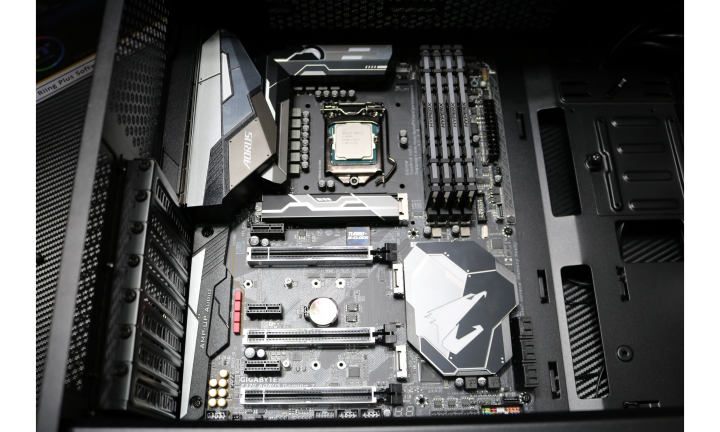 A little unusual in chassis production is the absence of pre installed standoff screws. After we did this ourselves, our ATX motherboard fit right into place. It is still quite apparent at the spacial issues were going to have here. Our fat fingers will have their work cut out for them.
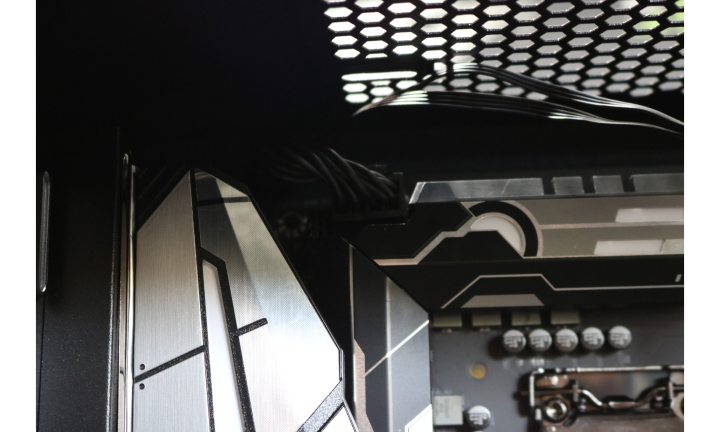 Cable run throughs are few and far between on top of the Mobo. One is near the CPU power slot and the other is on the right most side of the motherboard. This was frustrating to say the least and if we were to go back in time in our Tardis, we would install the cables before the motherboard.
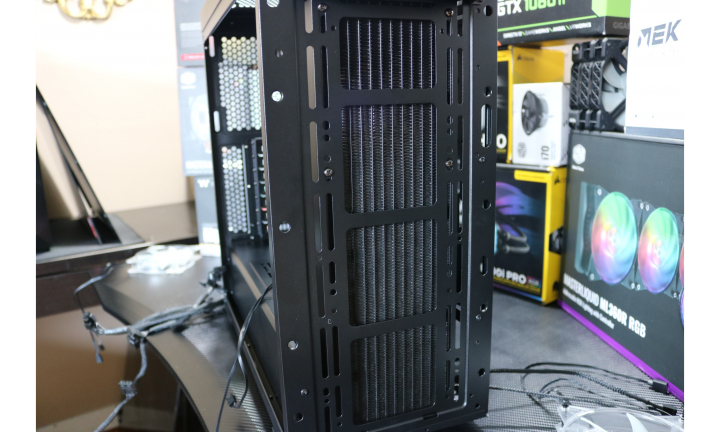 As we mentioned before, we wanted to attempt to throw a larger than recommended radiator in the front intake. As you can see it just fit in. We were only able to get four screws in but it made it as sturdy as we needed.
 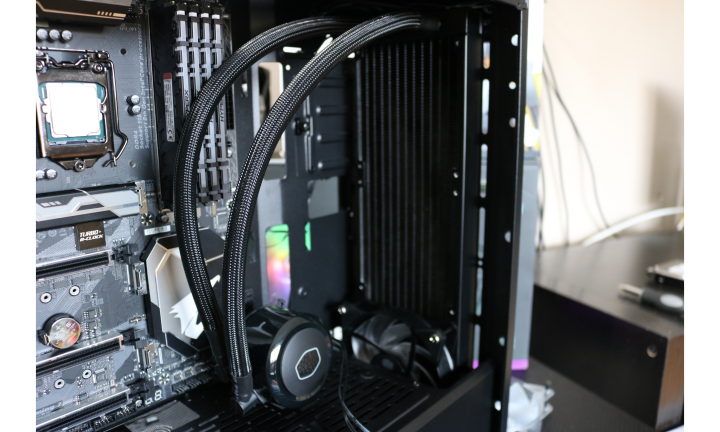 The opposite side shows here that it fit almost perfectly in the front and we attached the fans in a pull configuration due to the fact that installation of fans on the front is impossible.
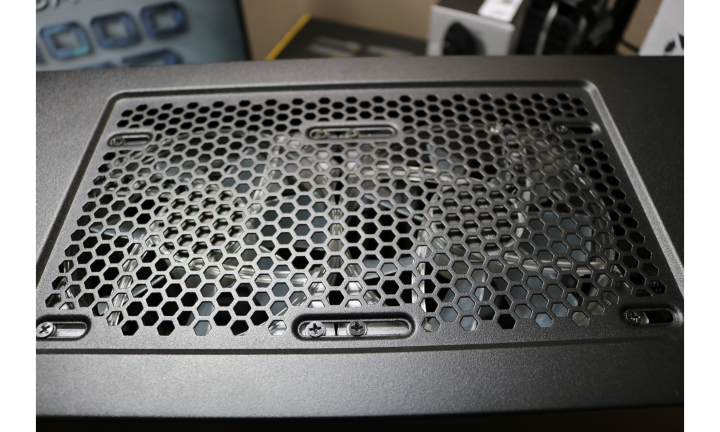 Pretty standard exhaust fans fit well on the top panel. These fans were the stock ones we moved to make room in the intake radiator area.
 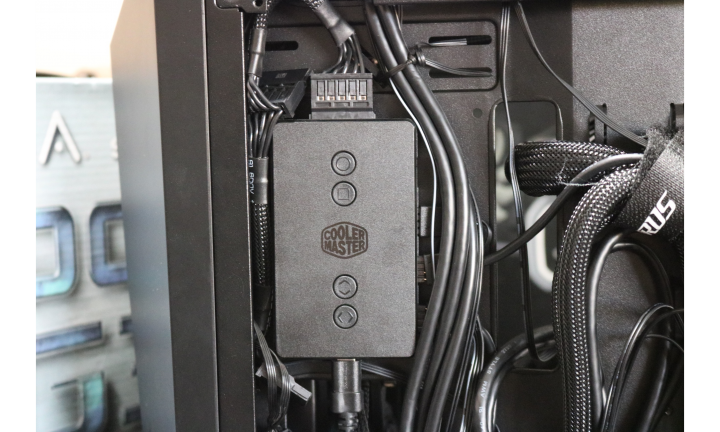 Cable management was pretty difficult considering the amount of RGB cables we had running from everywhere. We installed the AIO control panel on the back, with our trusty supply of velcro, without a hitch.
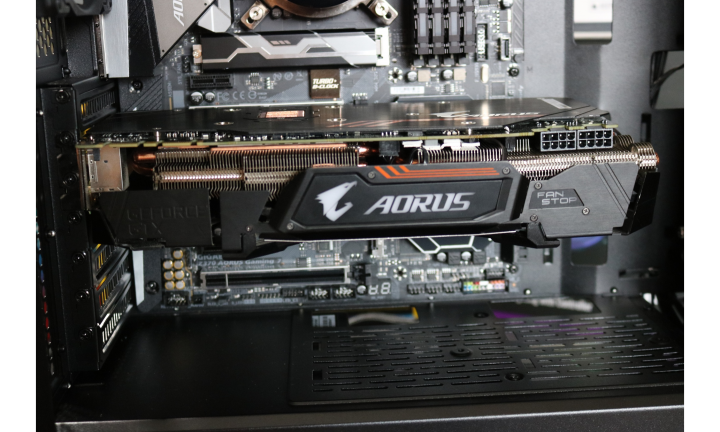 As you can see we have been complaining about the lack of space in this chassis, however, once all the small connections are hooked up we find ourselves looking at a fairly spacious viewing area.
 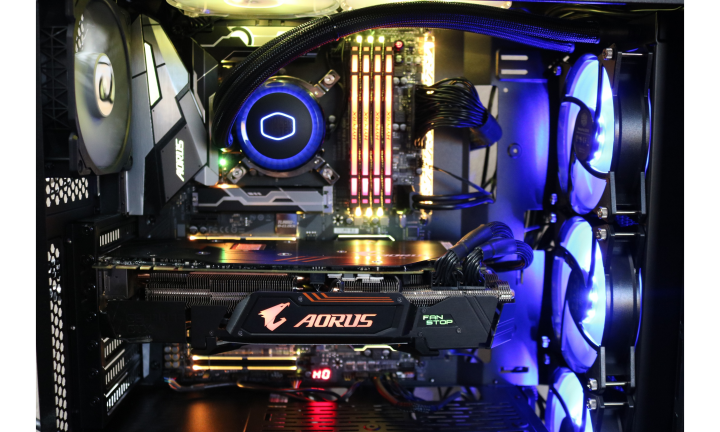 With everything powered up and maximum RGB engaged we are happy with the result here.