 Technology X Tomorrow's Technology Today!

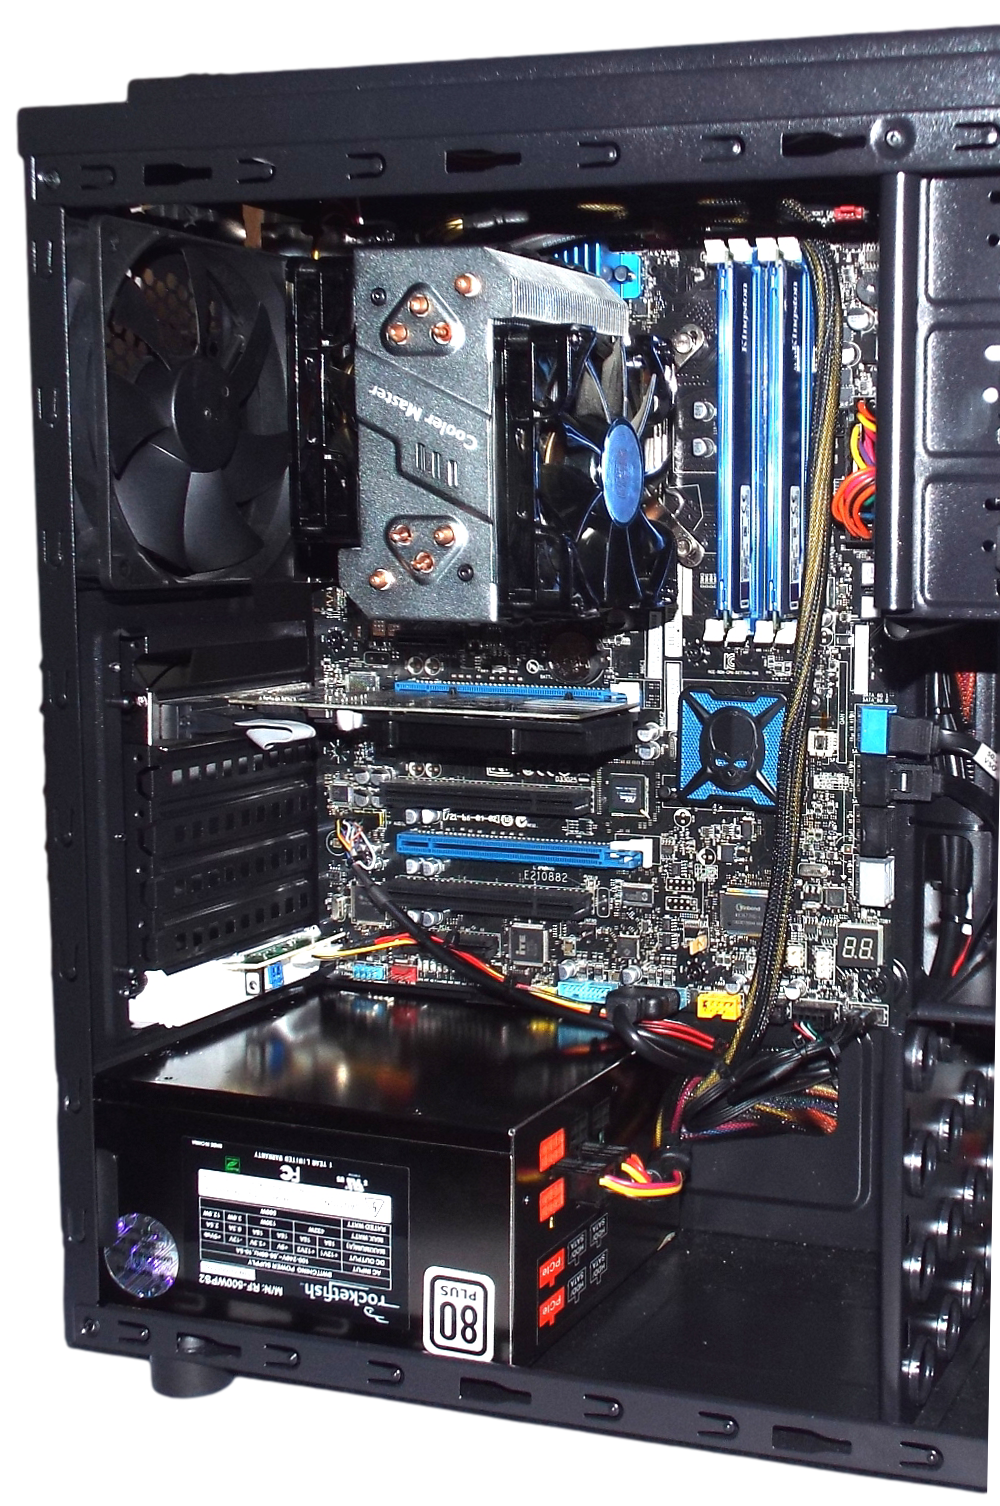
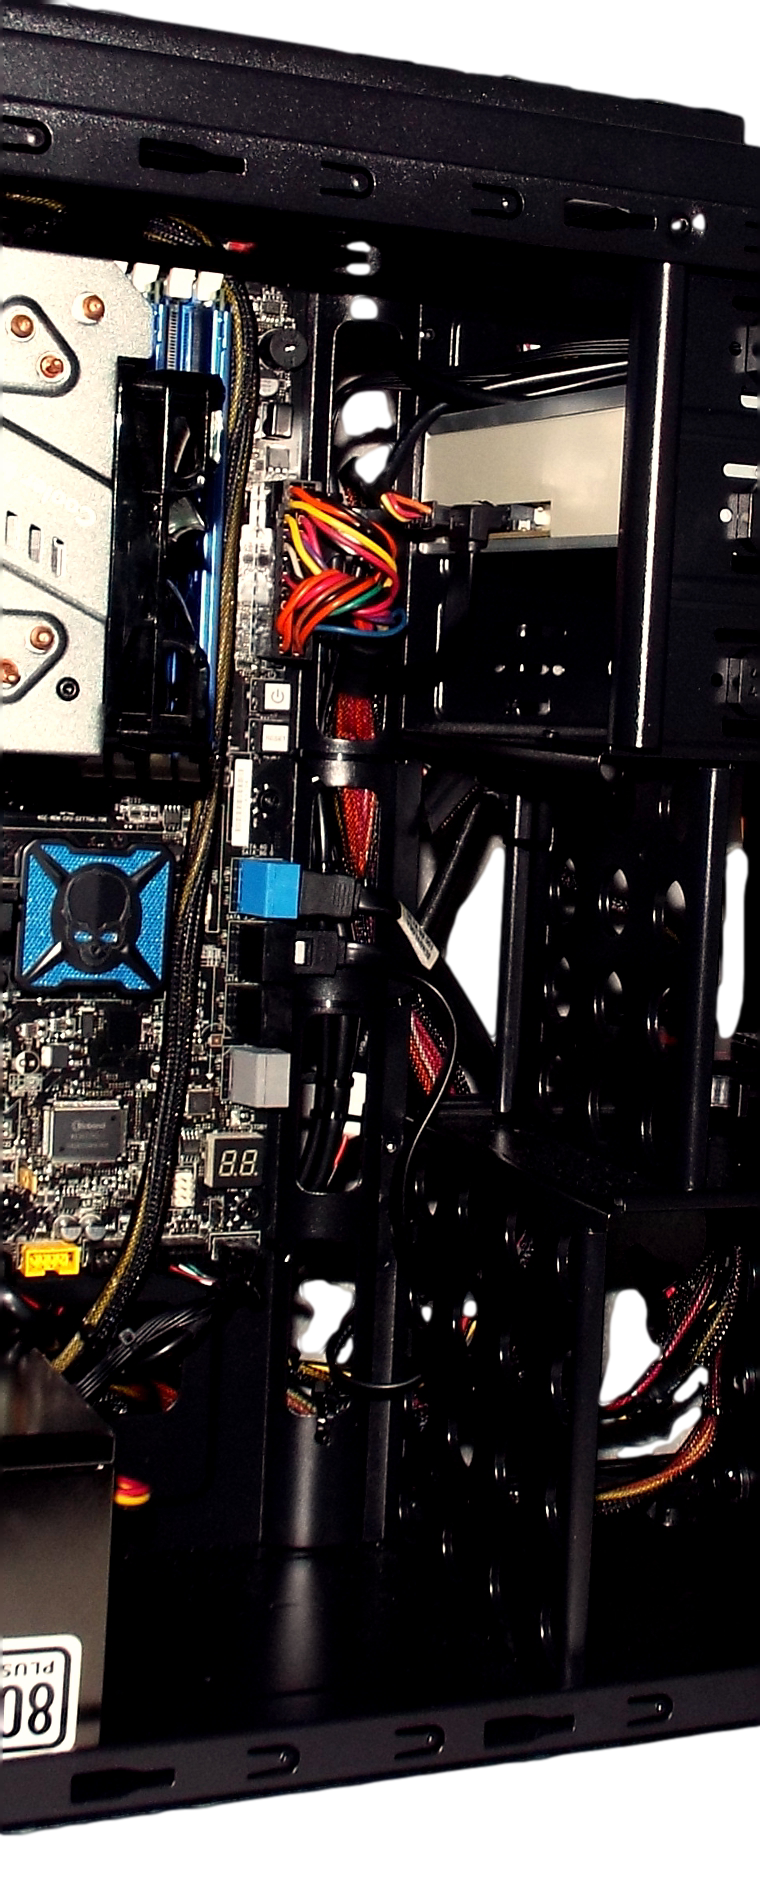
After connecting all of our cables, which have been routed behind the motherboard tray and drive cages as close as possible from each device, we then used a liberal amount of zip ties to secure all of the wiring to its desired routing path. As you can see in the next image, the result is a vey tidy interior, with the main chamber wide open for maximum air movement.
In order to attain a clean-looking result on the motherboard side, here is how our build looks on the back side. We have connected both front fans via a splitter cable to a single connection from the fan controller harness. The other two fan controller connections are to the top fan and the rear fan.
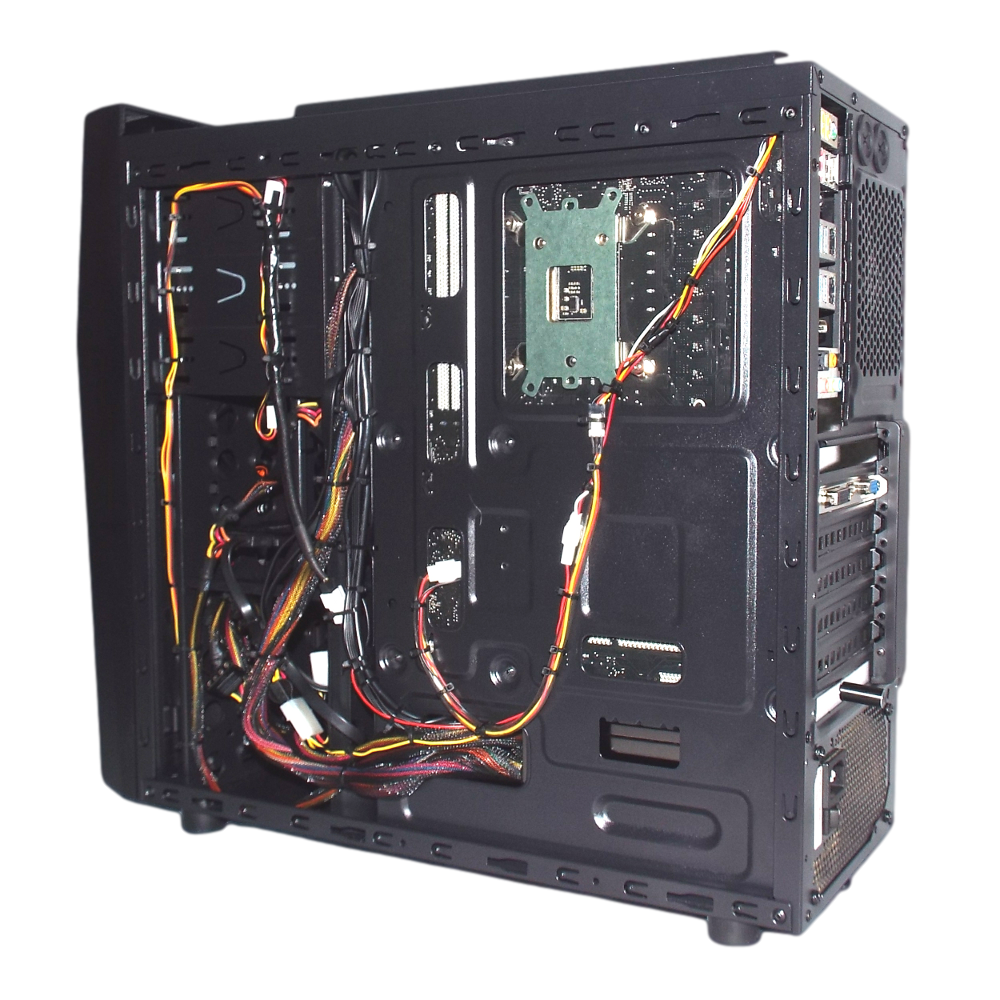
Finally, we see the finished build with all wiring concealed and dressed. Building a system into the MX300 has proven to be comparatively uncomplicated, and a rather speedy process. We like the results.