
REAR PANEL
In this next pair of images, we see the expansion bay cover area of the rear panel. Note the square openings in each of the covers to increase ventilation. Perhaps a “mesh” type of vented cover with smaller holes would have been preferable to reduce dust intrusion, but enhanced ventilation on a chassis of this price point is a definite plus.
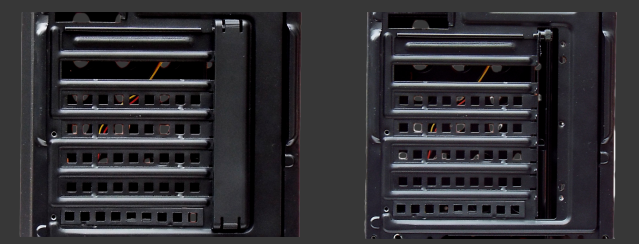
Cougar uses a configuration for the rear expansion bays that has the mounting screws accessed from outside of the chassis, rather than from the inside. This allows for much greater access to the mounting screws without having to fight the side panel framework and rear panel for clearance for a screwdriver or other tools. Note the vertical plastic cover that conceals the mounting screws in the left-hand image. In the right-hand image, we see what the rear looks like without the cover present. The cover is very simple to snap in, and it holds in place very securely, while giving the rear of the chassis a more finished and polished appearance.
Next we see the rear motherboard I/O area, and the pre-installed rear 120mm fan.

In this final image for the rear panel, we see that the fan Cougar has chosen to install is a model QH12025SE12M, which a little research reveals is manufactured by a company called Qihuida.

SIDE PANELS
Here we see both the interior and exterior sides of the left side panel, with the exterior shown on the left. The clear window occupies the front half of the panel, while the rear half’s “grille” area allows for mounting of either one or two 120mm fans, one above the other. Bear in mind that installing a fan in the side panel position may reduce the maximum CPU cooler height clearance, limiting your cooler options just a bit.
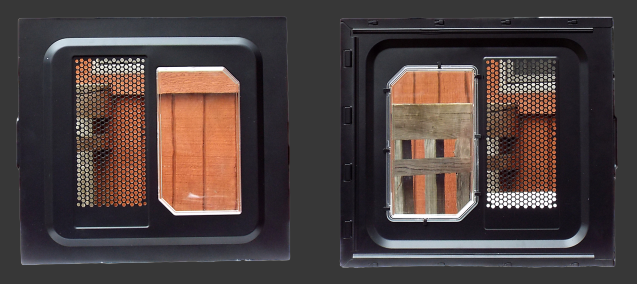
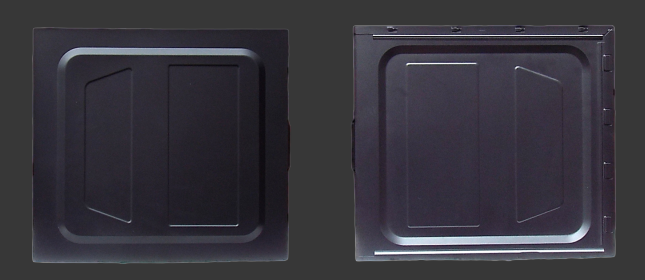
Next we see both the interior and exterior of the right side panel, again with the exterior being shown on the left. Note the area in the center 3/4 of the panel that is molded outward a few millimeters to add additional cable management clearance.
TOP PANEL
The next two images show the top of the chassis with the top panel removed, and then also with the top magnetic filter removed. The raised area that either one or two 120mm fans can be mounted to is also able to support a liquid cooling radiator of up to 240mm, as long as the radiator is a lower-profile version. The fans would also have to be mounted on the outside of the roof panel, with the top cover left off, to utilize a radiator in the top panel.

Our final image for the top panel is the magnetic filter by itself. The four magnetic strips hold the filter securely, while still allowing for easy removal for cleaning.
