 Technology X Tomorrow's Technology Today!

EXTERIOR
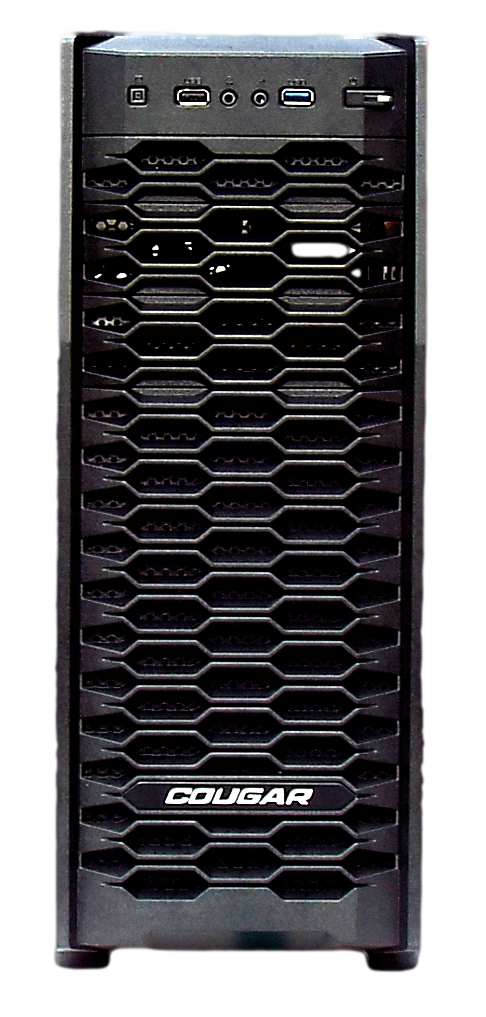
We will first take a quick tour around the exterior of the MX300, and then we will examine each panel area in more detail. In the image below we see the front panel. Note the mesh that you can see through almost all of the openings for optimizing airflow.
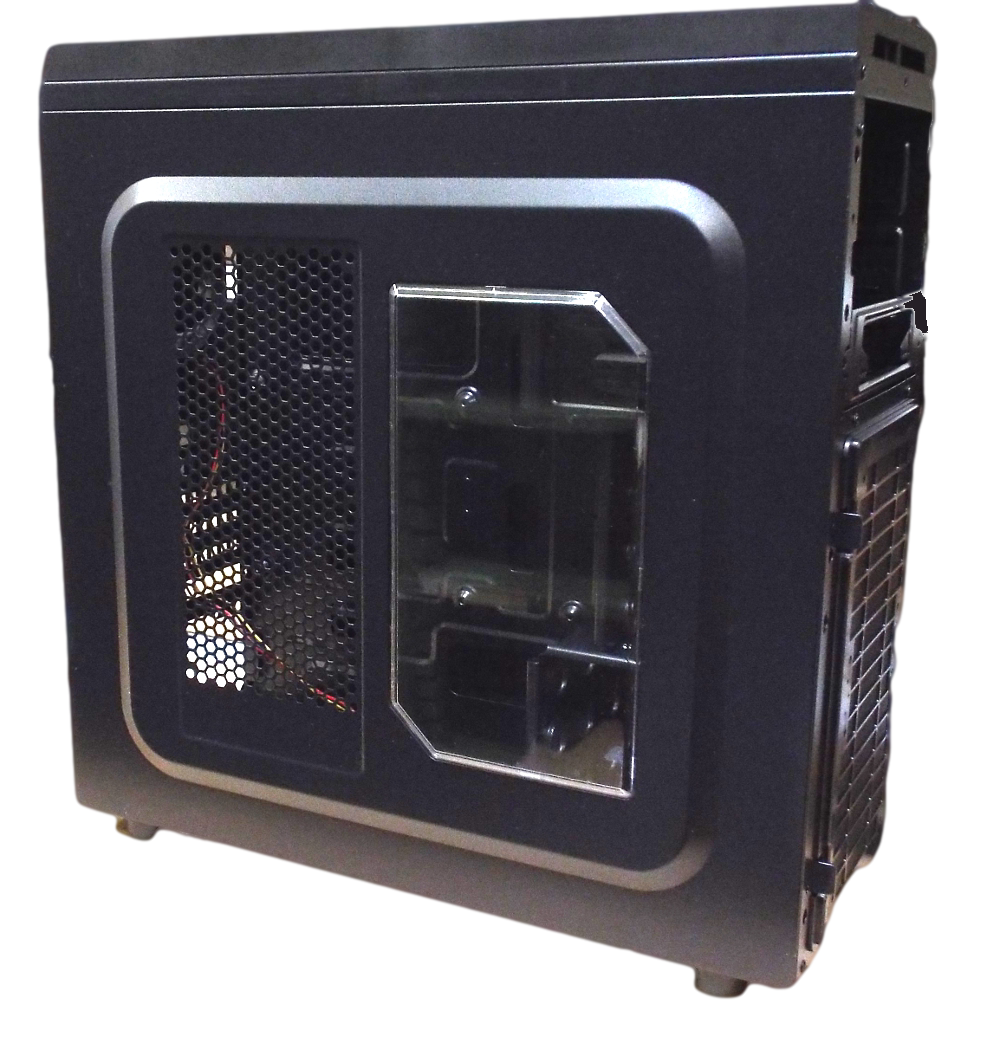
Next we see the left side of the MX300. The forward half features a clear window for showing off your build, or for viewing motherboard status indicator lights and/or diagnostic LED displays. The rearward half contains a mesh area that allows for installation of up to two 120mm fans stacked one above the other.
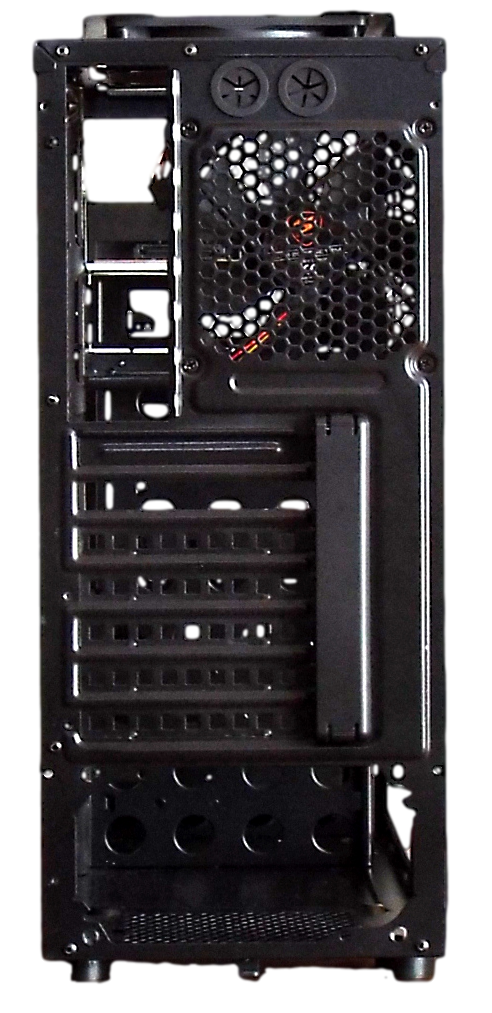
In this next image, we see the rear panel area, with its bottom-mounted power supply. Above this are the seven PCI expansion slots. The top one is left open, assuming that this is where your (first) graphics card will reside. If not, a spare slot cover is included in the hardware kit. Above this is the motherboard I/O opening and the single pre-installed 120mm fan. At the very top are a pair of grommeted liquid cooling tubing holes.
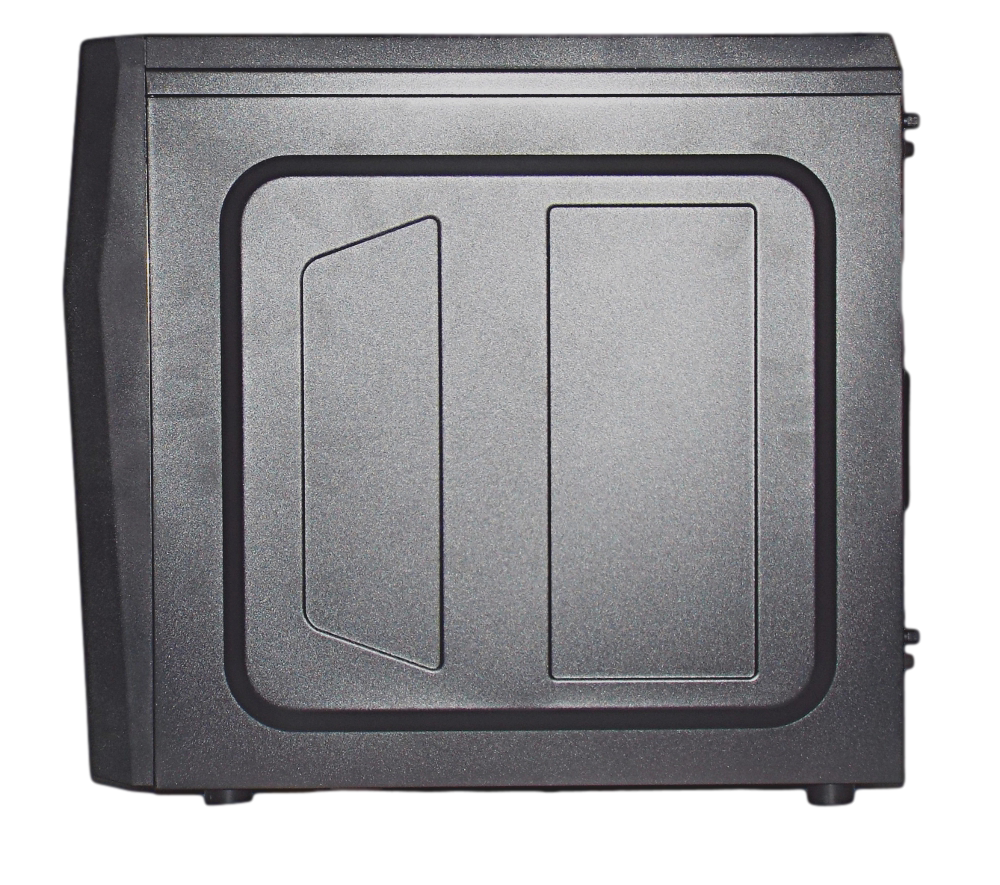
The MX300’s right side panel has the center 3/4 of its surface area extended outward approximately 1/2″ to allow for easier cable management.
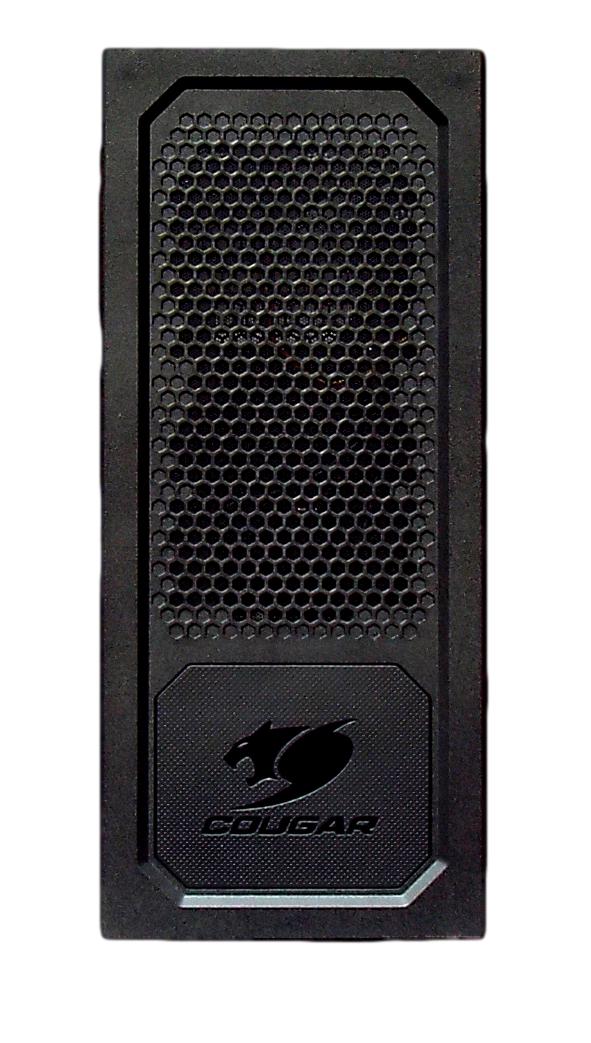
Now we see the top panel with its molded-in Cougar logo. Also visible beneath the mesh area are the two openings for 120mm fans.
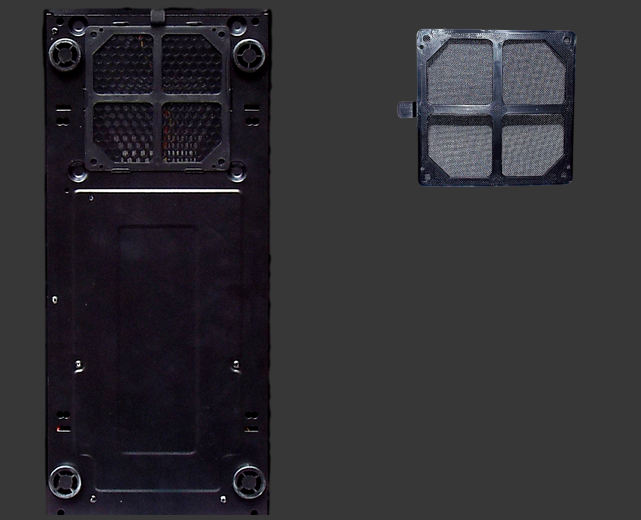
Finally, we see the bottom panel of the MX300. The first image shows the bottom panel with the power supply fan filter installed, and the second image on the right is the filter itself. Also note the four hard plastic feet at the corners.