INSTALLATION
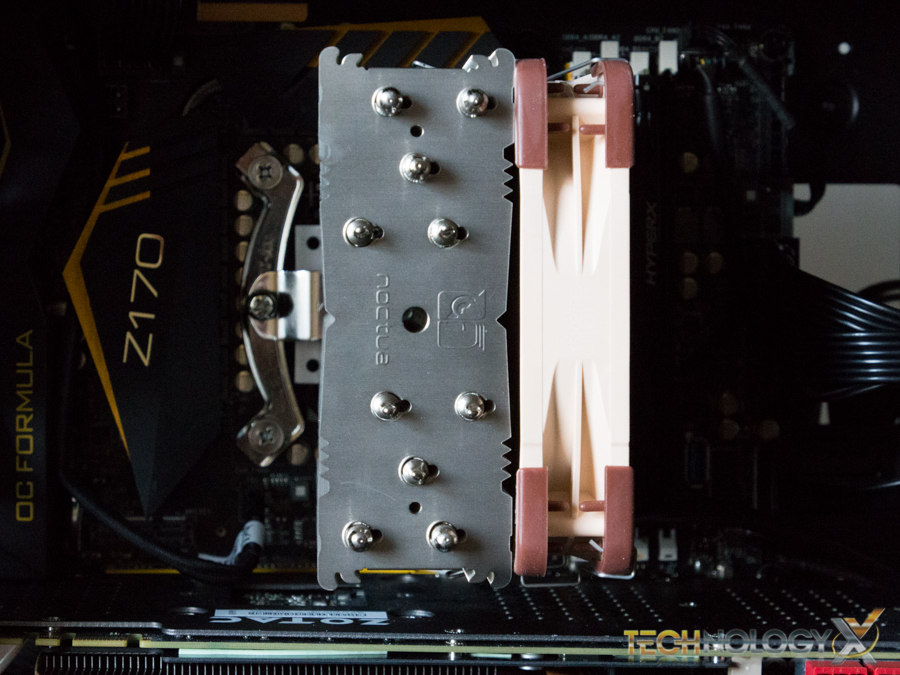
By following the provided installation guide, the whole process of upgrading your CPU cooler to the NH-U12S is very simple. You start by identifying which CPU socket you have, in our case it is the Intel LGA 1151, installing the SecuFirm2™ backplate and securing the mounting brackets.
All of the different parts for the mounting kit are identified in the instruction guide with detailed illustrations and unique names, which make the process even easier as it eliminates the possibility of confusing components.
Our next step is to then apply the thermal paste. We don’t go into details on how to do that, as there’s clearly no absolute incorrect way to do it. As we have said before, unless you’re putting it on your toast instead of the CPU, that’s obviously the wrong way to do it.
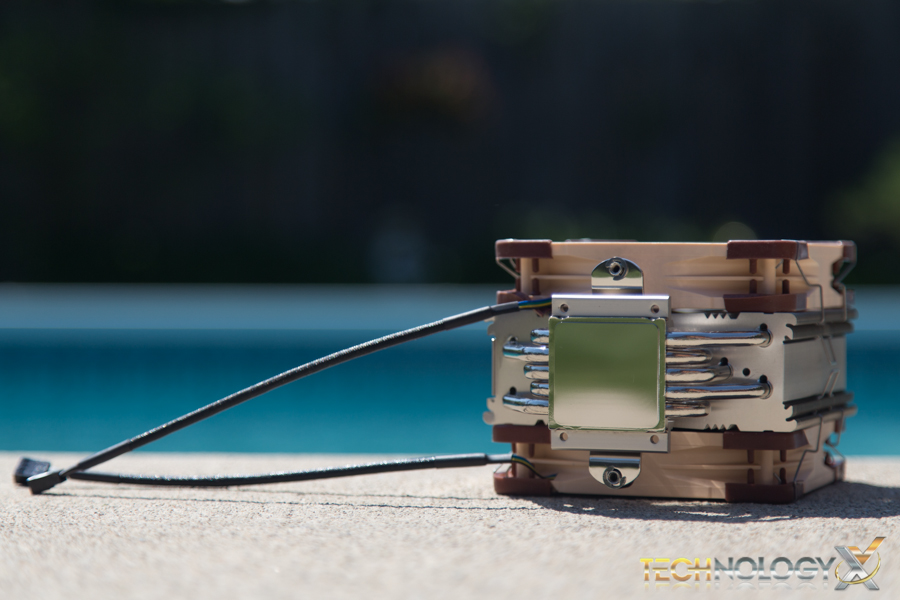
We’ll then place the heatsink itself without the fans installed on top of the threaded posts on the Mounting Bars, and then carefully tighten the spring-loaded screws onto the posts. You’ll want to tighten the screws until they stop, and not force it to go any further as applying too much pressure to your CPU can result in serious damage.
A word of advice, remove the fan before installing the CPU cooler. It may sound simple, but the fans cover the mounting posts.
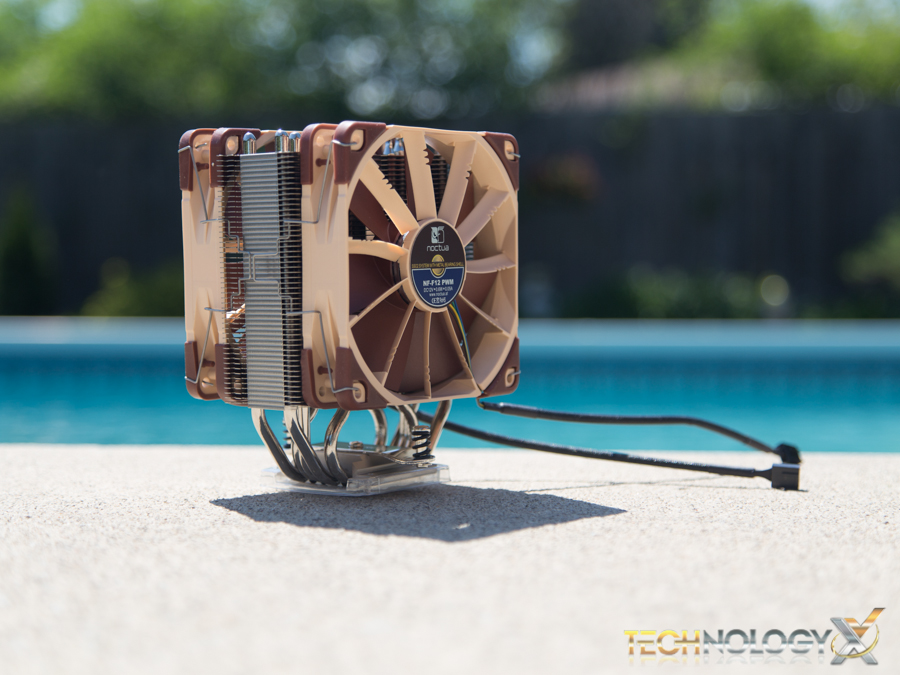
Once the heatsink is secured, our additional NF-F12 fan was added using the included clips by pressing the fan up against the heatsink and pulling the clips over the slotted sections on the heatsink. Carefully route and connect the fans power cable into a 4-pin PWM CPU fan header on your motherboard and we are ready for testing!
Review Overview
CPU Cooler Build
Specifications
Appearance
Performance
Pricing and Warranty
Bright!
The Noctua NH-U12S is a great option for any starter build or upgrade from a stock CPU Cooler!
 Technology X Tomorrow's Technology Today!


I’m considering this as replacement for Zalman Performa.