
Not too long ago, we collaborated with many partners to put together our most recent and most epic test bench to date. Well just as quickly as trends change in this industry, so do our systems, mainly to address specific components and hardware to address our testing needs.
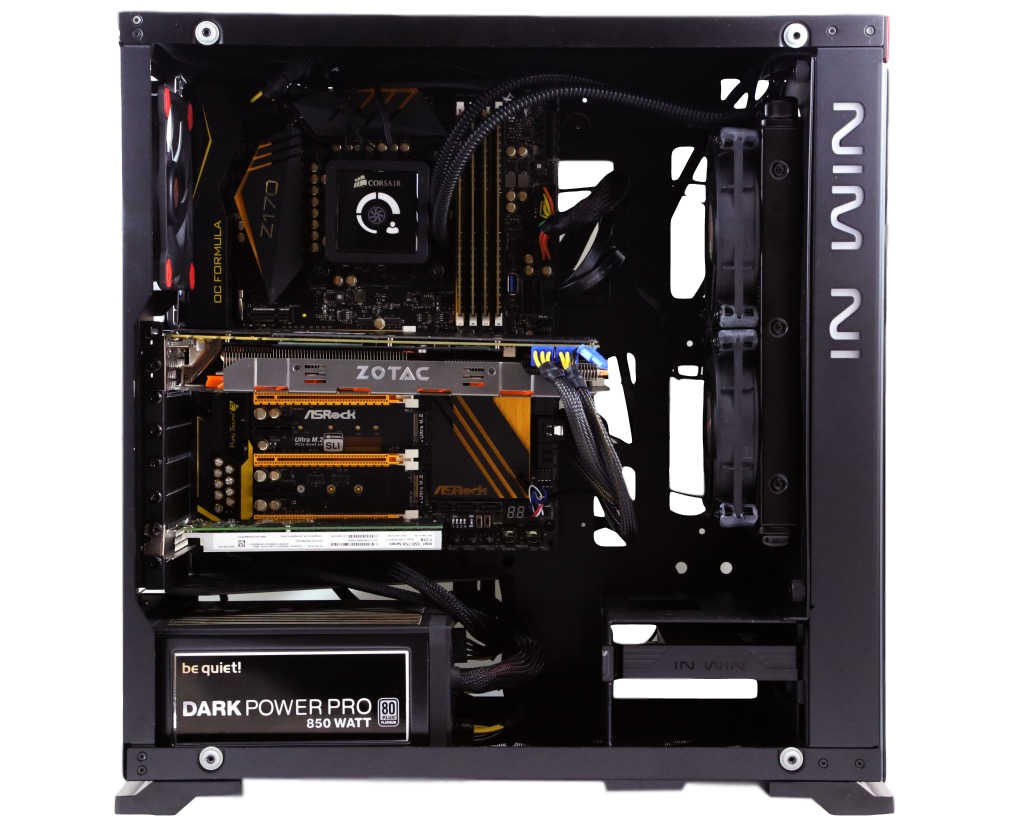
Becoming more and more popular is the demand for power consumption. Thanks to Thermaltake, we will now be using their ToughPower DPS 800W PSU to measure and record actual power consumption while performing our series of tests for both SSD and graphics card testing.
In addition to this, we also made a few modifications with the aim for more power from our test bench. This includes swapping out 64GB of memory in place for Kingston’s Fury DDR4 running at 2300Mhz. We also swapped out our old-reliable CPU cooler, for not only one that was newer, but flashier and to enhance our CPU cooling needs. This was accomplished by tossing in the Thermaltake Water 3.0 Riing RGB 240 CPU Cooler.
As you read on, you will be provided with a basis of what each of these products have to provide. As well as how well they actually accomplish their listed feats.
THERMALTAKE TOUGHPOWER DPS G 850W 80 PLUS PLATINUM PSU
A common component that can be easily missed in a PC upgrade is the PSU. In most situations the PSU or power supply unit, is one of those components that is only upgraded if you need to upgrade your cables or it fries.
In our case, it was none of the above. In order to provide you with more in-depth knowledge on potential products, we will be utilizing Thermaltake’s Toughpower DPS G 850W Platinum PSU to monitor and record power consumption during our recently re-defined graphics card testing protocol.
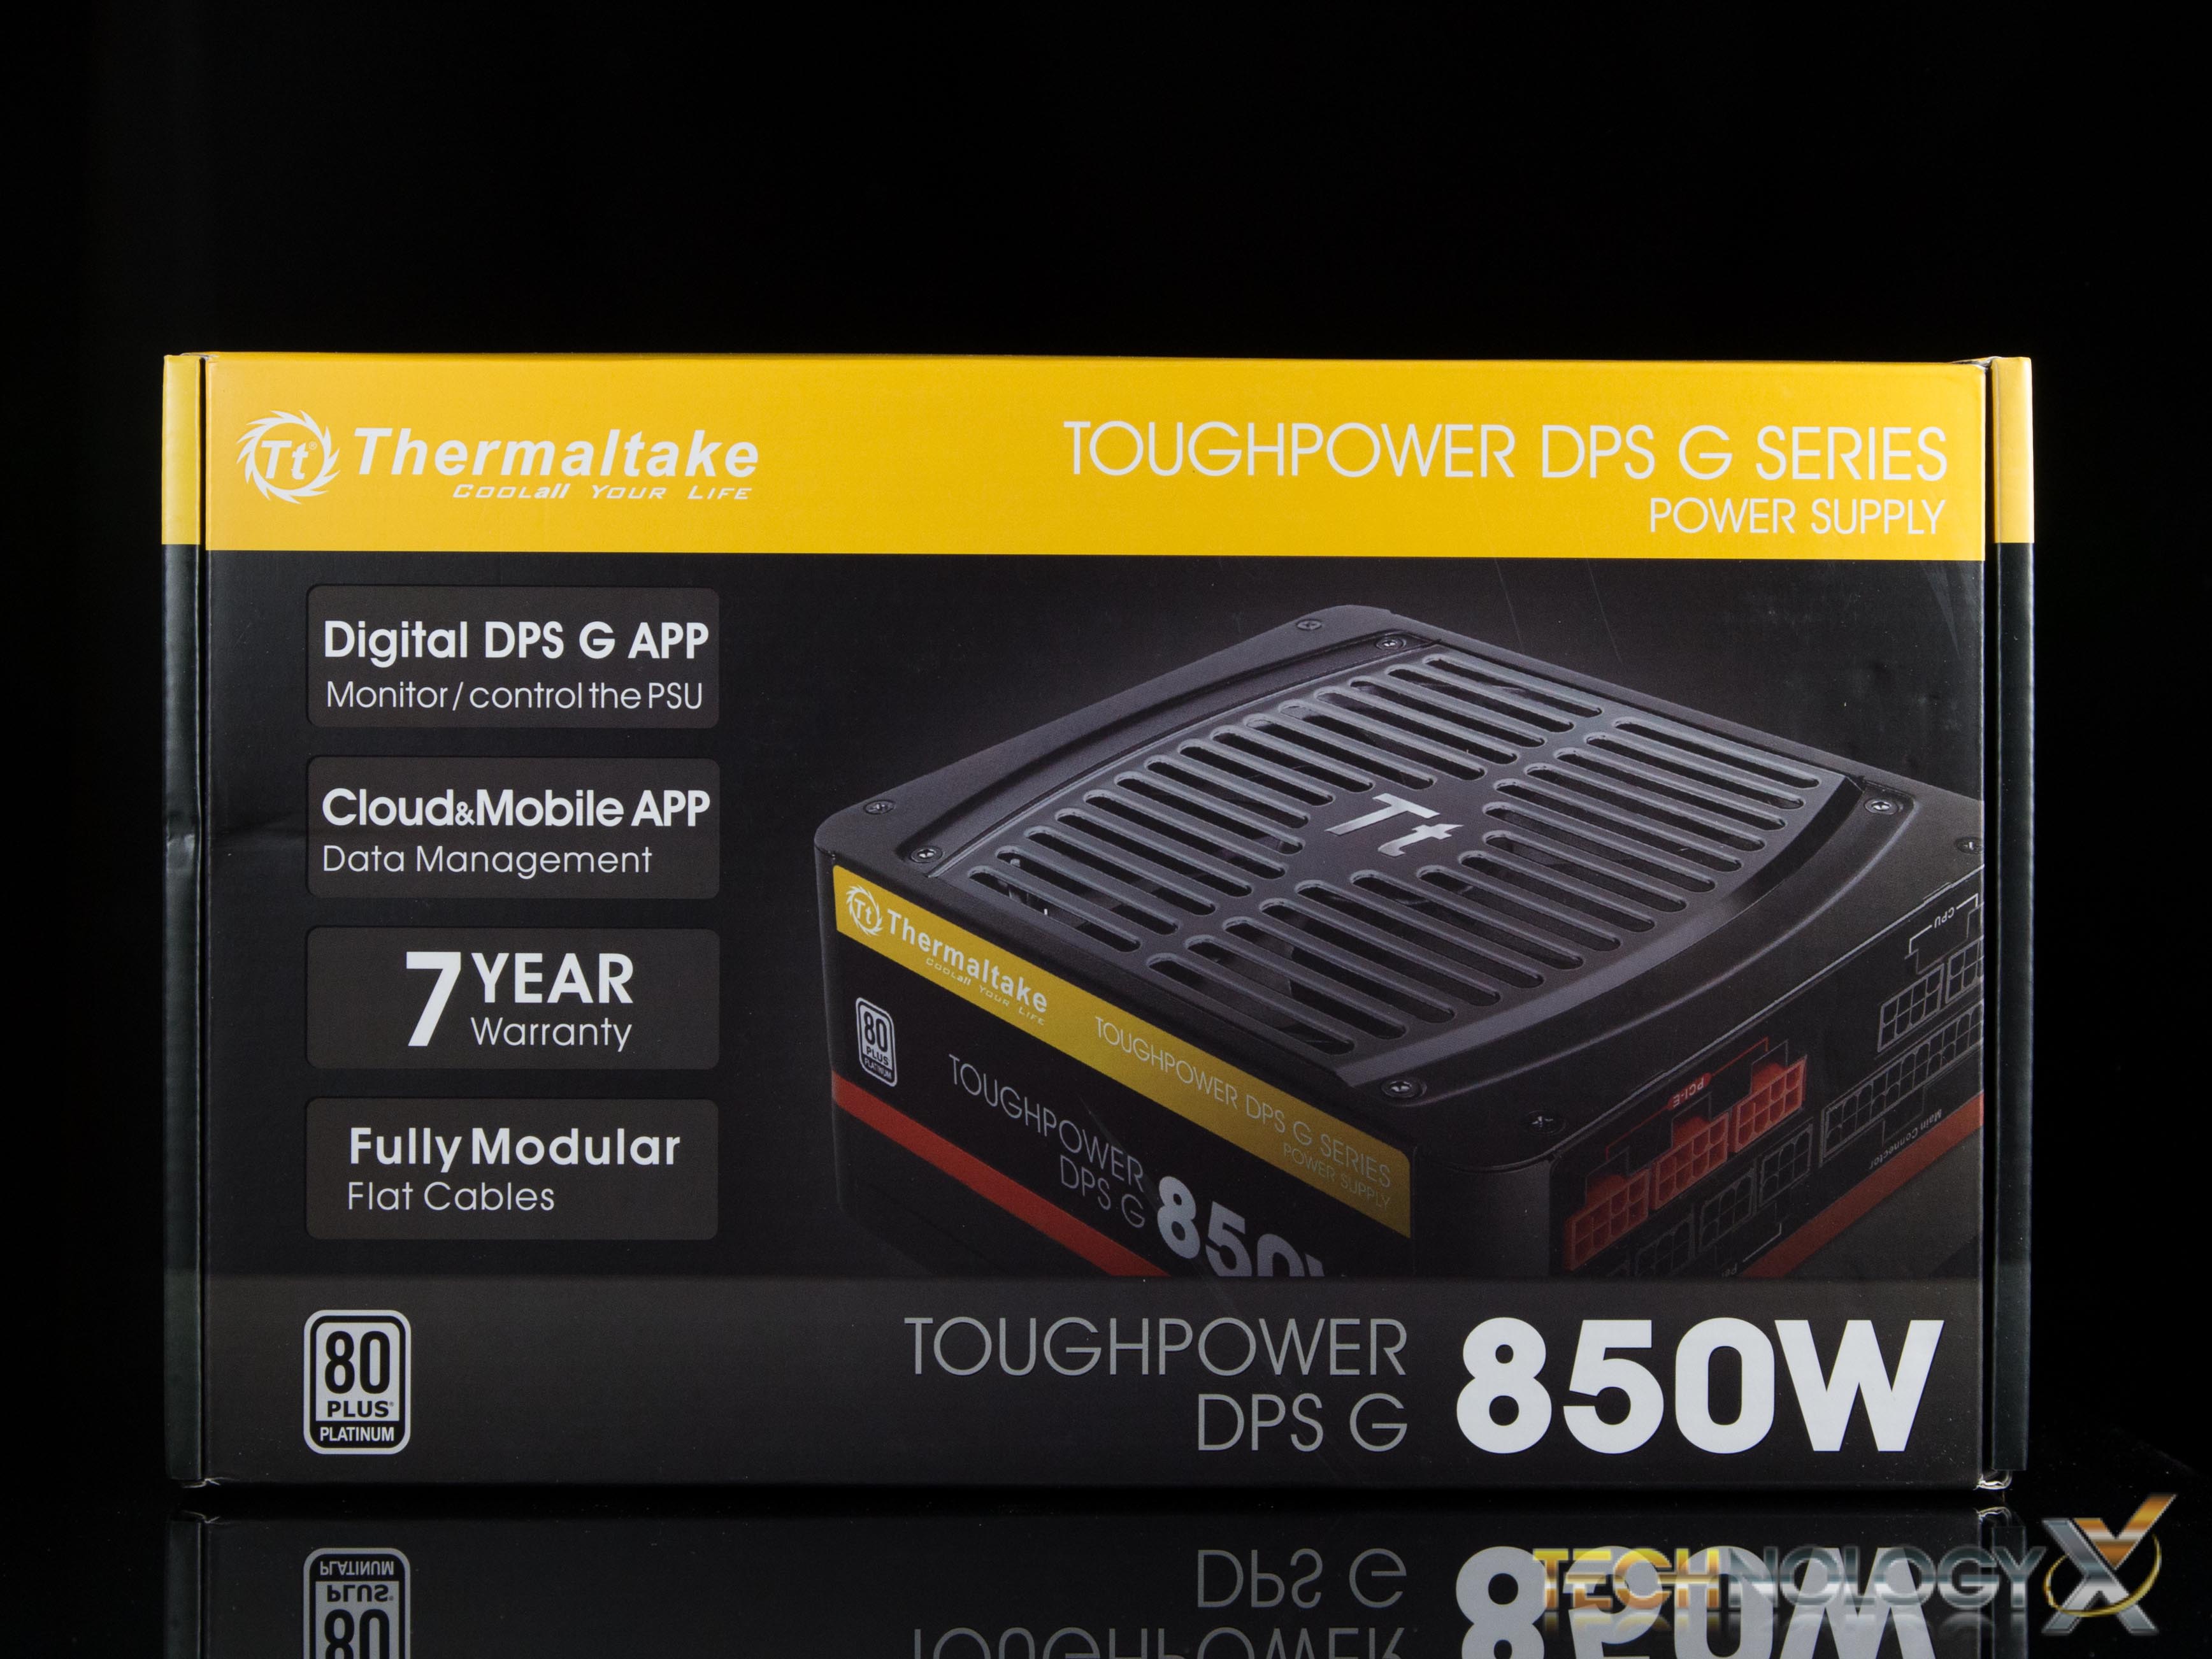
We will touch more on this in just a minute, but first let’s take a look at the PSU as a whole. Starting with the packaging, you will find that the Toughpower PSU comes in simple cardboard box, with the PSU flaunting it’s stuff on the front with a quick snapshot of the features available.
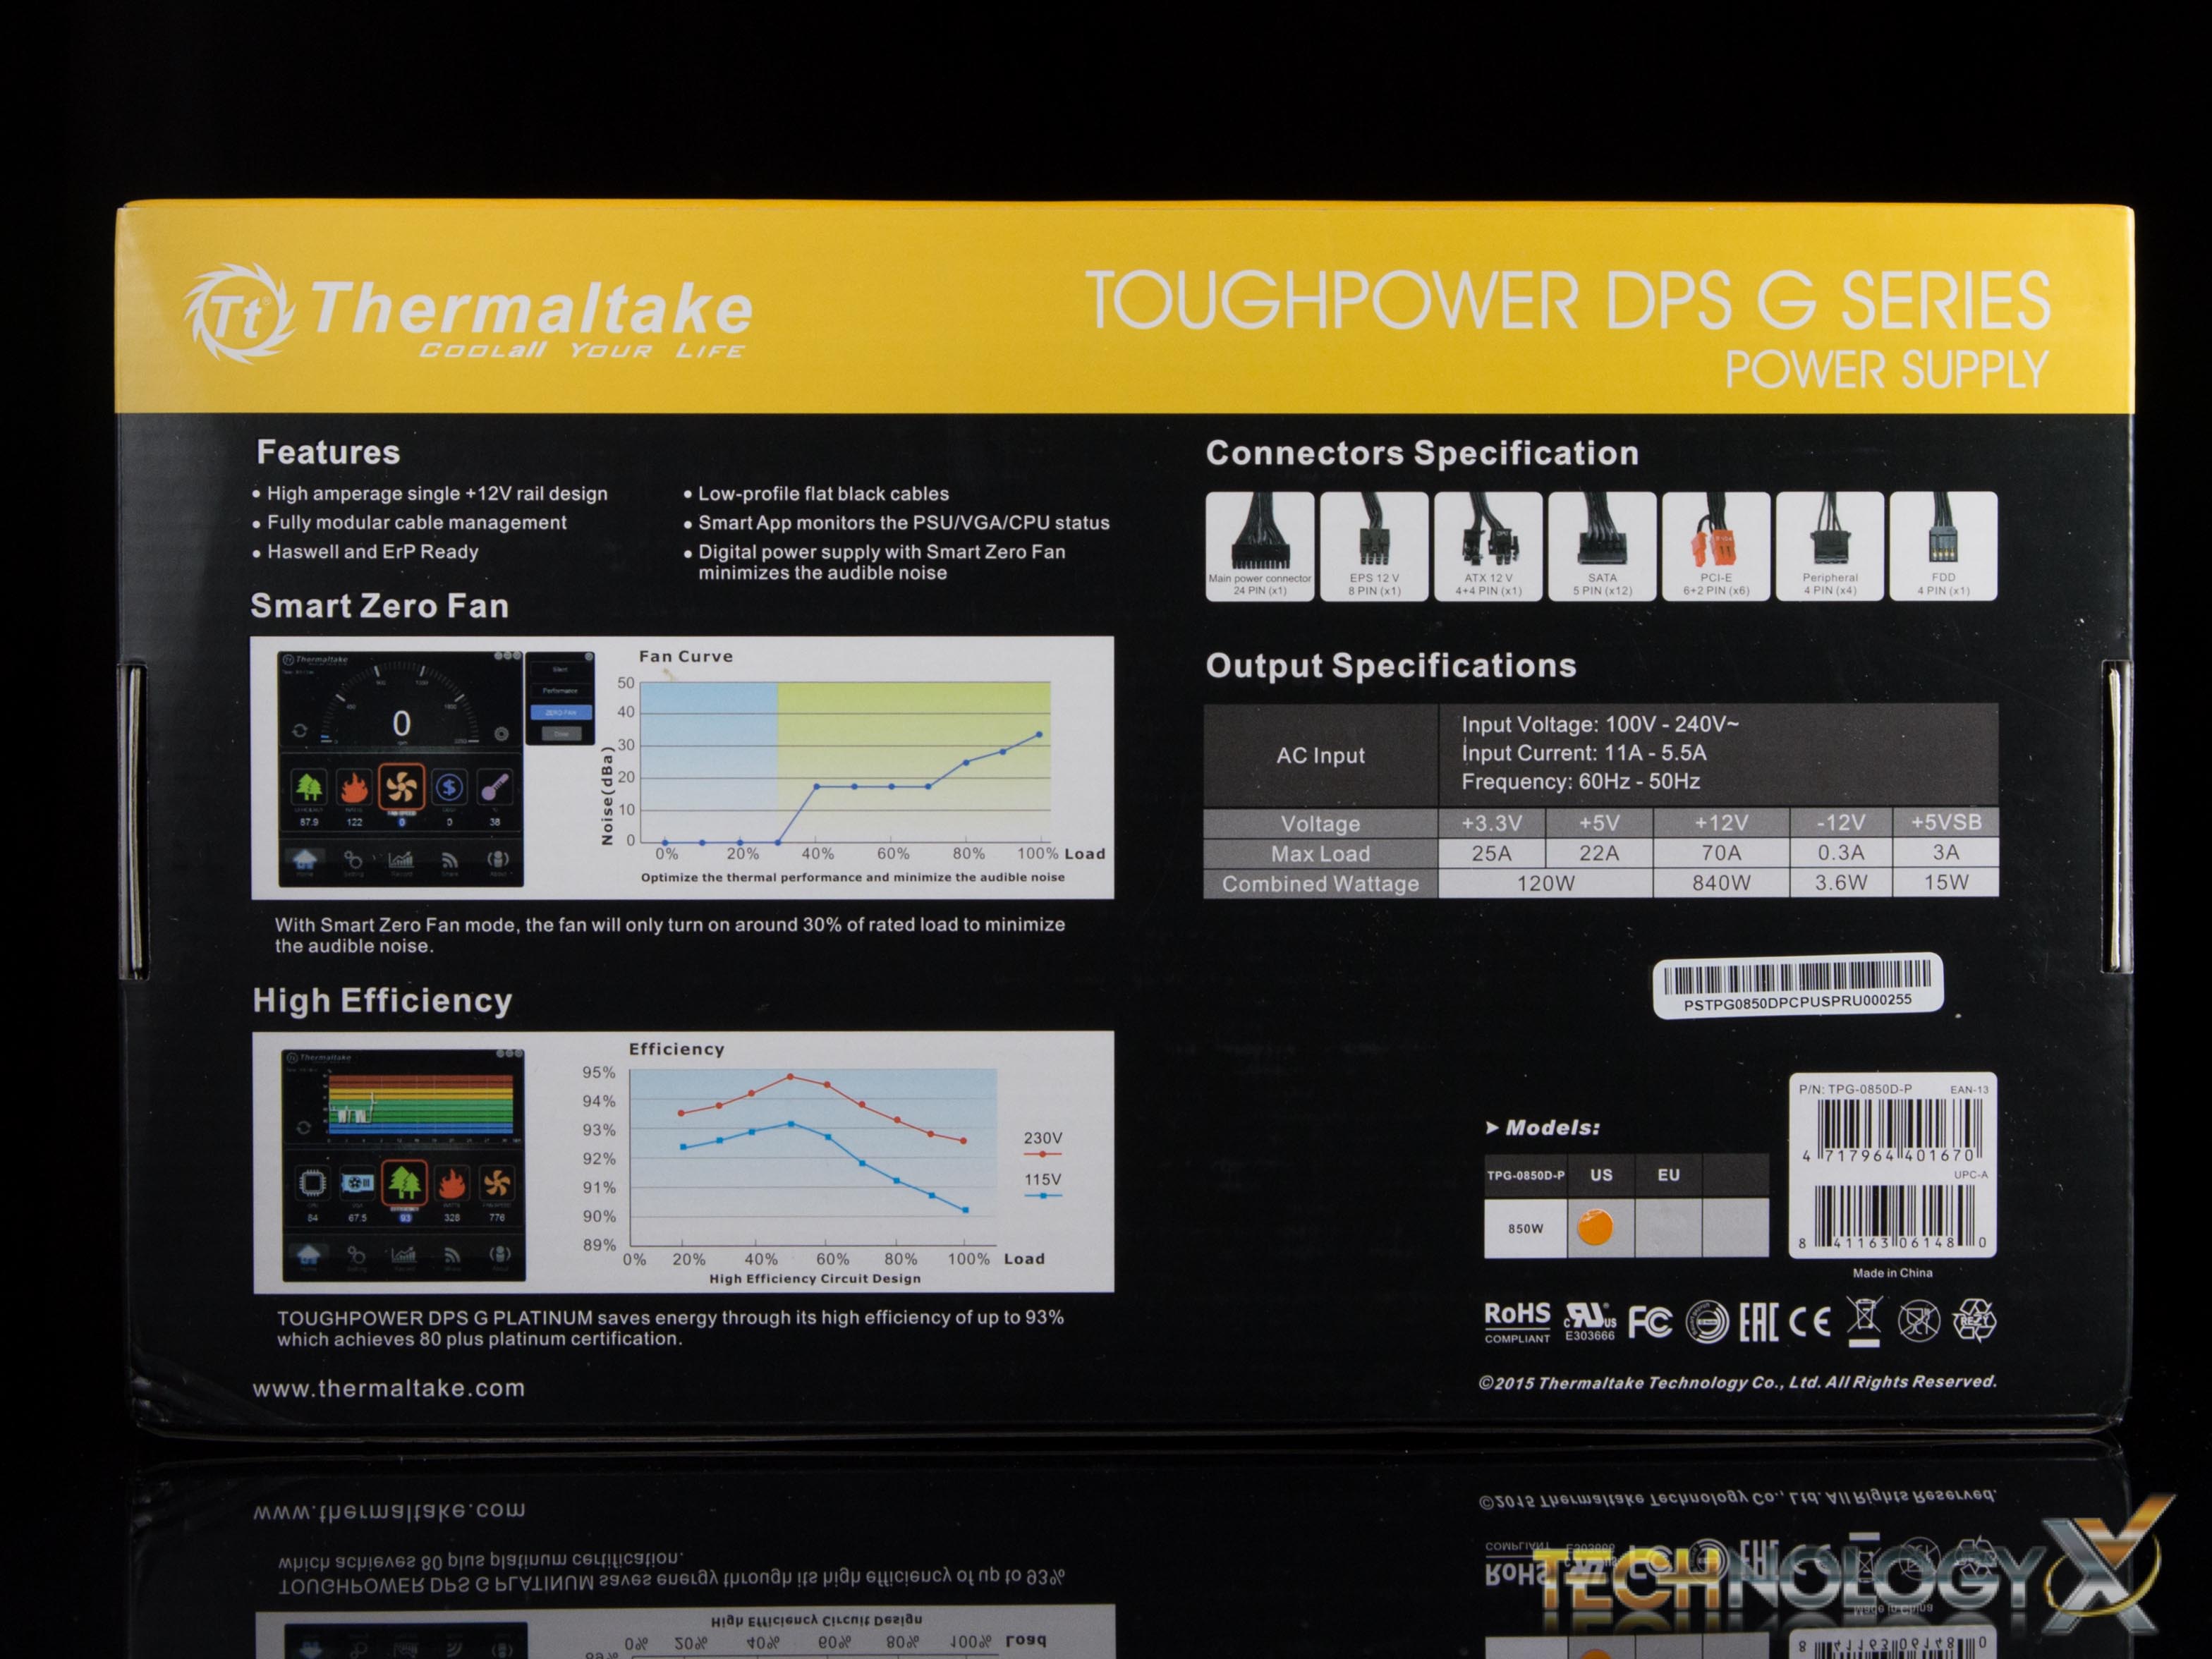
The backside gives a bit more info as to what cables are included with this fully modular PSU, and discuss the efficiency.
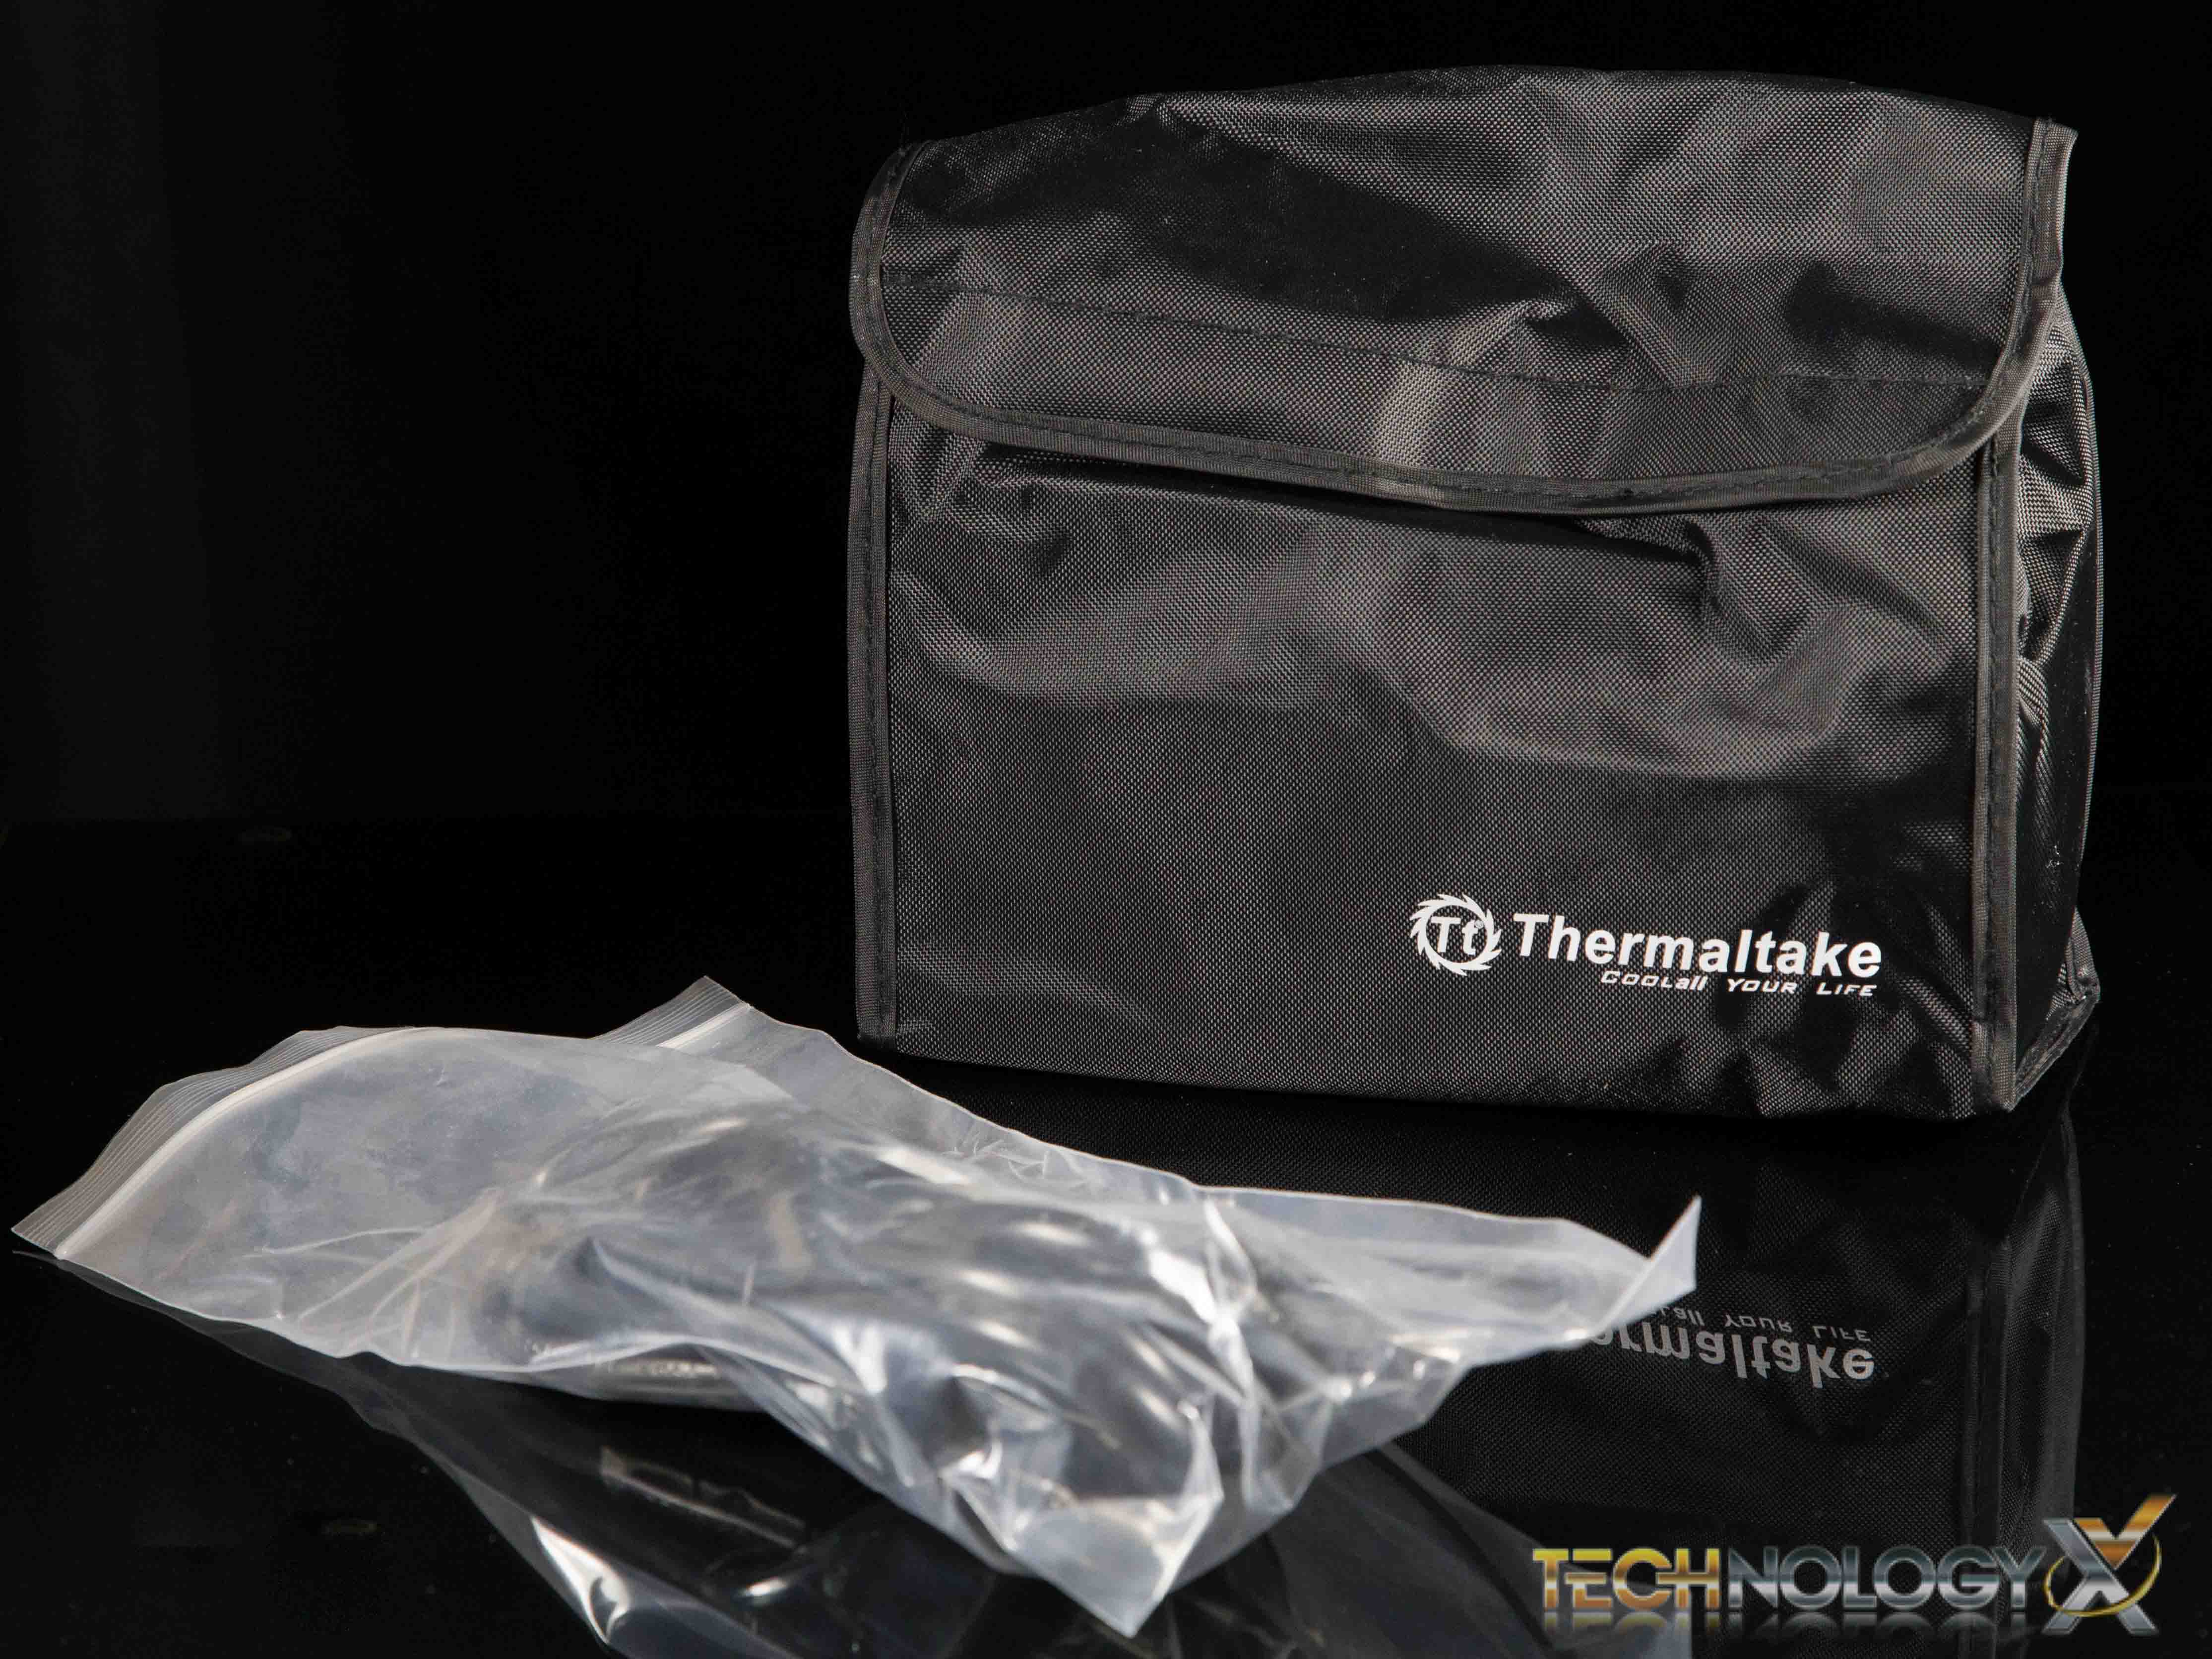
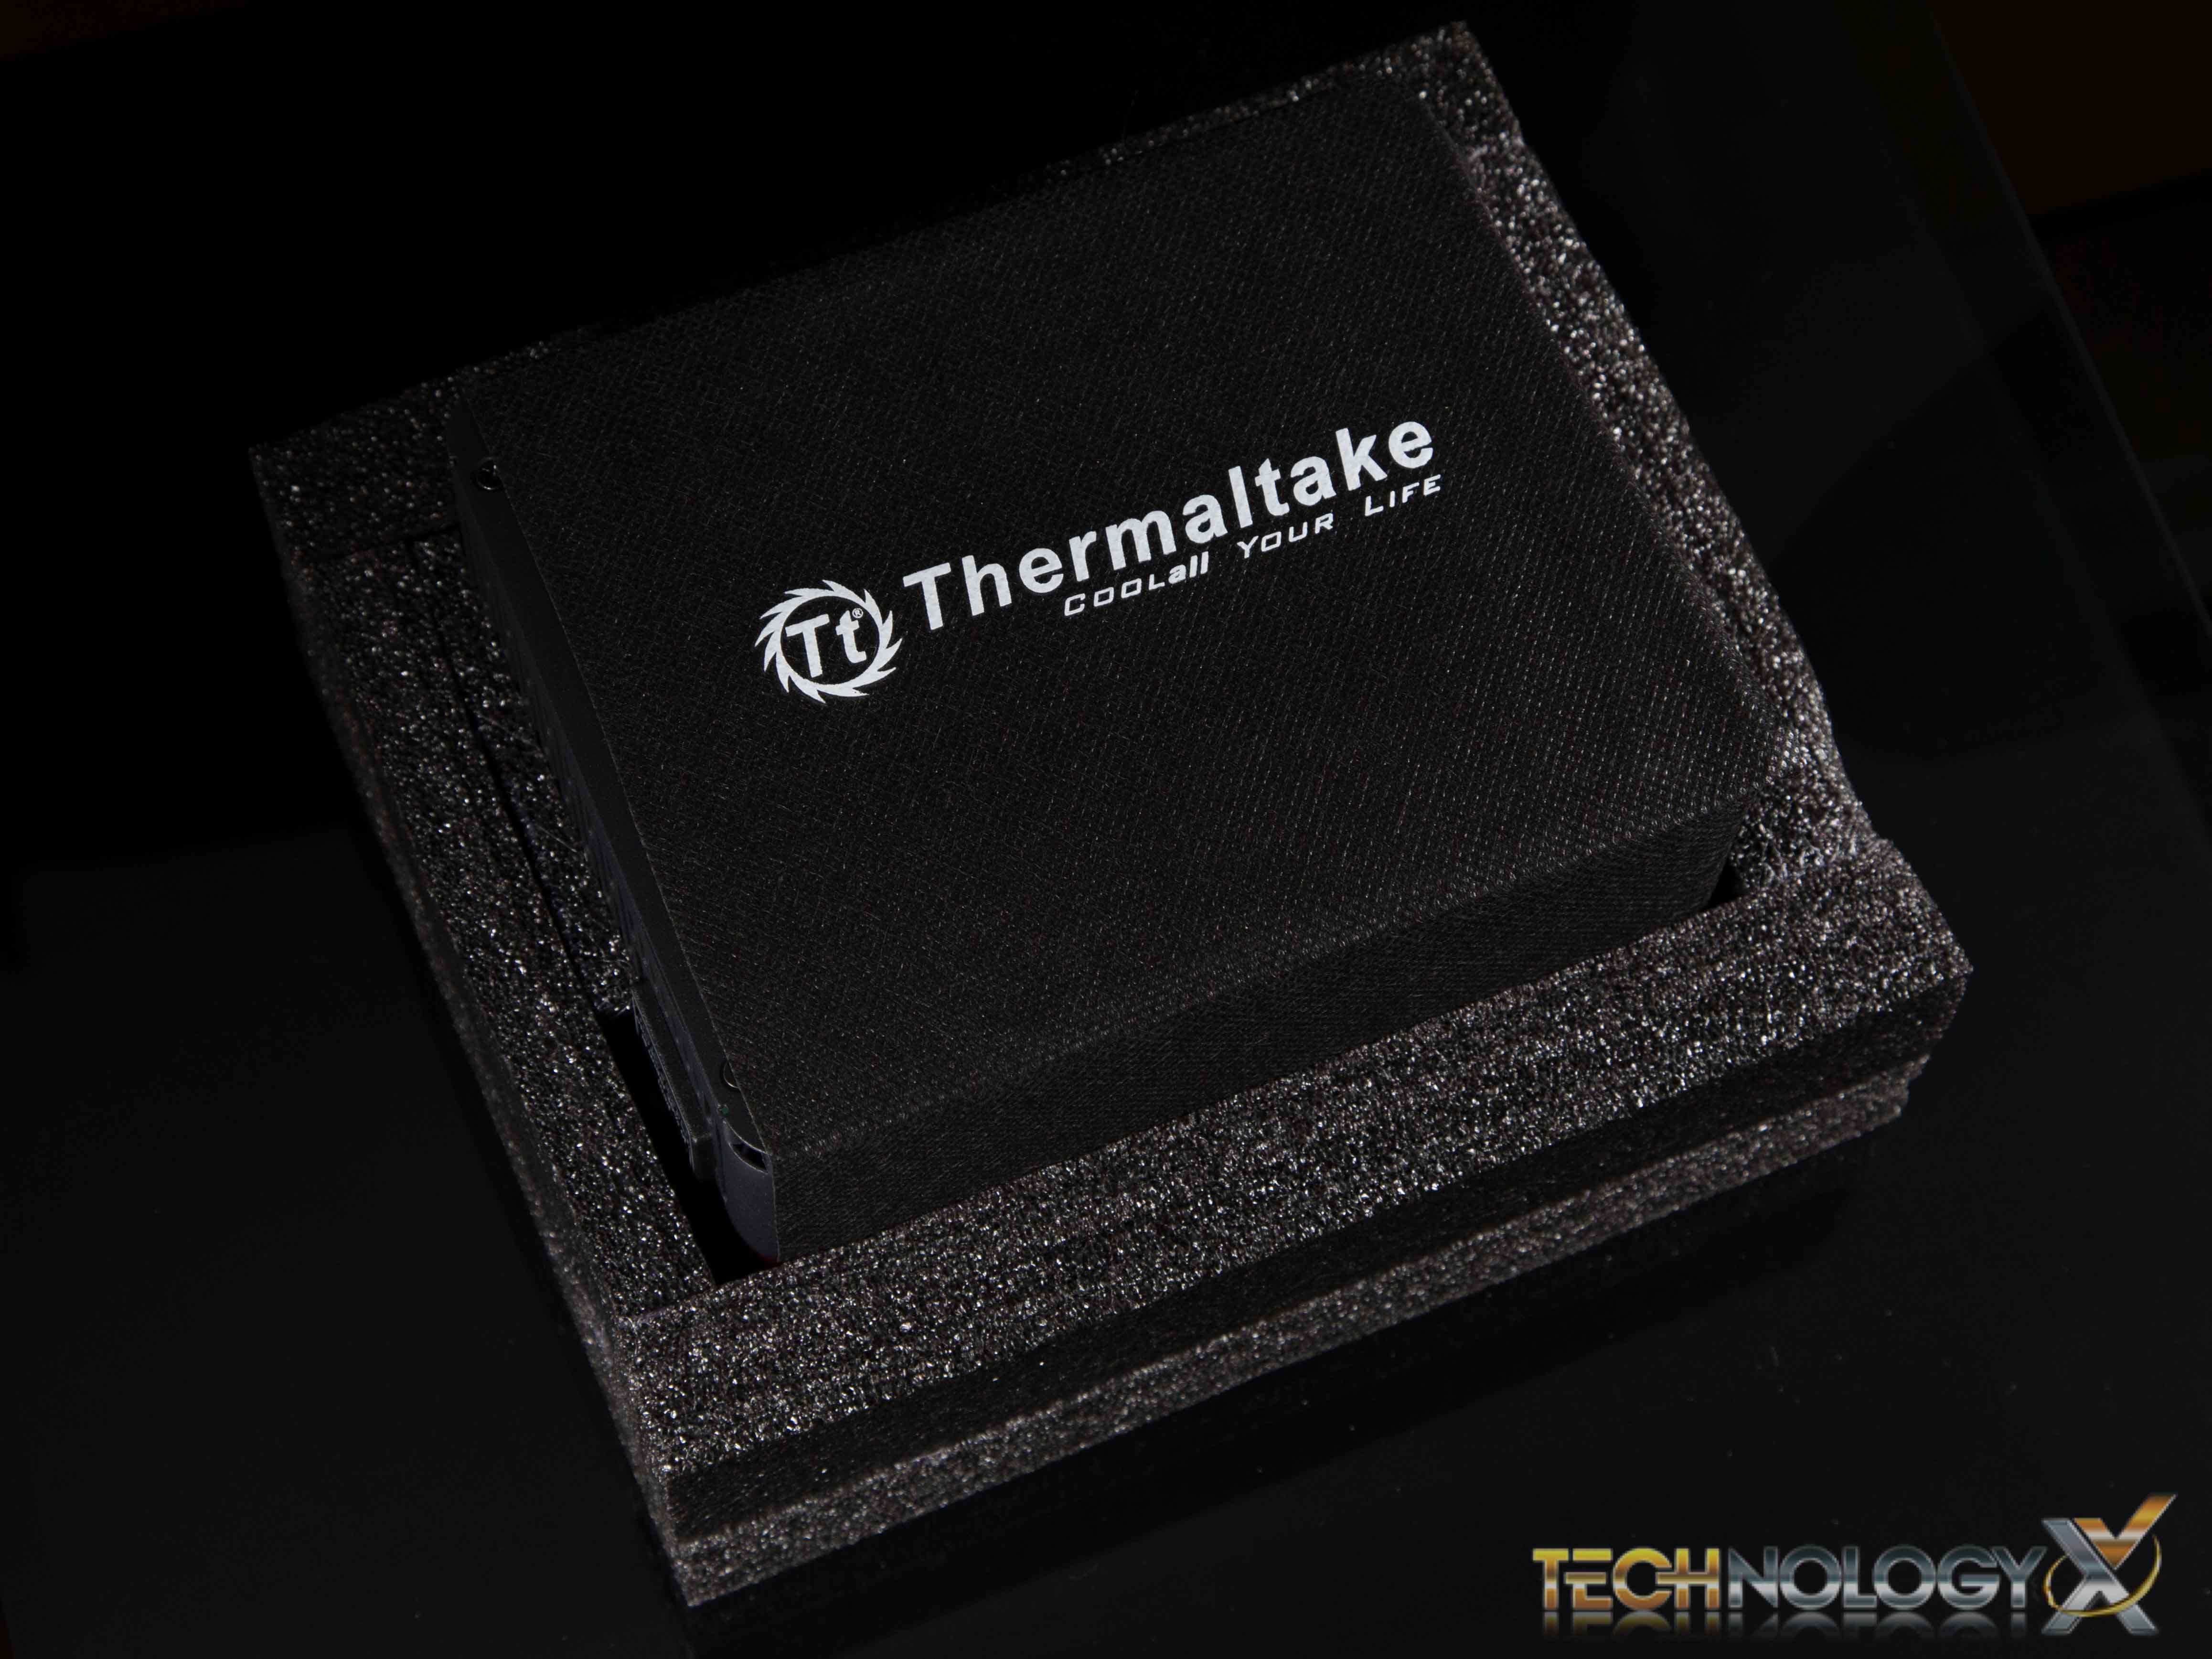
Once you start to open the packaging, you are greeted but a black canvas bag that houses all of the cables, and a plastic bag that contains the PSU electrical cable.
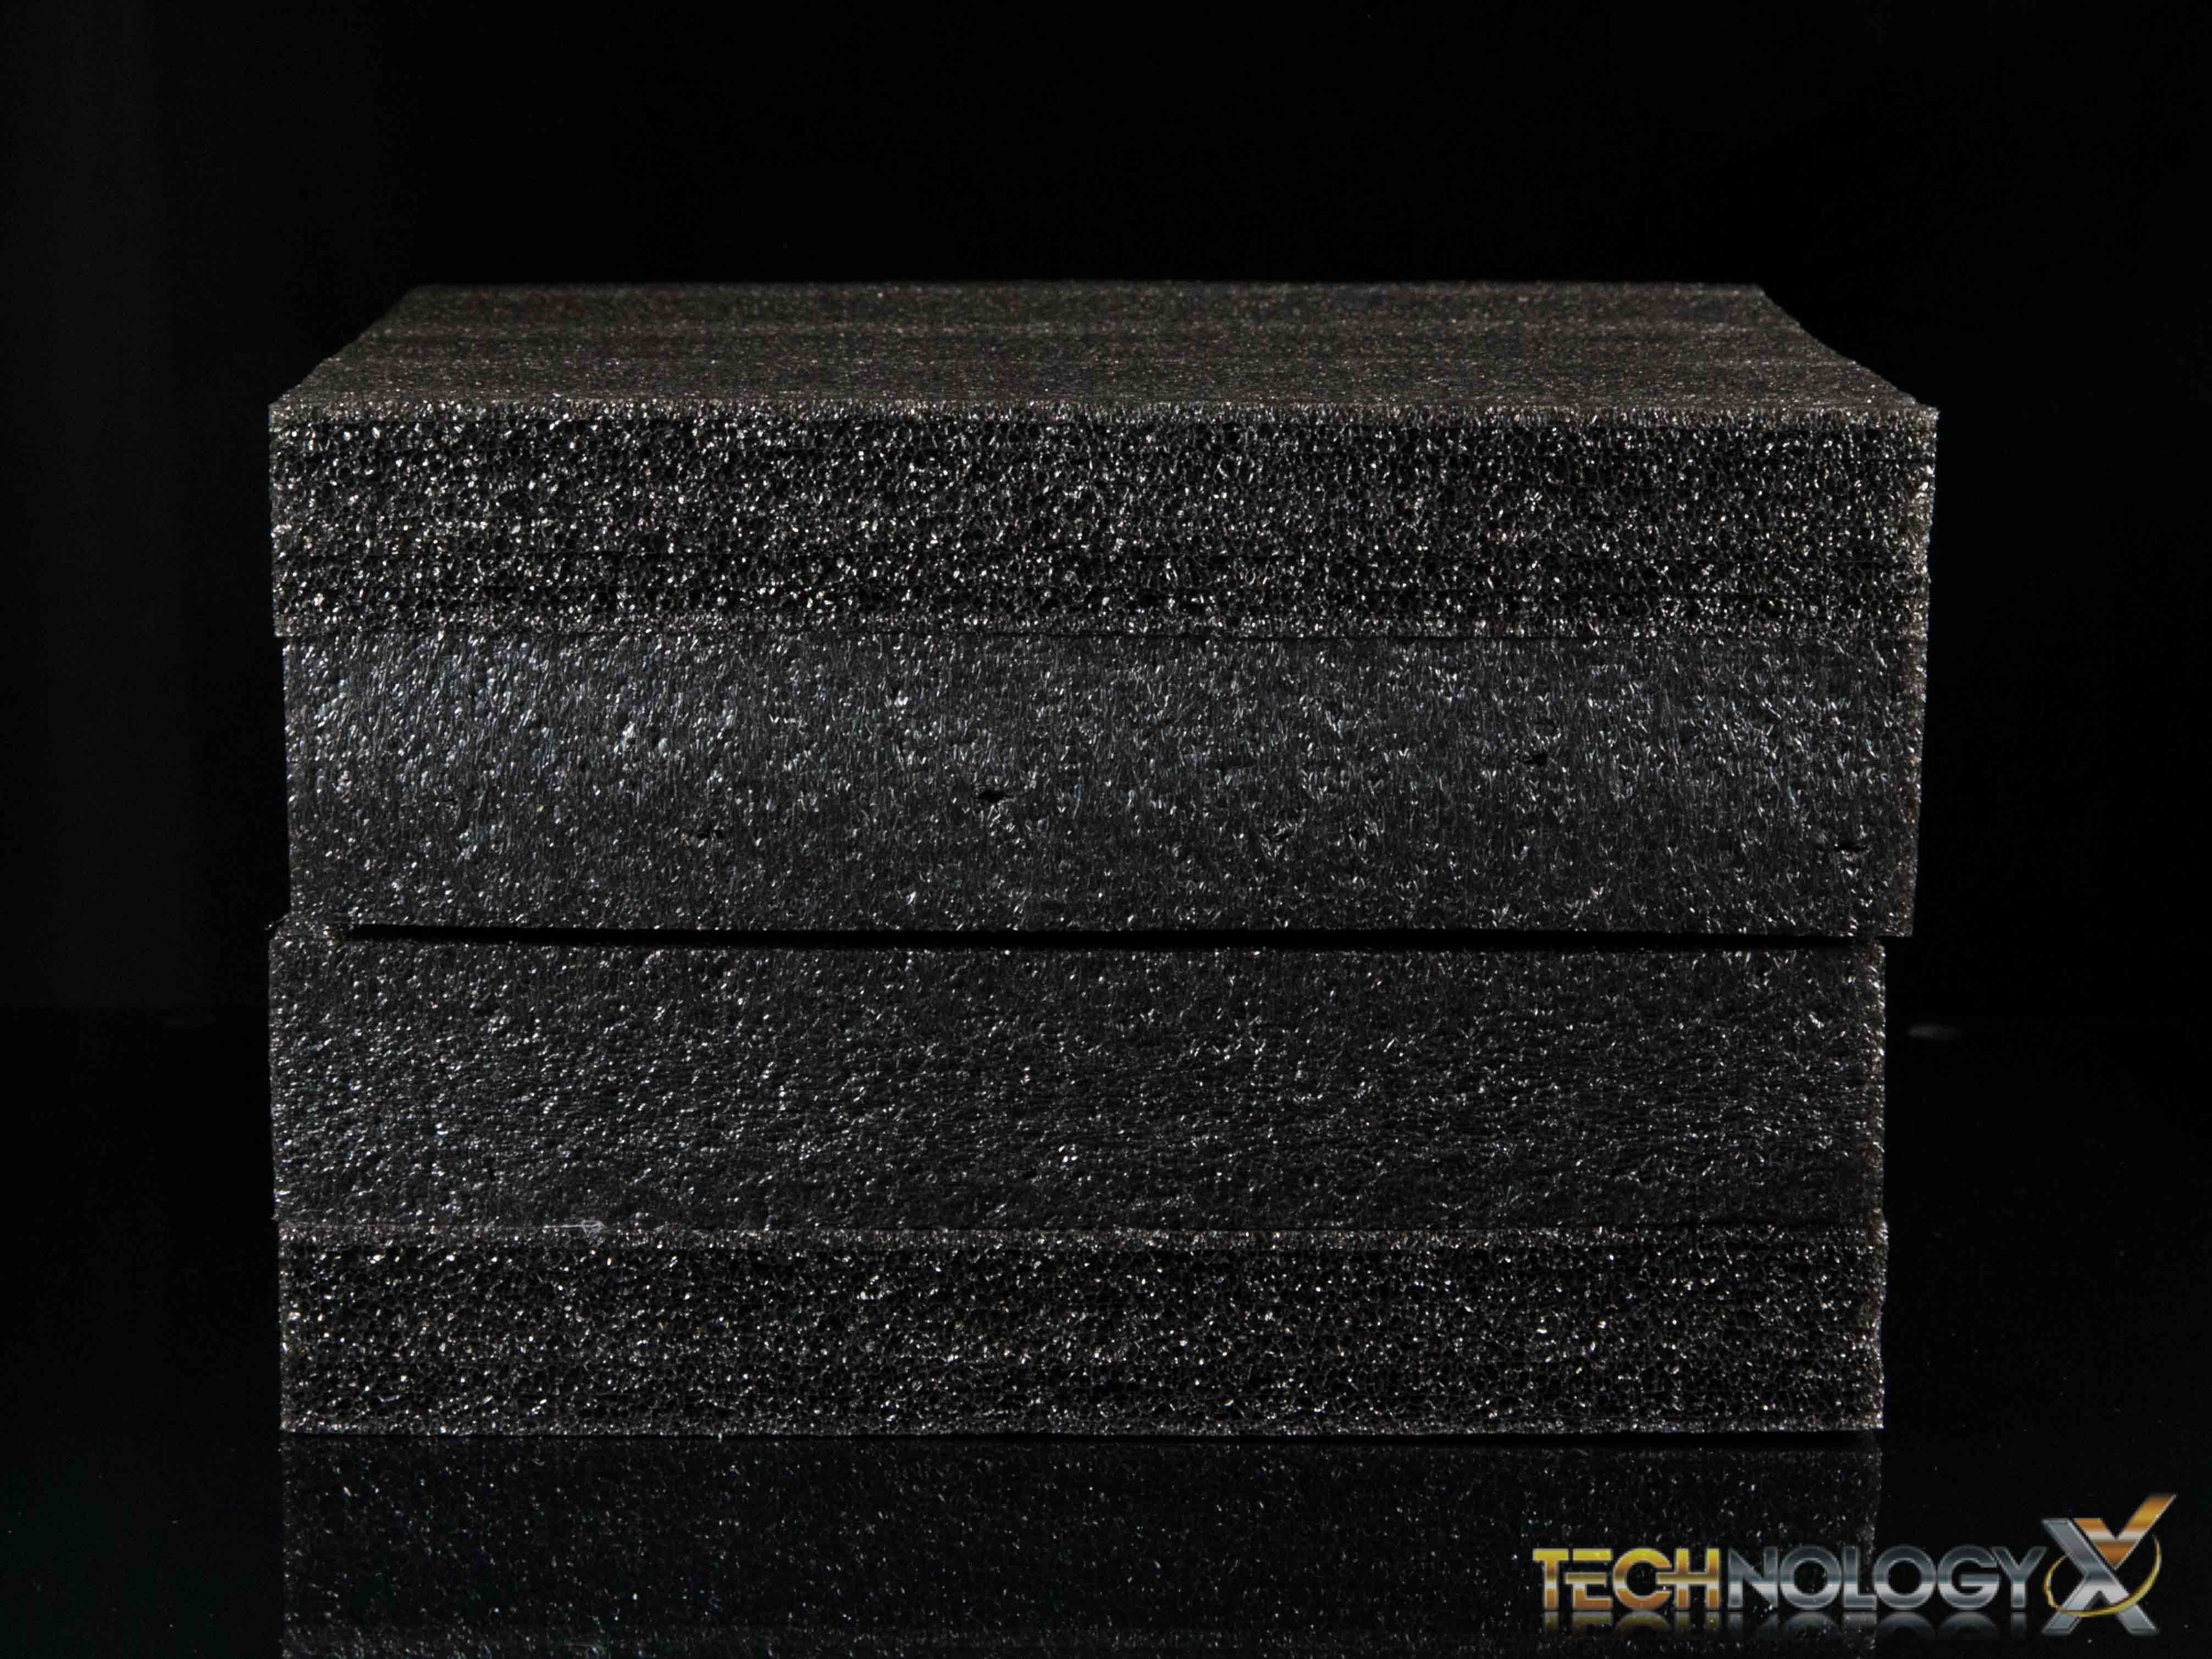
The PSU is carefully sandwiched between to very large foam pads that form a protective cube. Inside of which the PSU is again carefully wrapped with a mother piece of soft fabric.
Once exposed you see the PSU in it’s glory. A simple black steel encases the PSU components, with labels on either side indicating it’s wattage.
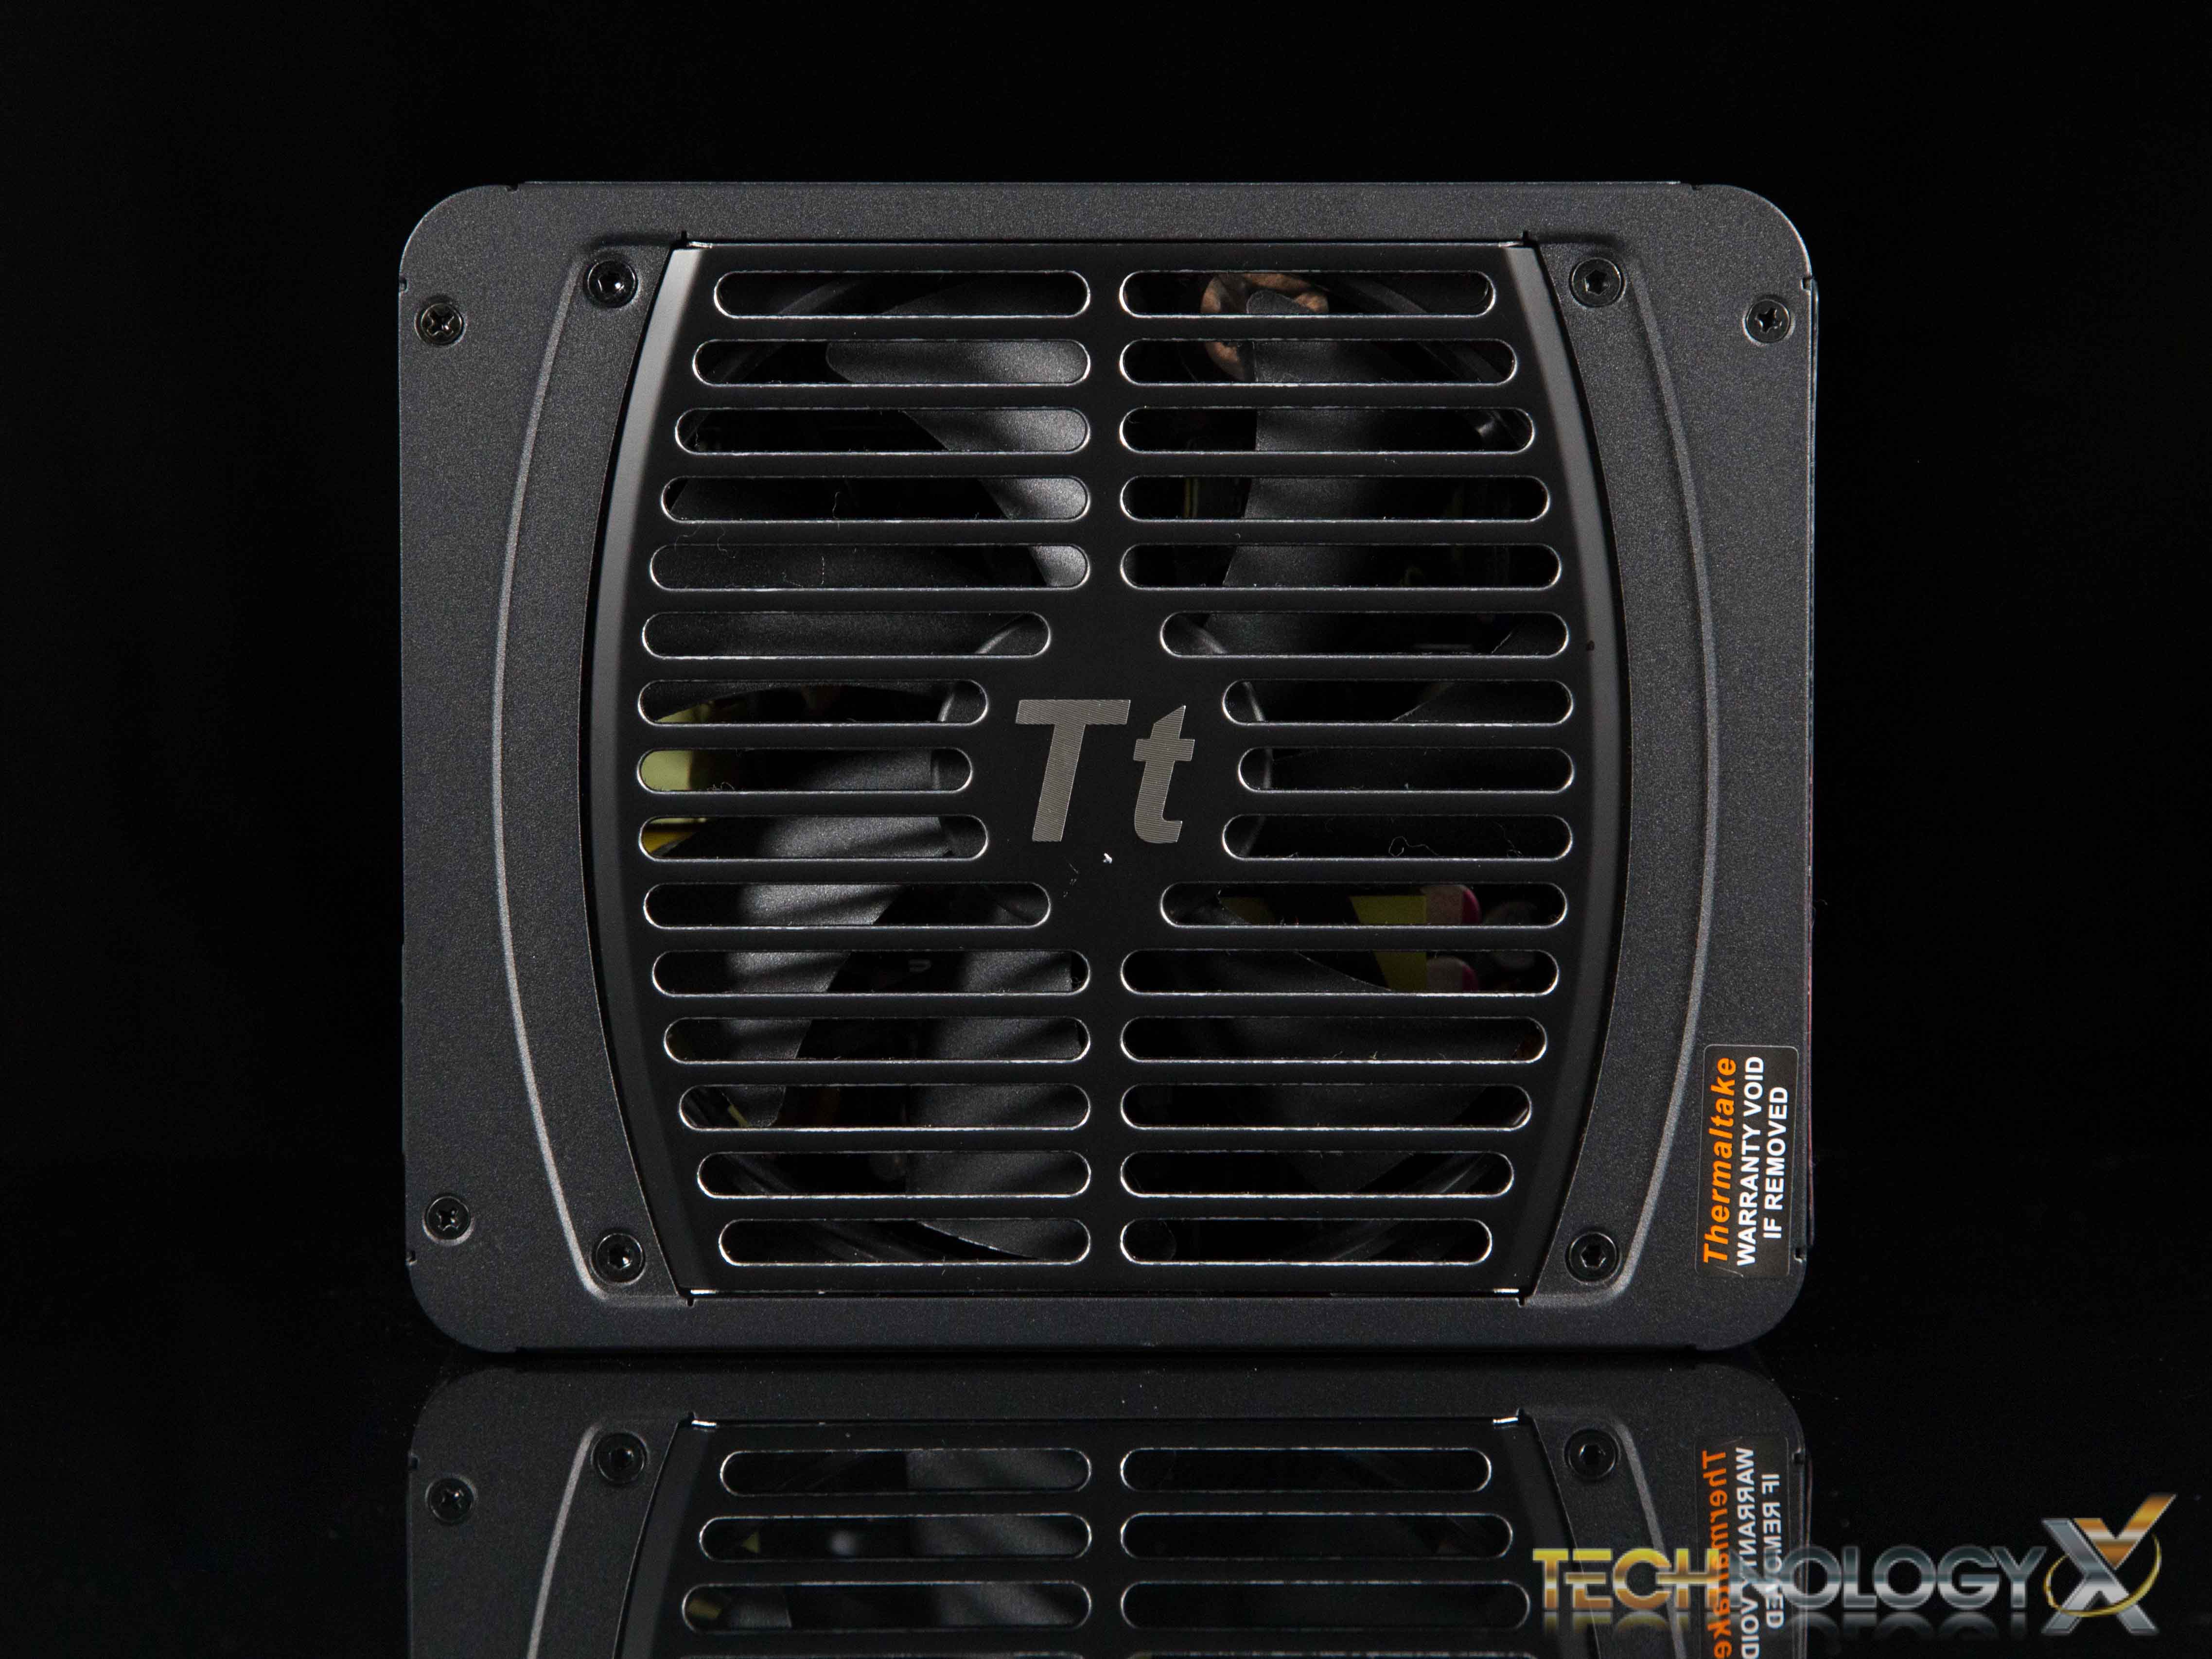
The top of the PSU is a grille that features the Tt logo.
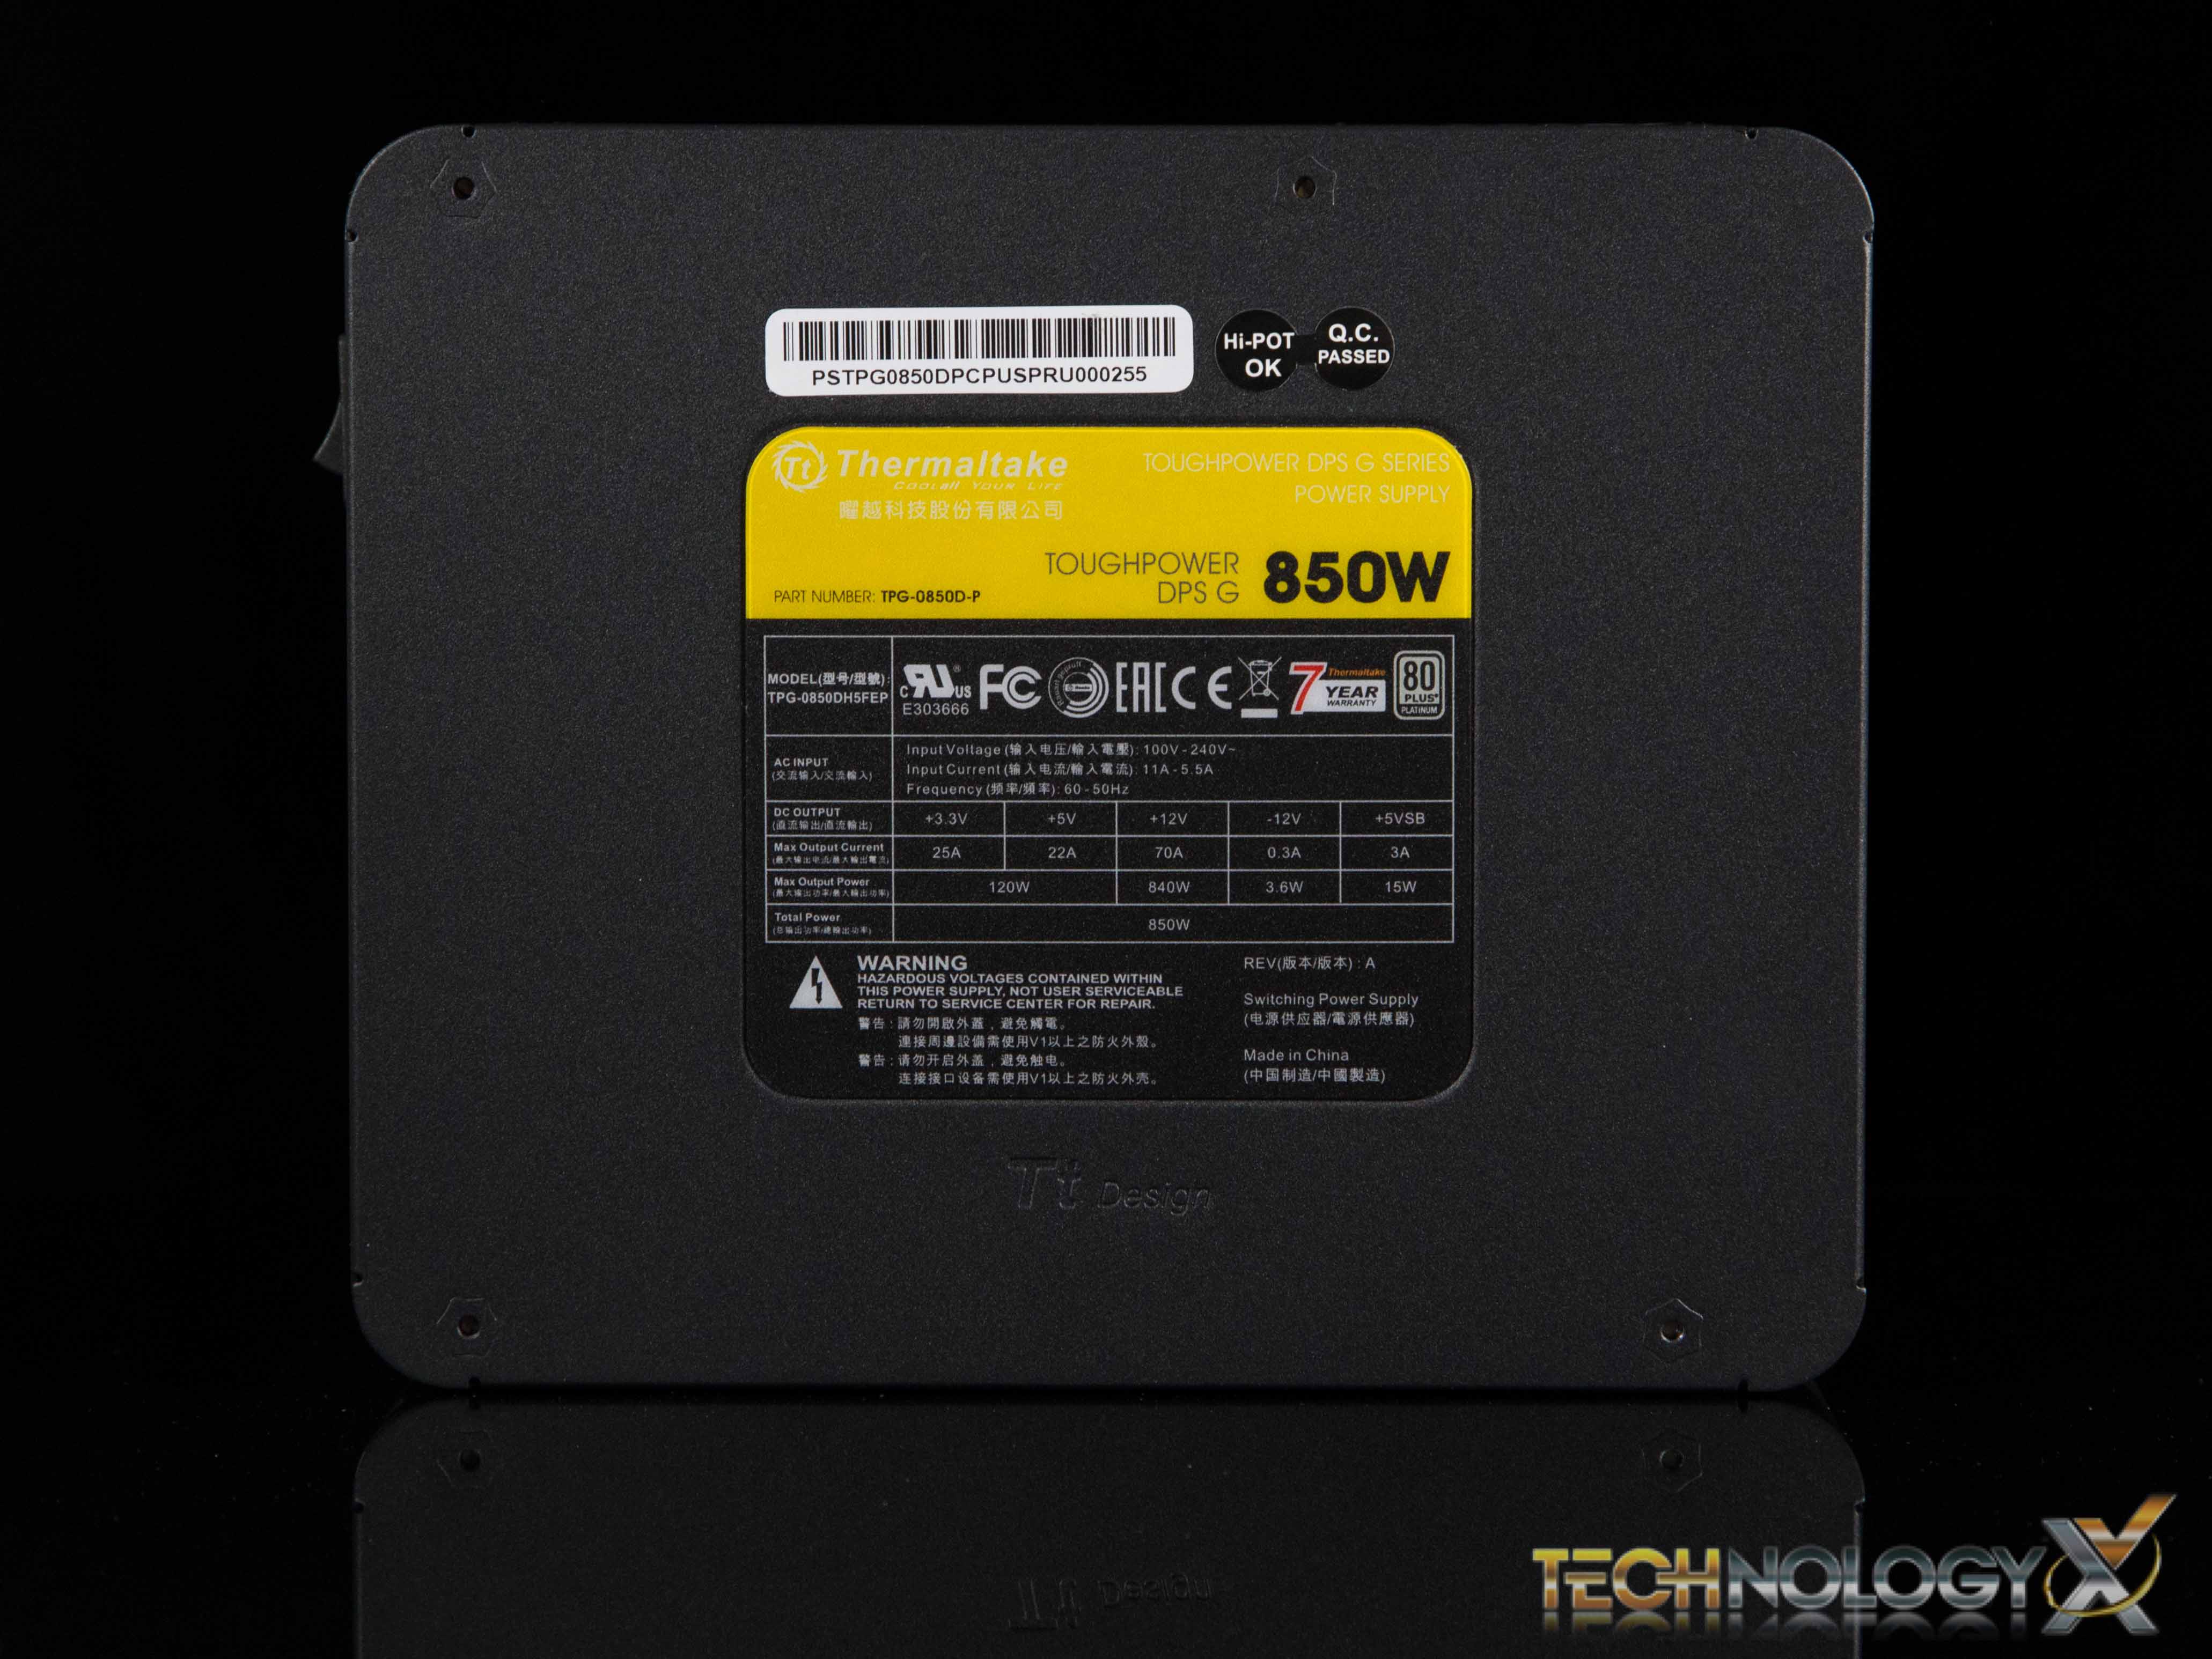
The bottom of the PSU provides a few more specifics, such as the model and serial number.
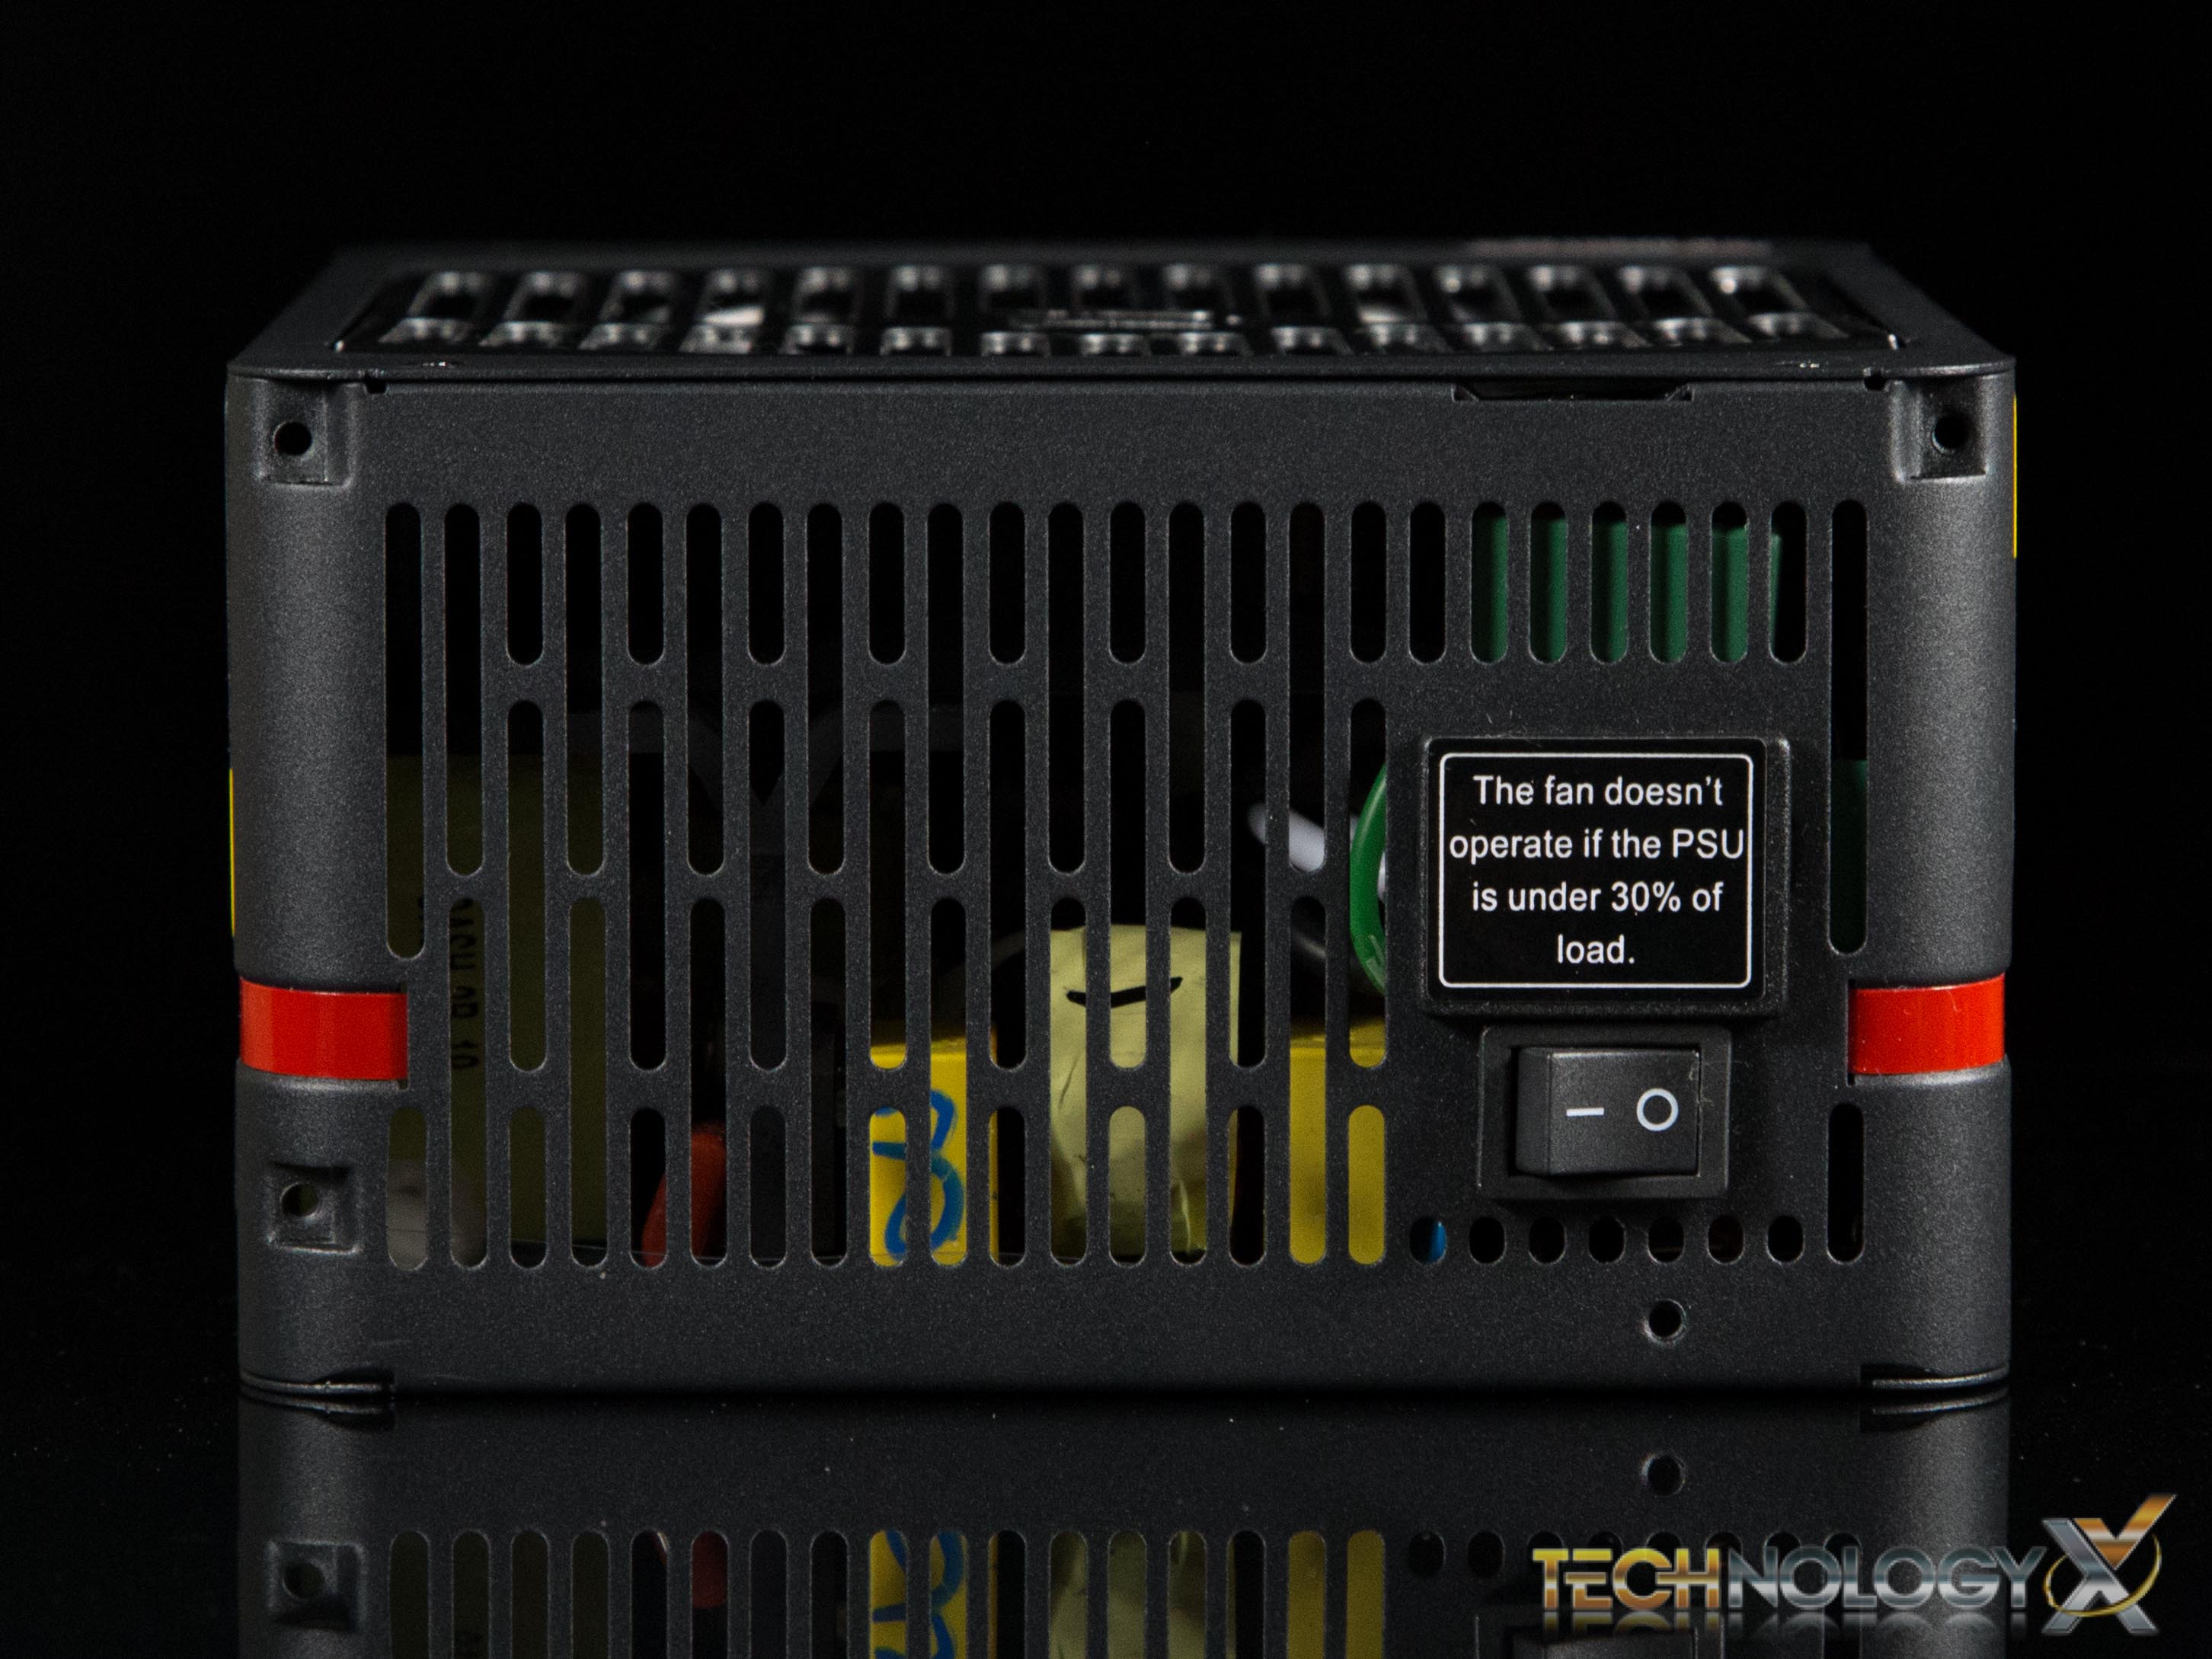
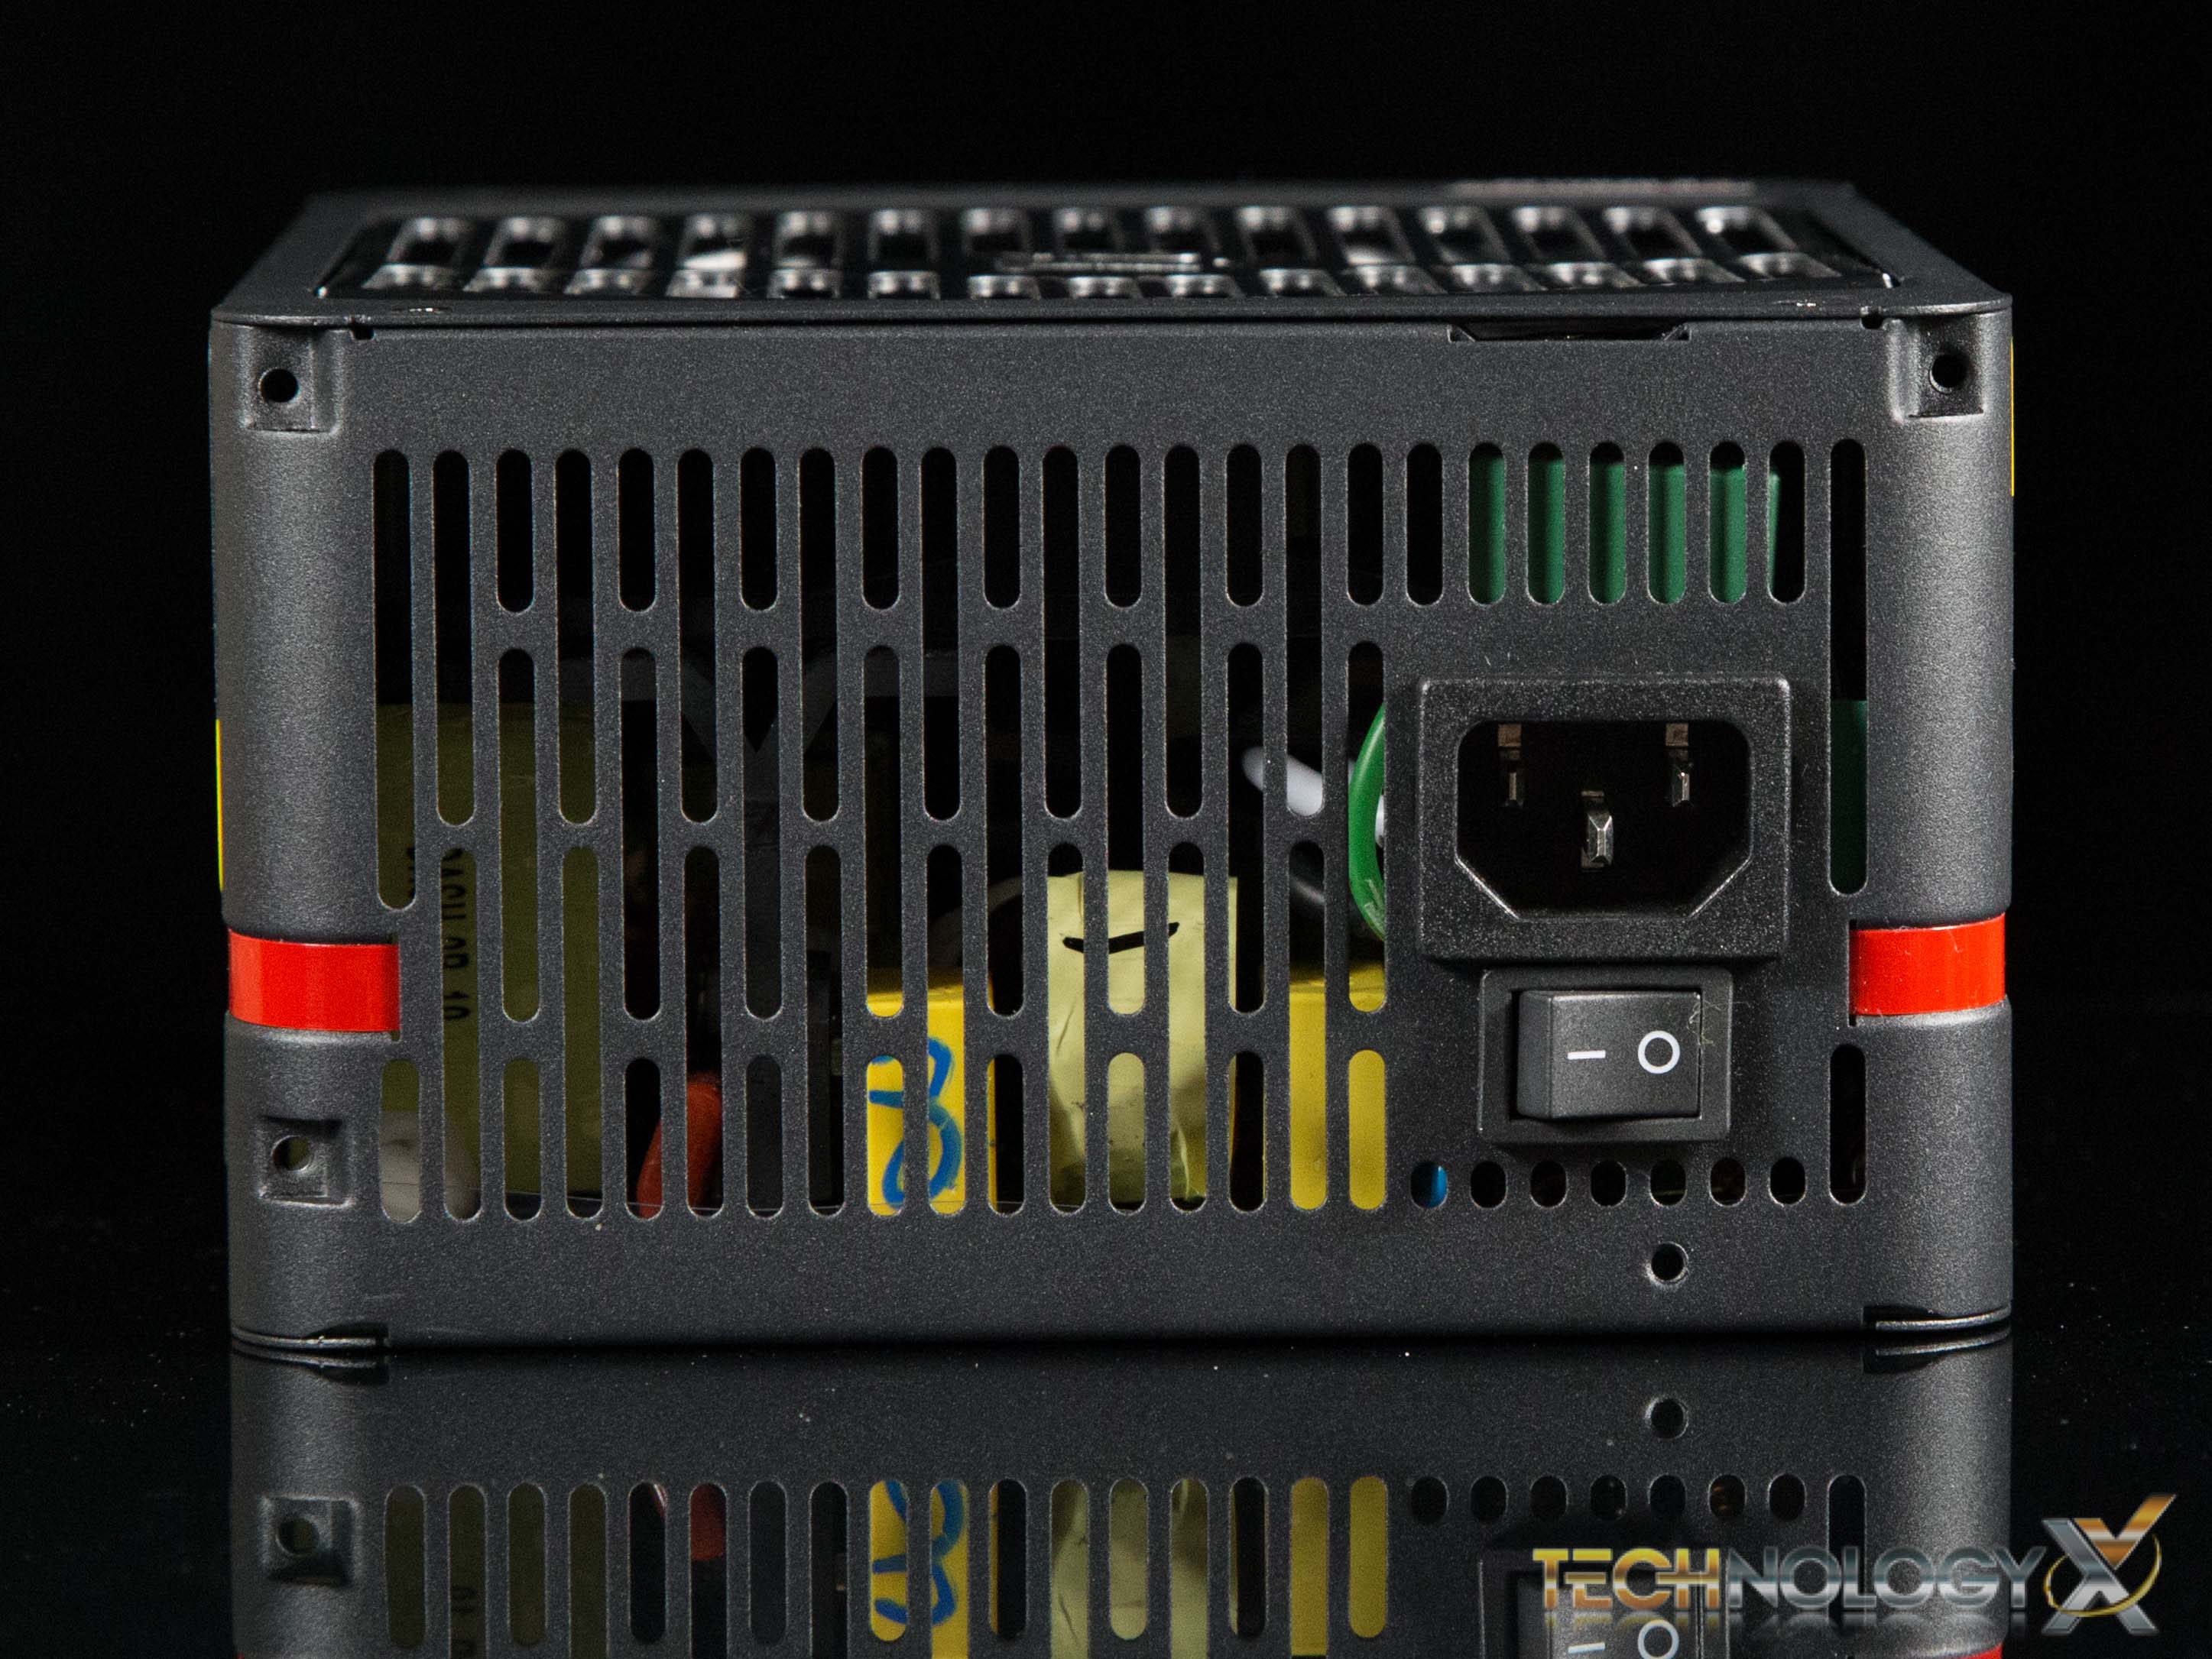
The back of the PSU is as you may expect, the electrical outlet is concealed by a sticker that informs you the the fan doesn’t operate if the PSU is under 30% of load. Below this is your own and off switch.
The front of the PSU showcases all of the available PSU cable ports, include two eight-pin CPU, one ATX power, four SATA or peripheral ports, and three eight pin PCIe power ports.
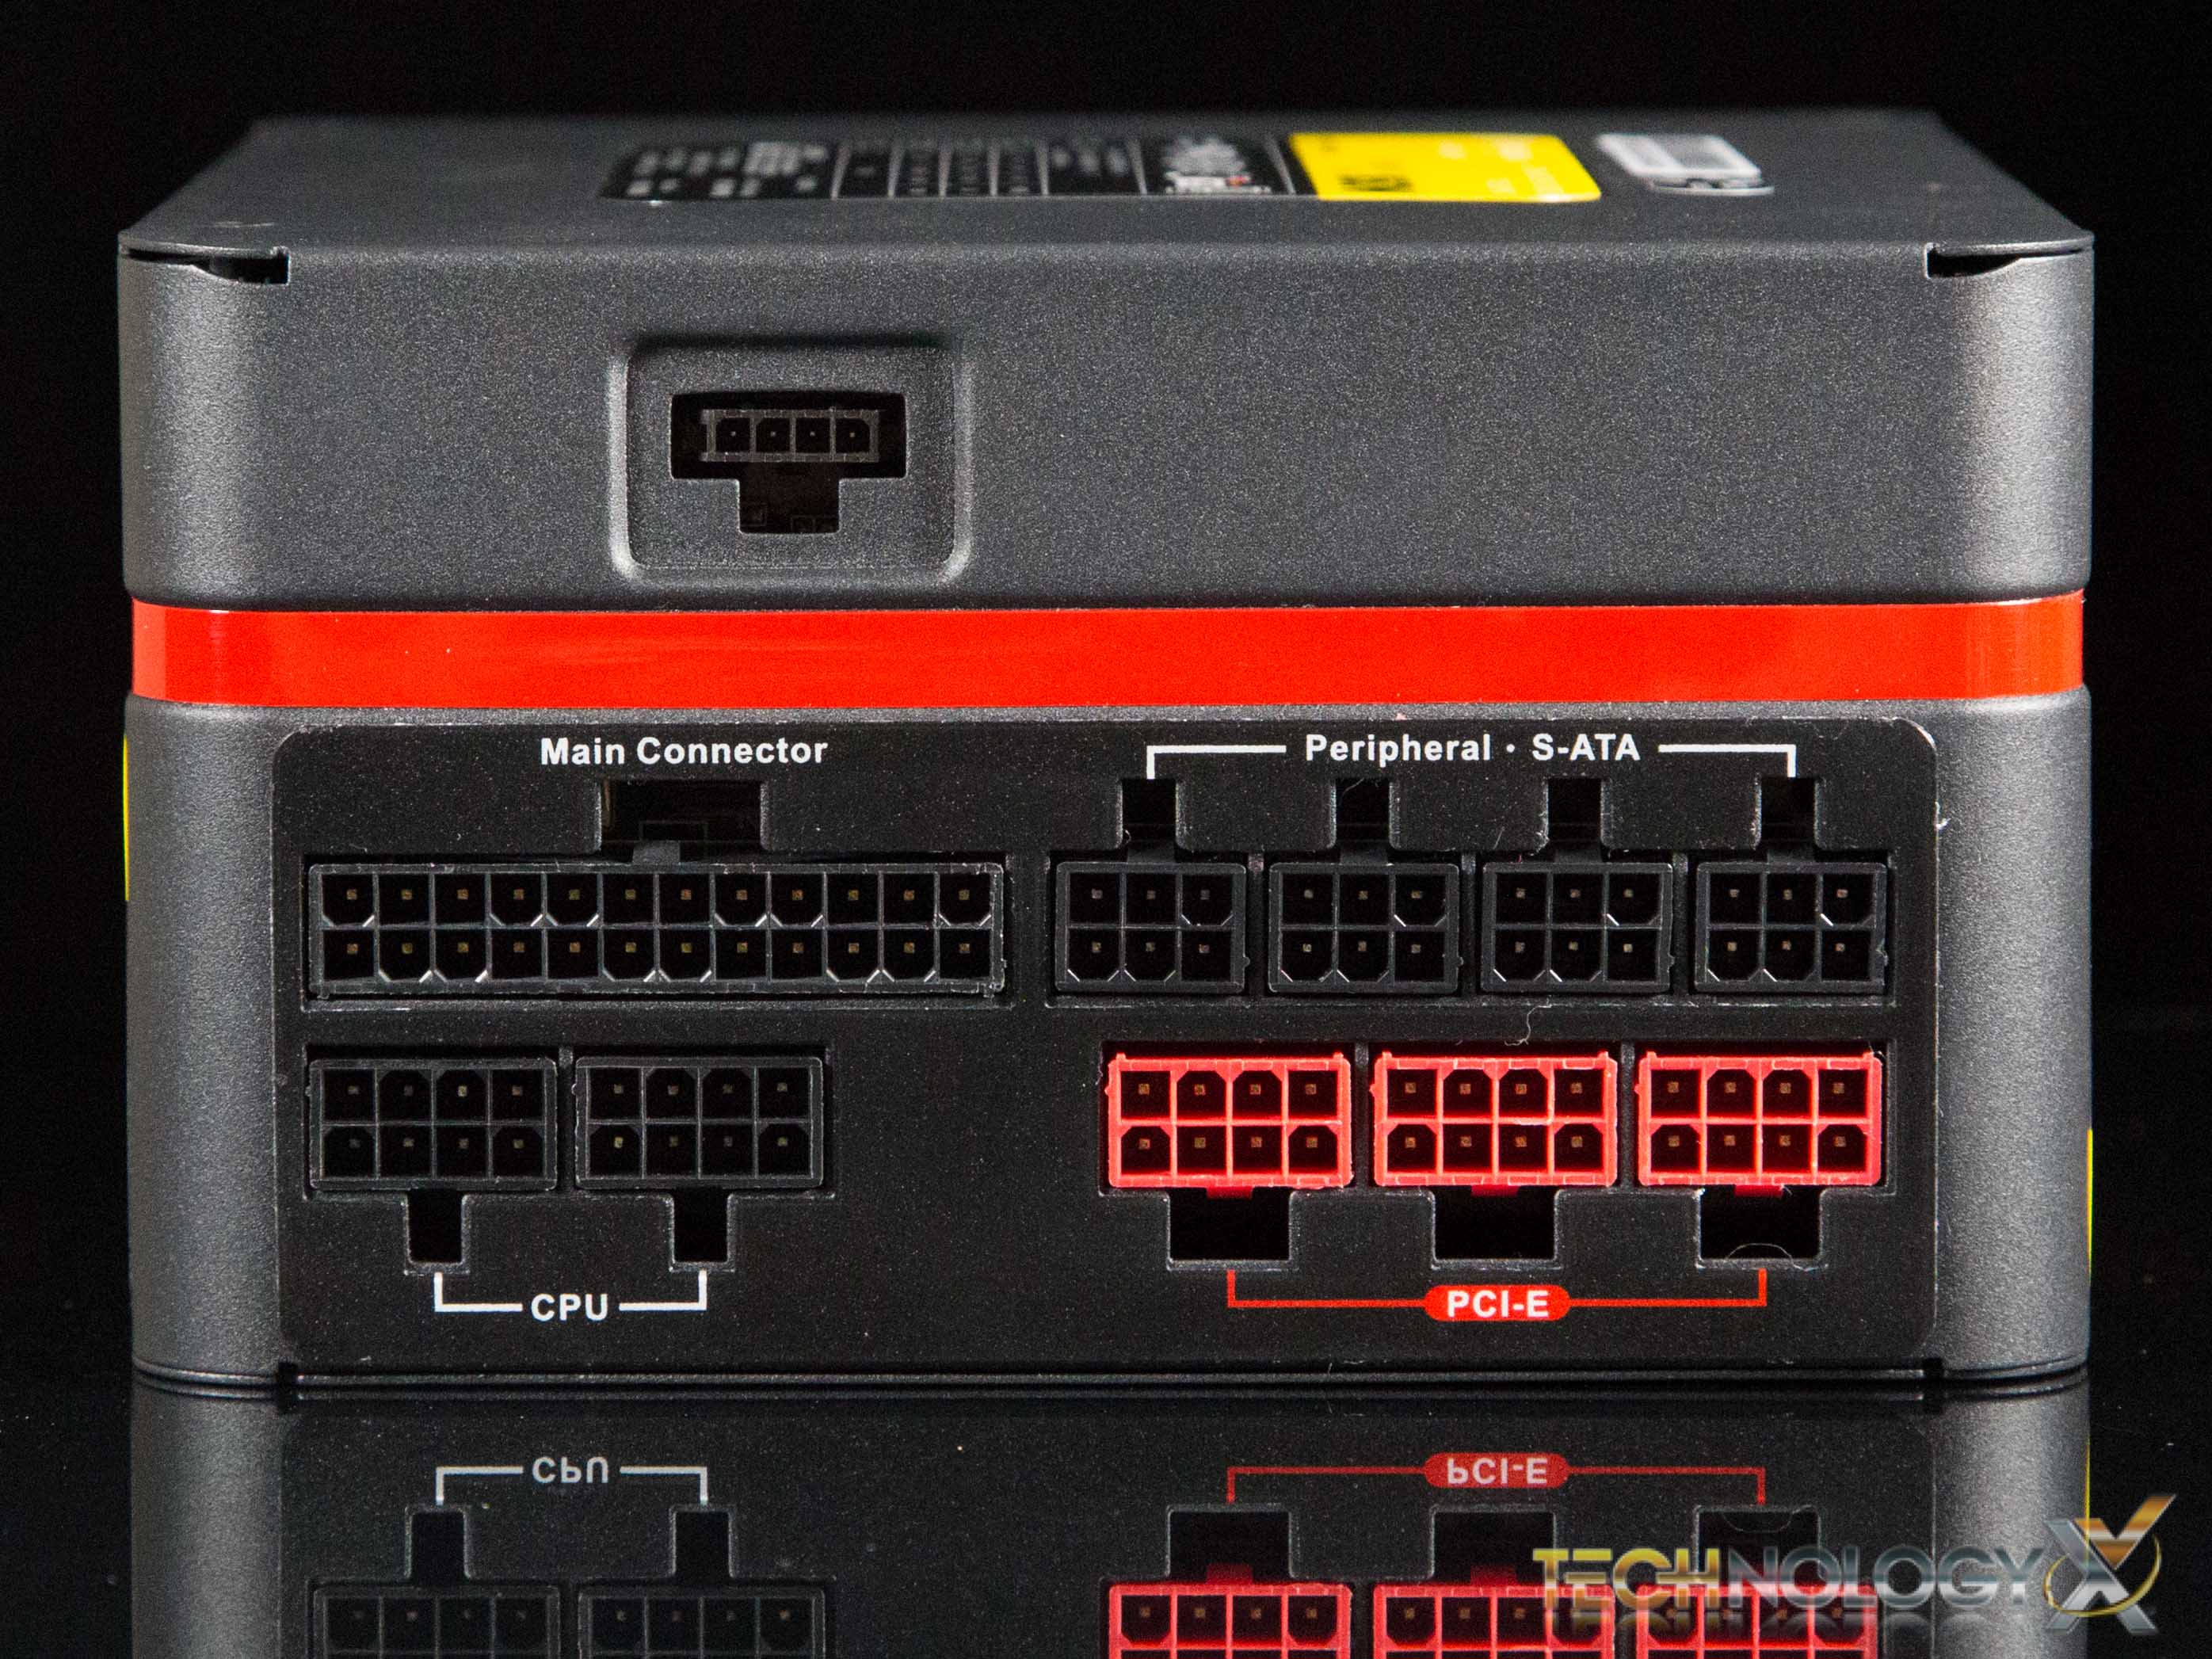
You will also see near the main power connector is a smaller four pin port. This is used to plug the PSU into one of the motherboard’s USB slots.

Without delving too much into specifics, the interior of the PSU features high quality Japanese and solid state capacitors.