 Technology X Tomorrow's Technology Today!

Installation
With all these intricate features, we can only imagine how this cooler is going to look when we install it in our system. 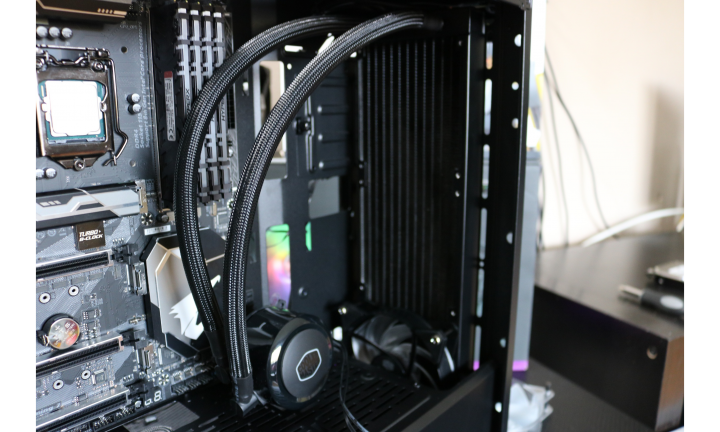 Our Cooler Master Ml360R fit perfectly in the front intake and provided us with plenty of room to run our braided cable from front to rear.
 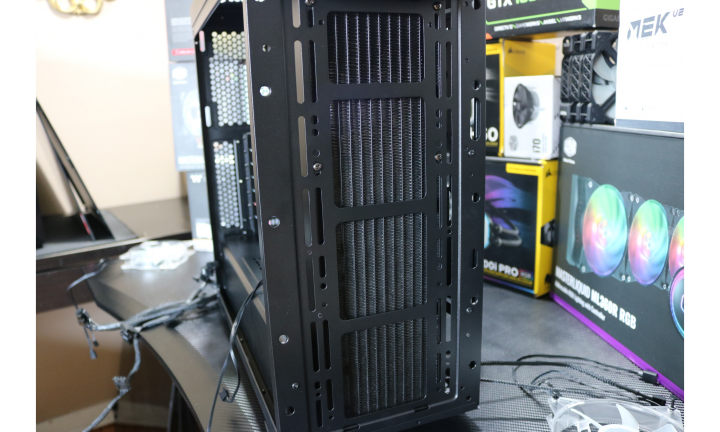 You see a front view of our cooler installation here. We chose to install our fans in pull configuration so we could keep the addressable RGB fans on the inside of our chassis.
 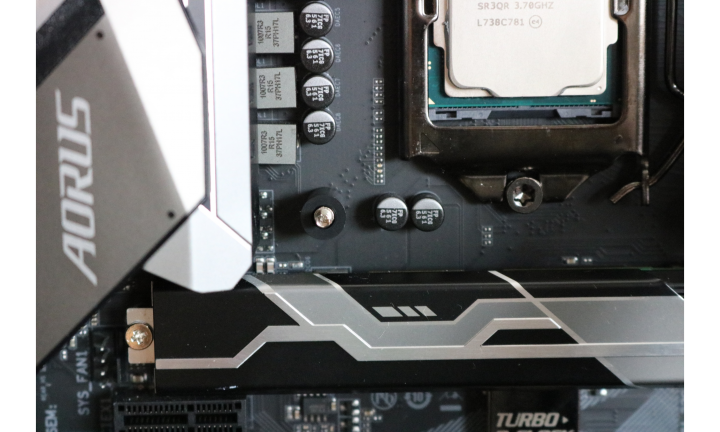 The installation pins come with black plastic standoffs for installation of the pump module. On the opposite side, Cooler Master added in their standard back plate with locking plastic brackets.
 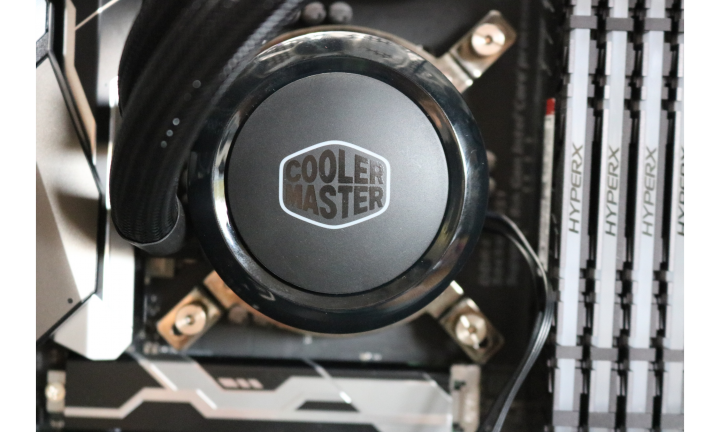 Our Pump fit on the processor almost too easily and as you can see looks really good. Four thumbscrews attach the cooler and allow you to position it perfectly into place. It’s important to note here that if you want to mount the pump the opposite way, all you have to do is take out the plastic logo, spin it and click it back into position. Great idea Cooler Master!
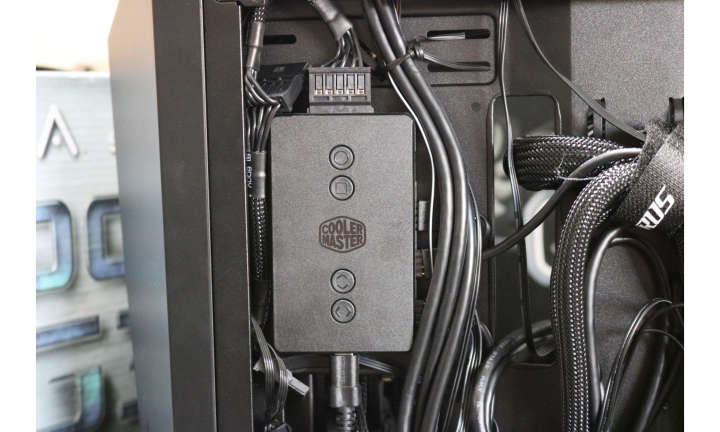 Cables were a bit of a nightmare here, however, we managed to make the best of an interesting situation. We attached this RGB controller VIA Velcro which we always have in our office for these specific situations.