
INSTALLATION – INTEL 1155 CONT’D
 And finally install the screw assemblies onto the mounting bracket. One more reason why they should have used the AMD threading for the Intel plate is that the fine threads on the Intel setup are VERY easy to strip out.
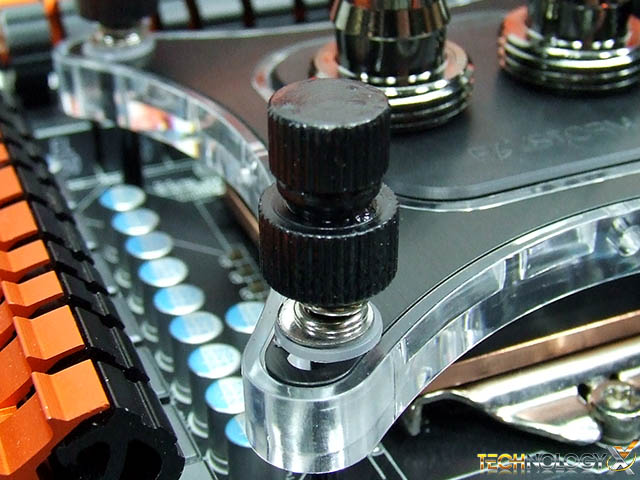 Now XSPC says to tighten the lower threaded collar to apply significant pressure to the CPU block. I found however that even with these collars all the way up the acrylic bracket was bending slightly under the tension of the four screws.
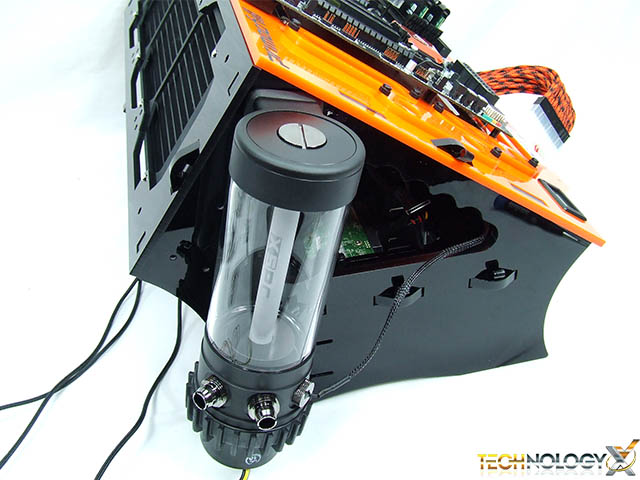 Reservoir mounting will depend entirely on your installation system. I chose to drill a set of holes in the side of my Wet Bench to accommodate the reservoir/pump assembly.
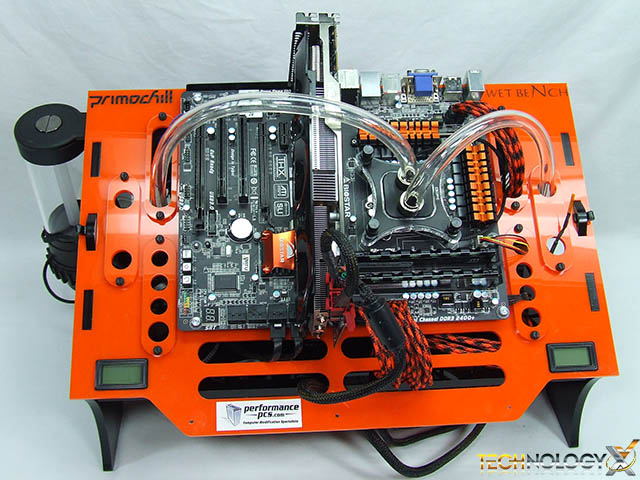 Once everything is mounted simply run your tubing and connect everything together. With water cooling tubing routing layout really doesn’t matter. Just route the tubing so everything looks the cleanest.
 The included PSU adapter makes filling a breeze. It allows you to power on your PSU so you can power on the pump and bleed the whole system without worrying about all of your components being powered on in case of overheating or a possible leak.
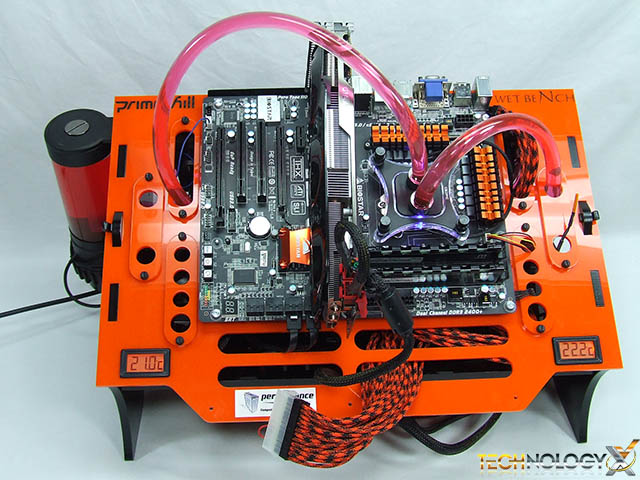 Here I have the system filled with distilled water and Primochill dye. I added the two XSPC temp sensors to my wet bench. The left one reads liquid temp via a 10k thermistor installed directly into the reservoir (in one of the spare return ports) and the right one reads ambient air temp via a 10k thermistor that’s sticking out just below the right side piece of tube.
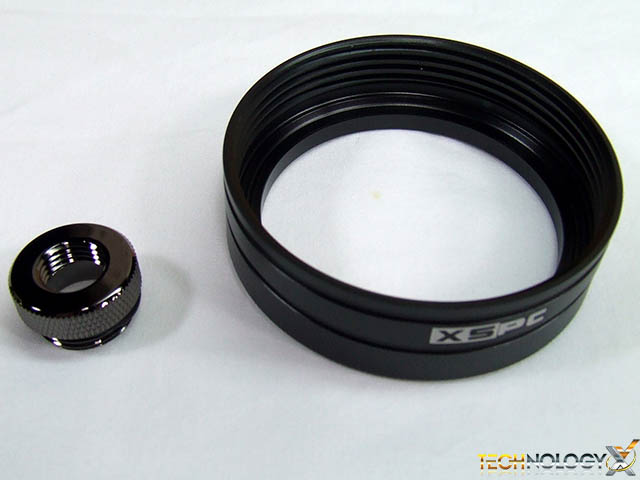
XSPC was kind enough to include an aluminum trim ring for the D5 pump and a black chrome adapter for the top port on the res.
The adapter piece is available separately in either black chrome or shiny chrome finishes for just $4.95. These adapters allow you to use the top of the reservoir as a return line to keep tube routing clean.
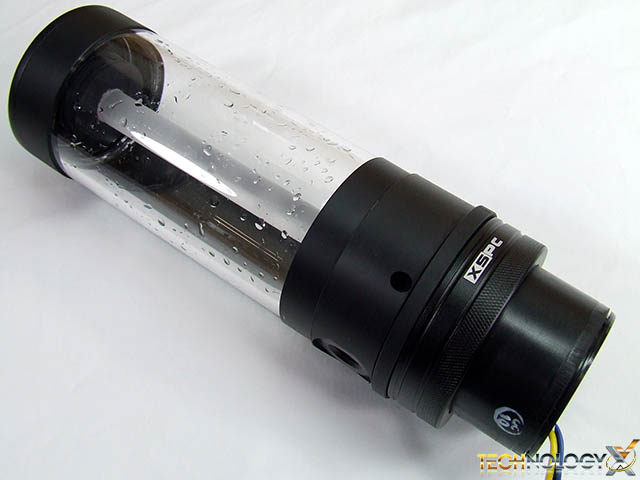
The black anodized aluminum ring is also available separately and cleans up the look of the pump/reservoir assembly by getting rid of the large finned plastic threaded collar.
Now that the installation is finished let’s test it out and see how it performs.
Excellent review of an excellent product, Will!
Welcome to our little (and growing) corner of the web!
This is really a great thing for the experts of Water cooling to do.. To take the Technical out of a professional water loop. Great product and Great Idea.
Doesn’t seem worth the price considering the Noctua is a few degrees off and roughly $165 cheaper.
hahahaha its a great start that may turn into a custom loop someday, there’s enough potential for a GPU block and you are set 🙂 and it will be so much quieter
wow, noctua is even better than this? are you sure? i thought it was better than closed loops like h60 and maybe h100i but not this !!