
For the Core P5 review we have used the following to complete our build:
TECHNOLOGY X TEST BENCH
| Motherboard | Asus Z97-A |
| Processor | Intel®Core™ i5-4460 CPU @ 3.20 GHz |
| Graphics | GeForce GTX 680 4GB Enthusiast Edition |
| PSU | Cooler Master V850 |
| CPU Cooler | Cooler Master Seidon 120M w/ Jetflo 120 fan |
| RAM | 32GB Crucial Ballistix Tactical Tracer (4x8GB) |
| SSD | Plextor M5S 256GB SSD |
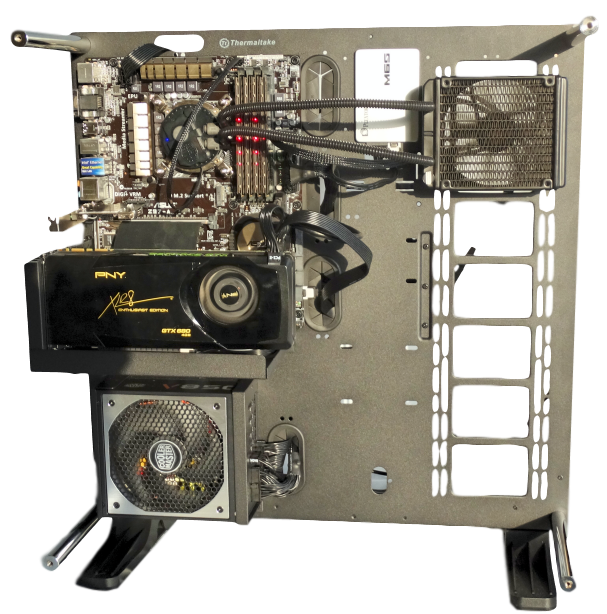
The I/O panel is pretty standard; power button, two USB 2.0 and 3.0, headphone and mic jack and a reset button. We really enjoyed and took full advantage of the ability to mount our GPU vertically. 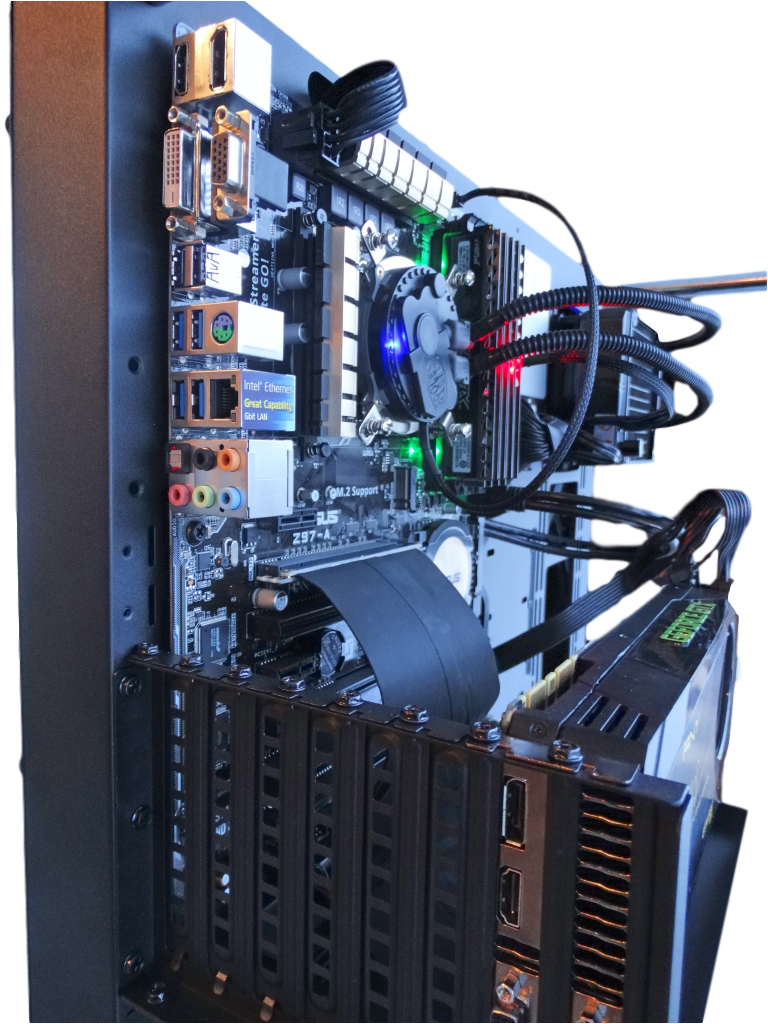 The manual calls this “Extended installation” and is done with the included brackets and extension cable, this was pretty easy to adjust and install. We ran into some issues when we went to install our Cooler Master Nepton 240M cooler though. Given the placement of the radiator the cooler wouldn’t fit properly to reach the CPU. So we had to stick with the 120M it was close but it worked.
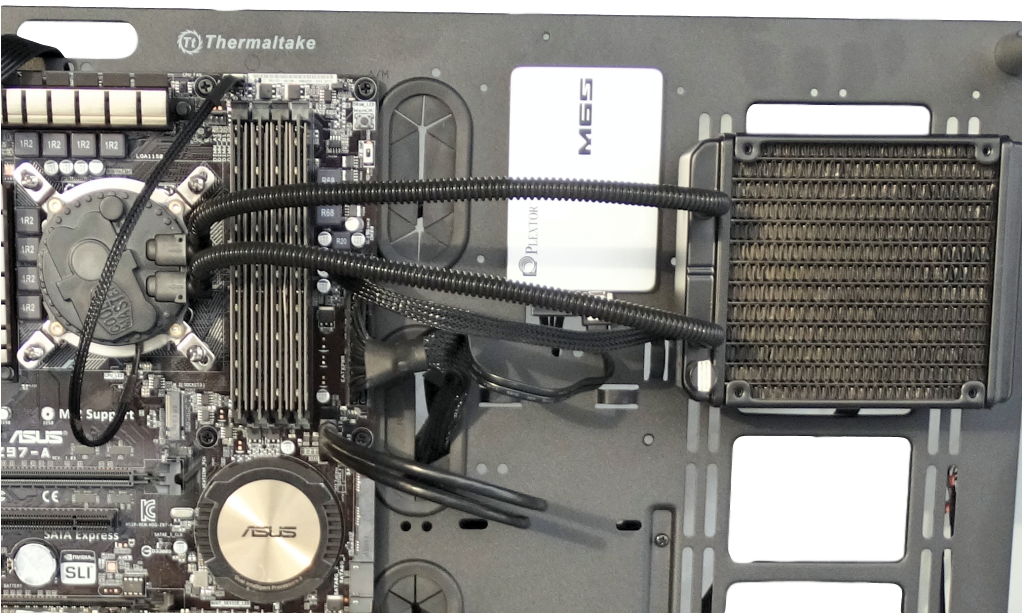 If you aren’t building your own cooler system from scratch most liquid tubes won’t extend all the way to the CPU. So, beware of the cooler you will be using if you are not using a pump/reservoir setup. The open concept is however awesome if you have the pump/reservoir setup as it comes with a stand and allows you to install up to a 480 radiator, probably larger if you get creative and customizing. The front side allows you to install one SSD/HDD on the front with or without the tray and up to three more on the backside.
CABLE MANAGEMENT
Hands-down one of the best cable-management systems we’ve seen in a while. While it may not look like much of a difference from some of the past reviews, there is just that little bit of room that makes everything just fit better. The cable pass-through ports are a good example of this. 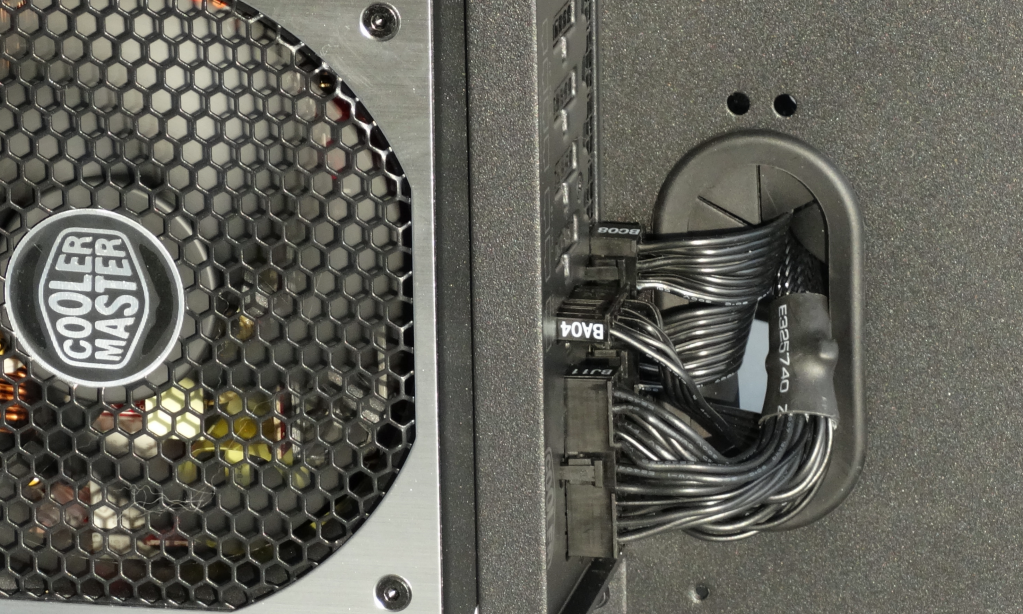 We recently reviewed the Suppressor F31 also by Thermaltake and we had some issues with the Sata data cables comfortably fitting into place while using the pass-through. There is zero issue with the Core P5 the pass-through ports all seem to start right at the end of our motherboard, perfect. If you are running smaller than a standard-ATX you’ll be able to employ a fifth rubberized pass-through which is hidden in our ATX setup.
  However for the ATX build there is a smaller pass-through at the bottom to help with the wires for the HD Audio, 2.0 USB, PWR, etc. On the rear, where the majority of cable-management takes place, is where you have to be a little more careful but is still fairly easy. There’s a large hole for easy CPU cooler changing without uninstalling the motherboard. The large rectangular plate on the back is employed by the wall mount when you take that option.
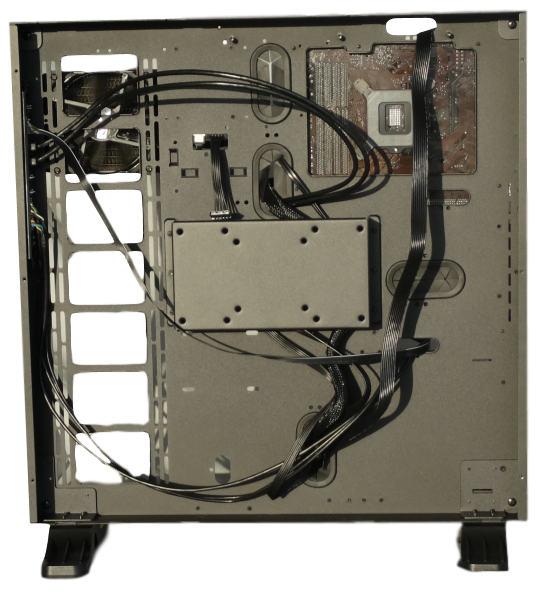 Ensure your cables pass through this bracket and not on the outside as it may interfere with closing of the chassis back plate and wall mounting.
DISPLAY OPTIONS
The Core P5 has three display options. We stuck with the Vertical stand for our review. It was simple enough as you simply lay the chassis on its back and install the feet with four screws per foot which are included in the feet themselves. One thing we worried about was if we would be able to remove the back panel once the feet were taught, but fortunately Thermaltake didn’t disappoint as it slides on and off with ease. 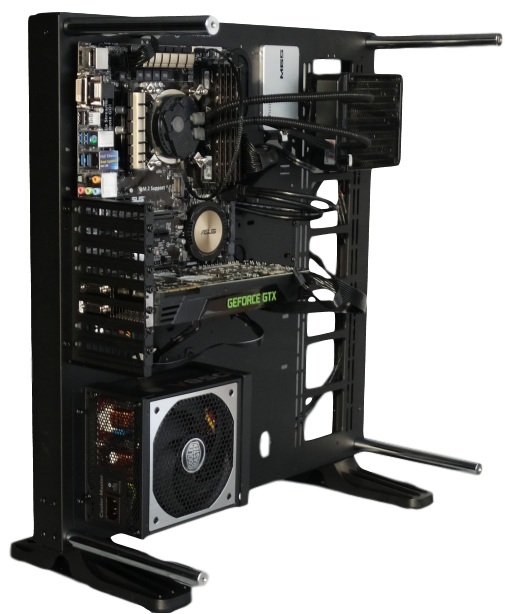 The P5 also comes with four smaller rubber feet for horizontal presentation, kind of turns your build into a small glass table. However, we in no way recommend you ever use your system as a table. Lastly, is probably the coolest way to showcase your system and that is wall mounting it. Thermaltake has ensured ease of installation by making the wall mounting VESA compatible, taking the guessing work out of what will work. However, the mount is not included, so keep that in mind.
FINAL THOUGHTS & ANALYSIS
There’s no doubt that the Core P5 is one of the most fun builds we have had the pleasure to do. This chassis comes in at $139.99USD ($186.37CDN) at the time of this review, making it a little pricey but it does have the features and allure to back up that price. There is very little downside to purchasing the P5, maybe making it more suitable for pre-assembled basic cooling systems would be beneficial. However, the good far outdoes the bad. The perfect placement and number of pass-through ports impressed us. A 480mm cooling system and vertical installation of the GPU are outstanding. Not to mention the option to wall mount. This open air concept has hands down earned out Editors Choice.
 Check Out Thermaltake’s Products On Amazon!
Review Overview
Structure & Appearance
Ease of Build
Features
Cable Management
Price
Gold Seal!
Thermaltake's Core P5 is a solid case with beautiful features. This is a perfect case for any benchmarker!!
Thank you so much for this review. I’ve been searching the web for some information about the screws for the leg or stand of the Core P5. I have mine mounted on the wall for years, now I want to use the legs, but I can’t find the original screws to save my life. Would you happen to know the size of the 8 screws that will allow me to use the stand again? Even if it’s aftermarket, I can go to Lowes and see if I get lucky. Anything you can do to help would be great. Thank you.
Honestly, we no longer have that chassis, but I would recommend just taking one of the foot supports into the local hardware and you should have no problem finding a fit and explore your options from there. A great chassis, thanks for the reminder it’s been some years 🙂