
INSTALLATION
Installing the cooler is quite easy, and the instructions are fairly clearly laid out with detailed illustrations of each component and step. On our LGA 2011-3 socket, it was 7 steps total.
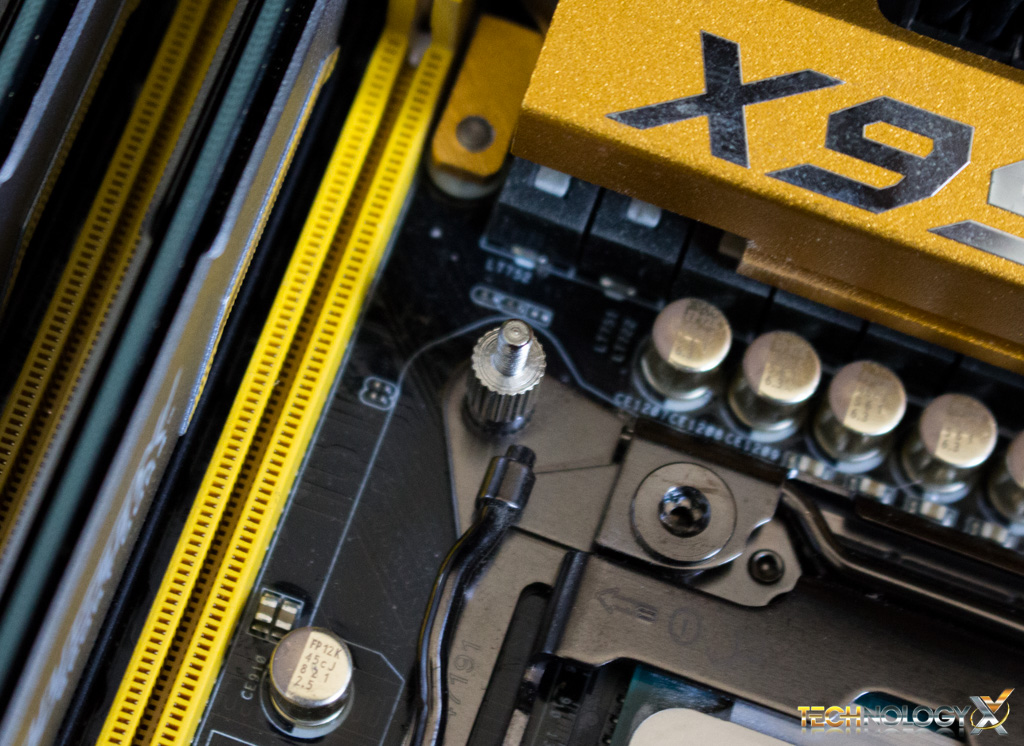
We start by screwing in the 4 Socket Screws directly into the motherboard, and then placing the two Strip Adapters on top, ensuring they are positioned correctly for our socket type. We then fasten the 4 screw nuts that secure the Strip Adapters to the Socket Screws.
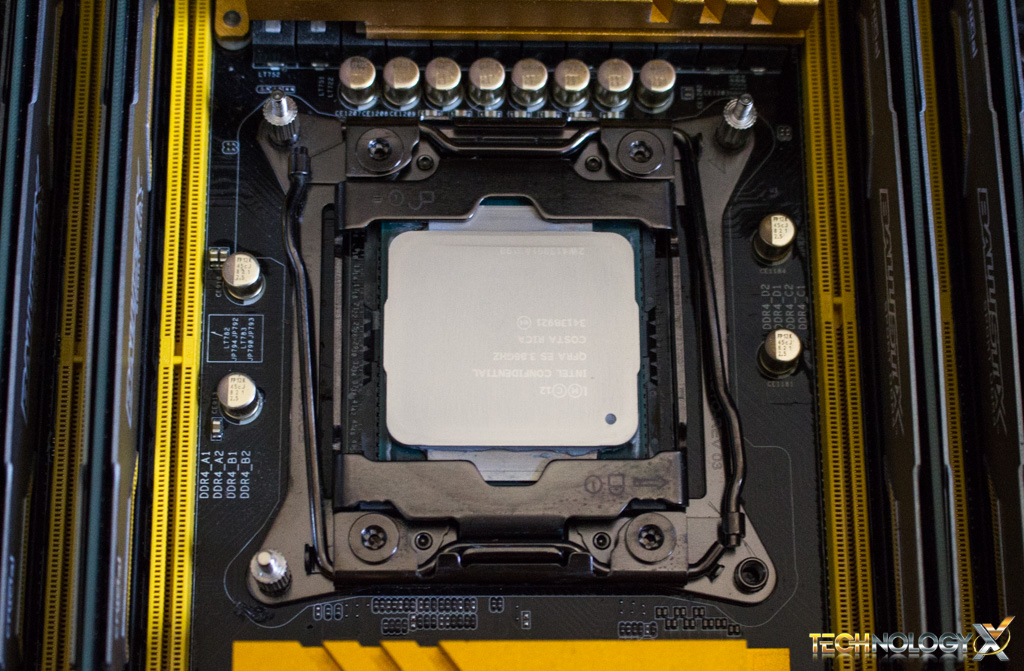
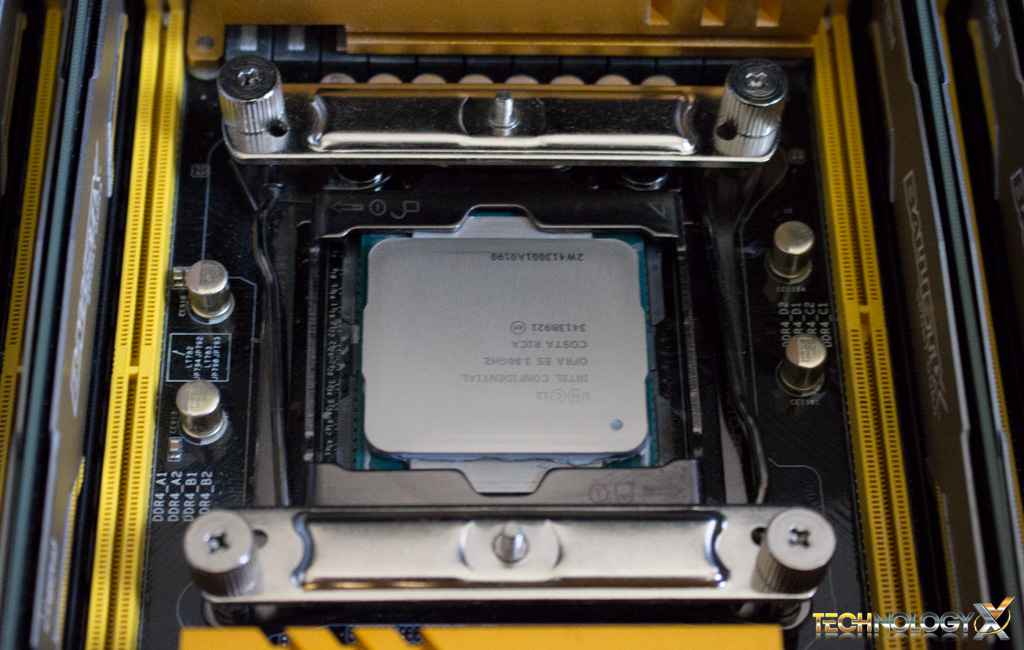

After that, we apply the thermal paste, and place the heat-sink directly on top of the newly installed adapters, ensuring it is positioned correctly so that the spring-loaded screws on the heat-sink Mounting Plate are on top of the threaded posts in the center of the Strip Adapters, and cautiously fasten them in steps, rotating back and forth between them, to ensure they’re equally tightened. You’ll also want to be sure not to over-tighten them, as applying to much pressure can damage your CPU.
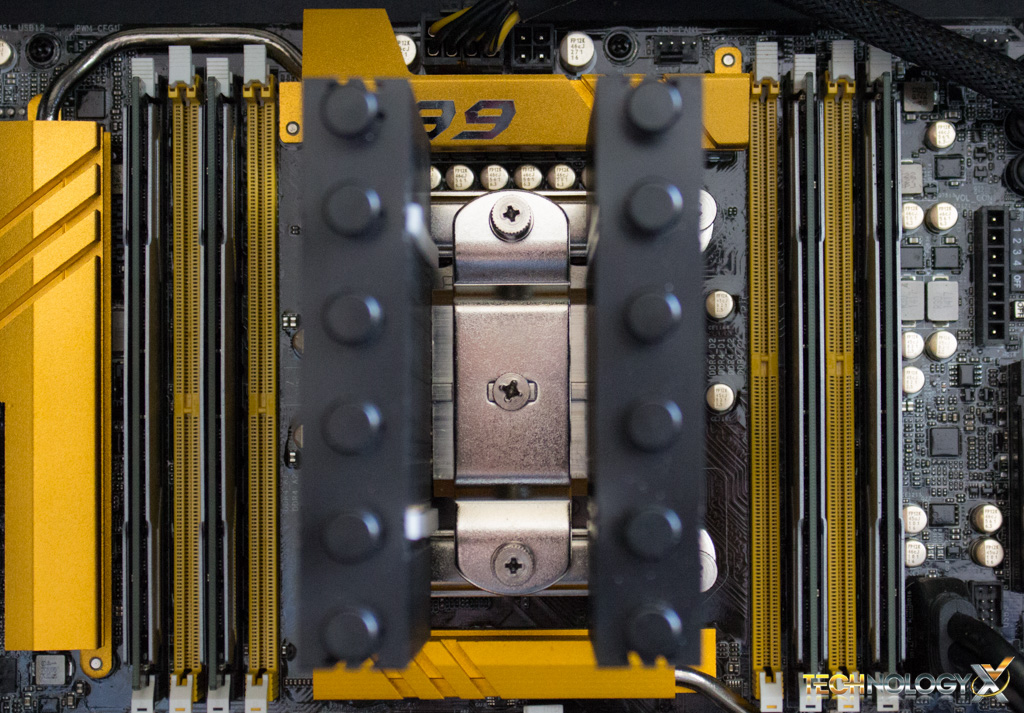 Once the heat-sink is secured, we attach the fan, inserting it between the two heat-sink towers and securing it to the left, or the one closest to the back of our case, using the retention clips.
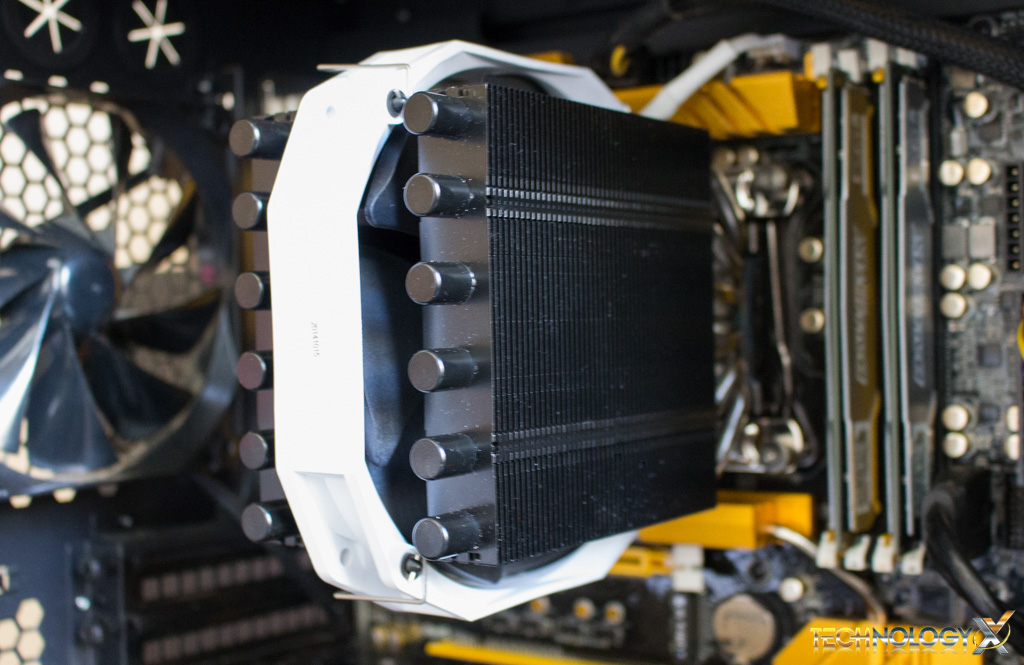 Once the fan is attached and plugged in to the 4-pin CPU fan connector on our motherboard, we’re good to go.
Nice work! A couple of questions; Where is the air temperature monitored? Is is only the room temperature or the needed cooler intake air temperature? Cooler intake air temperature is the important one, not the room temperature. Also the difference in noise level for 52dBA to 54dBA is not enough difference for most people to hear a change. I would expect 800rpm to be about 32dBA and full speed about 45dBA. Normally measurement are made with meter is 1metre away from noise source. What is your room base noise level?
Again, nice review!
Intake Air temperature is something we plan on doing in the future. Unfortunately we do lack the proper equipment to properly gauge the temperature of the air intake. However I do appreciate your feedback as this is definitely something we plan to improve upon further.
As for noise, we do in fact use a meter about 1metre away from the case. That being said, our ambient noise conditions are not perfect for testing, this is also something we plan on improving on.
Sorry if that doesn’t fully answer your questions. We hope to continue to hear your feedback going forward.
I, too, am interested in the intake air temperature. Thanks.
Please see the reply made to doyll.
Thanks for the feedback!
Monitoring cooler intake air temperature is easy and inexpensive. Give me your email address and I will supply details.
You can email me at donny.stanley(AT)technologyx(dot)com