A CLOSER LOOK — INTERIOR TOUR
FRONT PANEL AREA
The NEO’s front panel is removed by tugging firmly at its bottom edge. There is a recess there that creates the space needed to grip the bottom of the panel for its removal. Once the panel is removed, we see that it was held in place quite securely by a total of eight latching points.
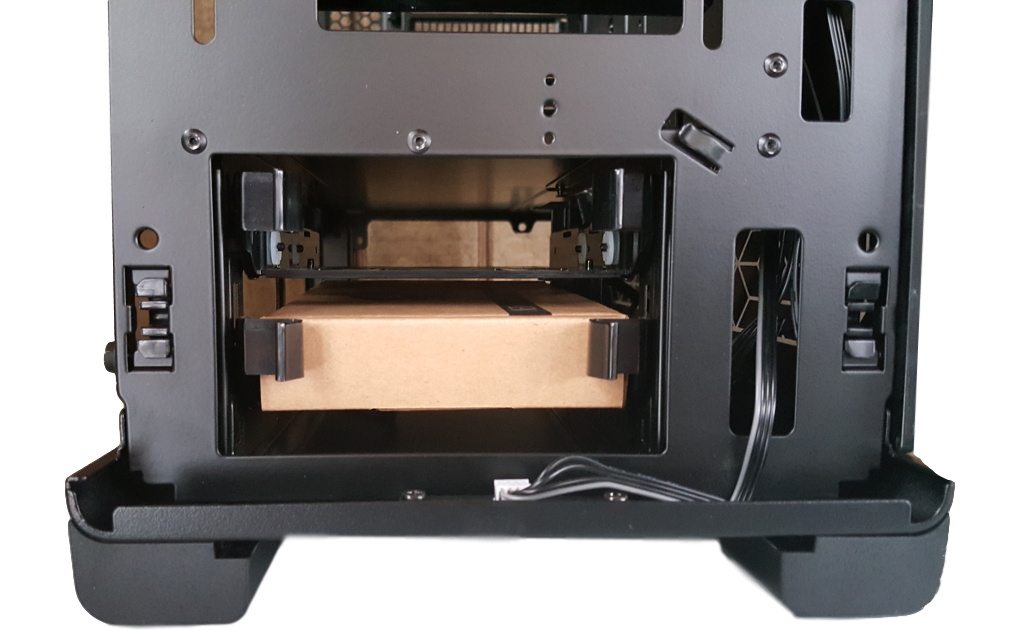
 Starting at the bottom of the front panel and working our way upwards, we first see the 2 x 3.5″ drive trays, which are of a tool-less latching design. In this picture we also see the cabling and LED lamp that illuminates behind the Metallic Gear logo at the bottom of said front panel.
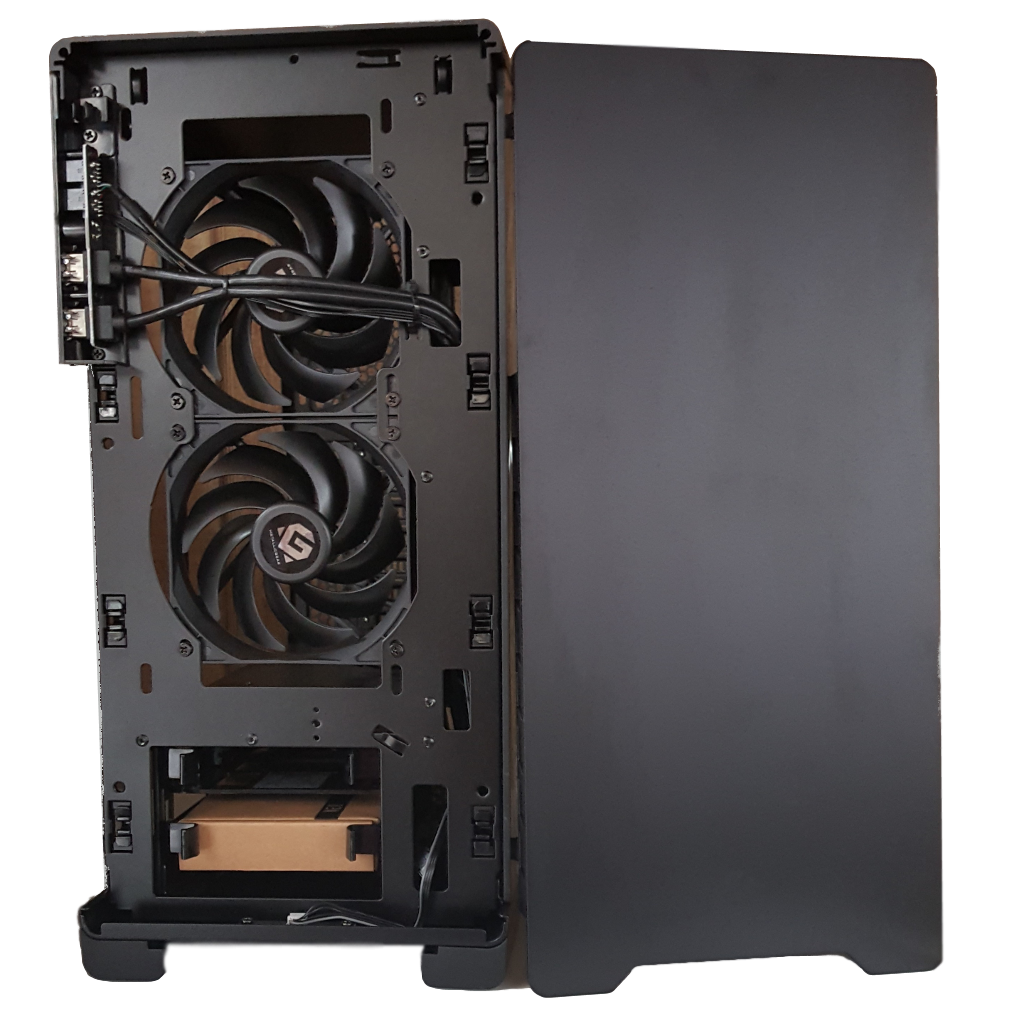
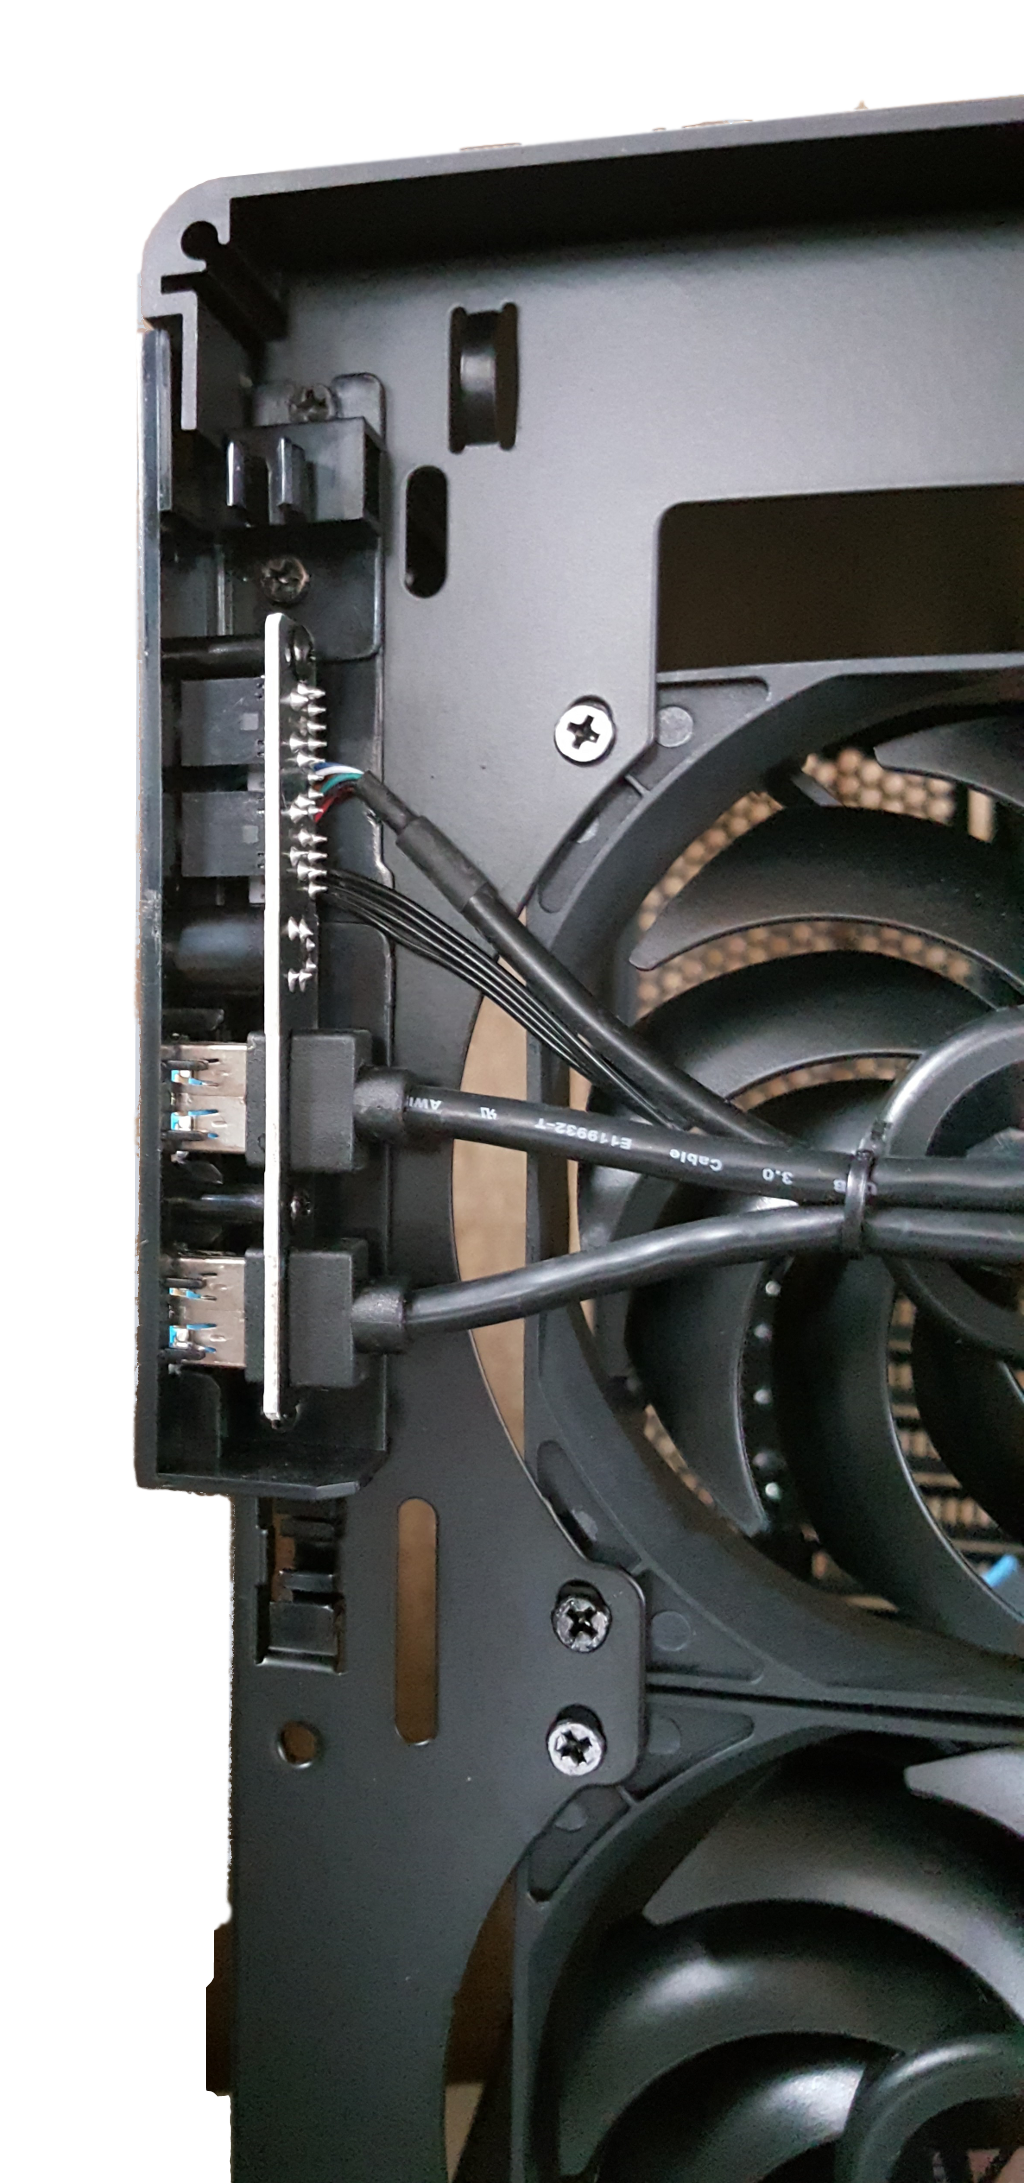
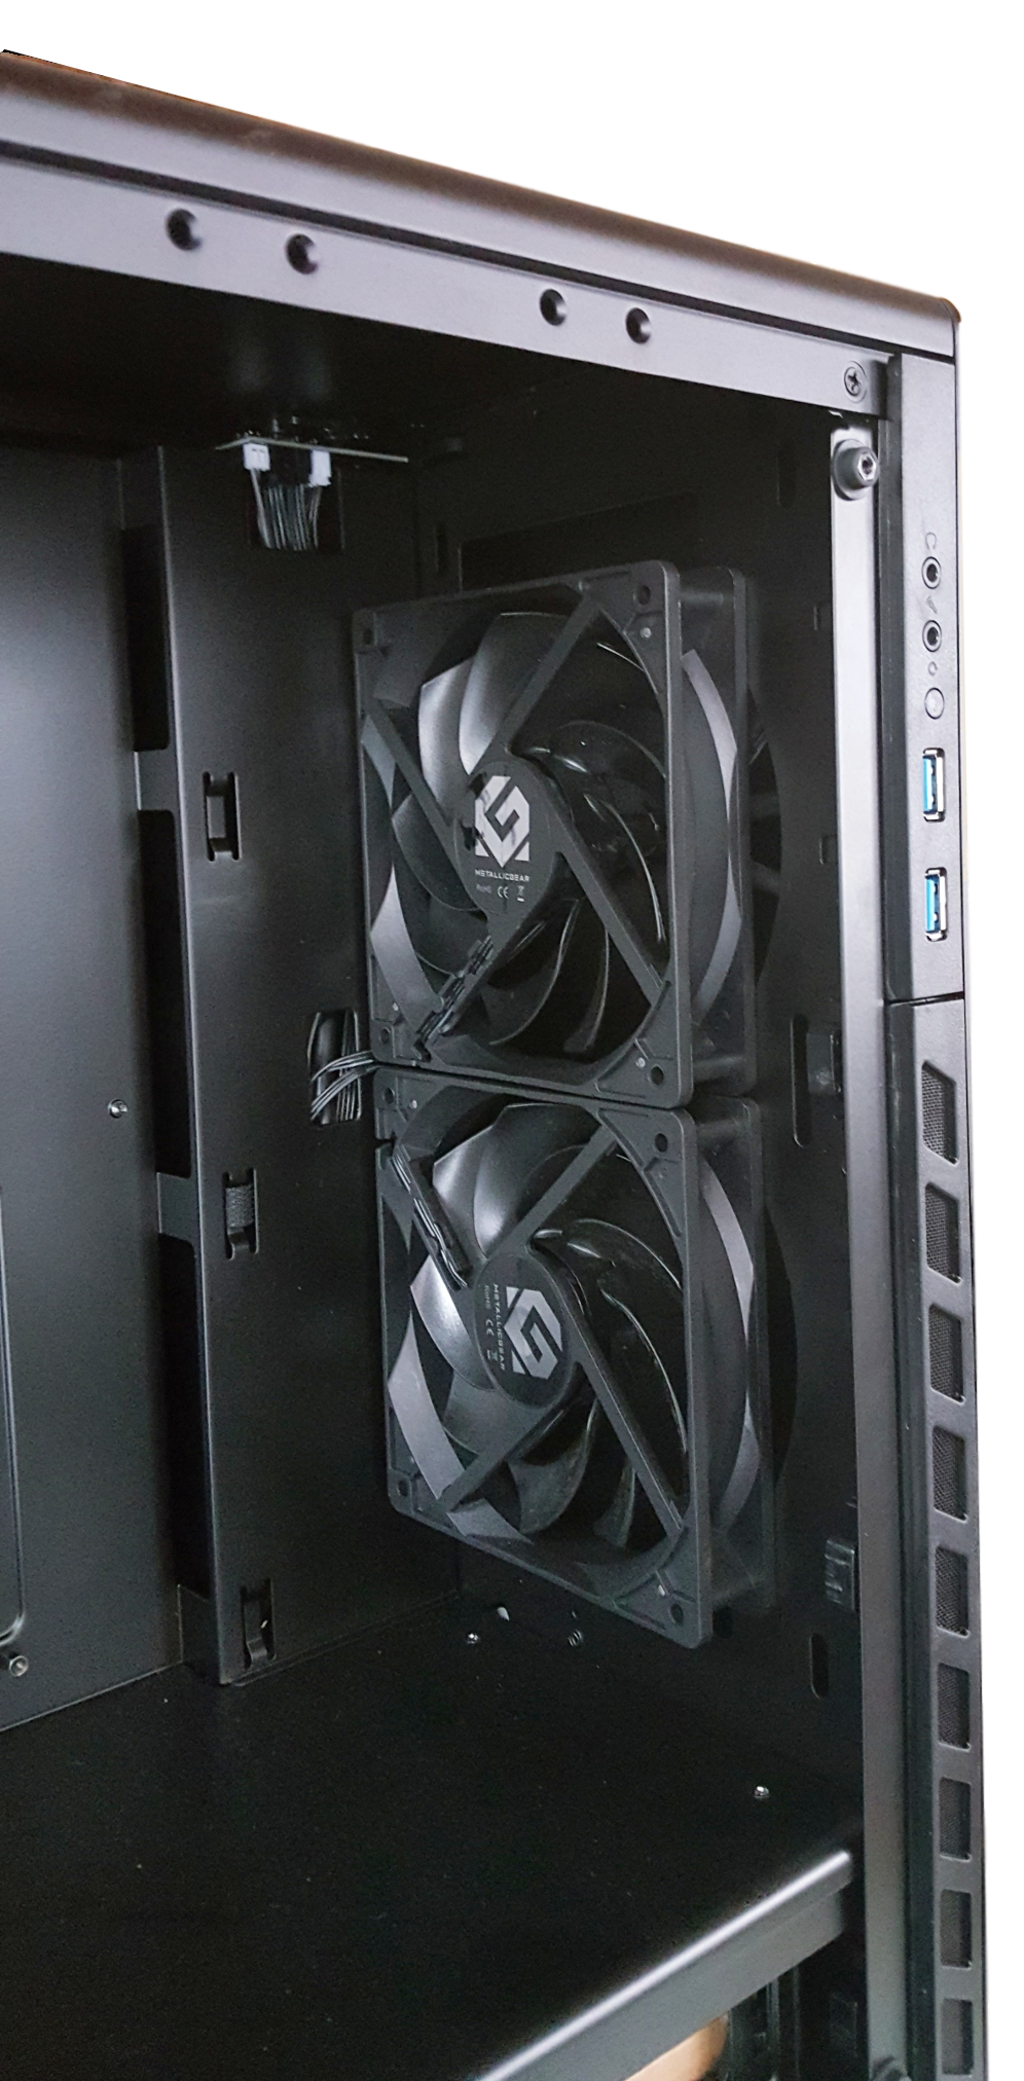
 Above this are the 2 x 120mm Metallic Gear pre-installed fans, which are oriented as intake fans. To the left of the upper fan, the circuit board for the front (side?) panel connections is mounted. As you can see from the first front panel removed image above, the cabling for the front panel connections spans across the middle of the upper fan area. I generally take issue with any aspect of case design that impedes airflow, and impeding airflow right at its point of origin is certainly not optimal. A few additional inches of cabling would have allowed it to be routed around the fan opening, rather than looking a bit like a design afterthought.
A suggestion for the next iteration of this chassis would be to move the front I/O from the top of the side ventilation area to the middle of that area, with ventilation both above and below it. This would place the two ventilation sections more in line with both of the intake fans, and would allow that cable bundle to span the space between the fans, rather than across one of the fans and compromising its airflow.
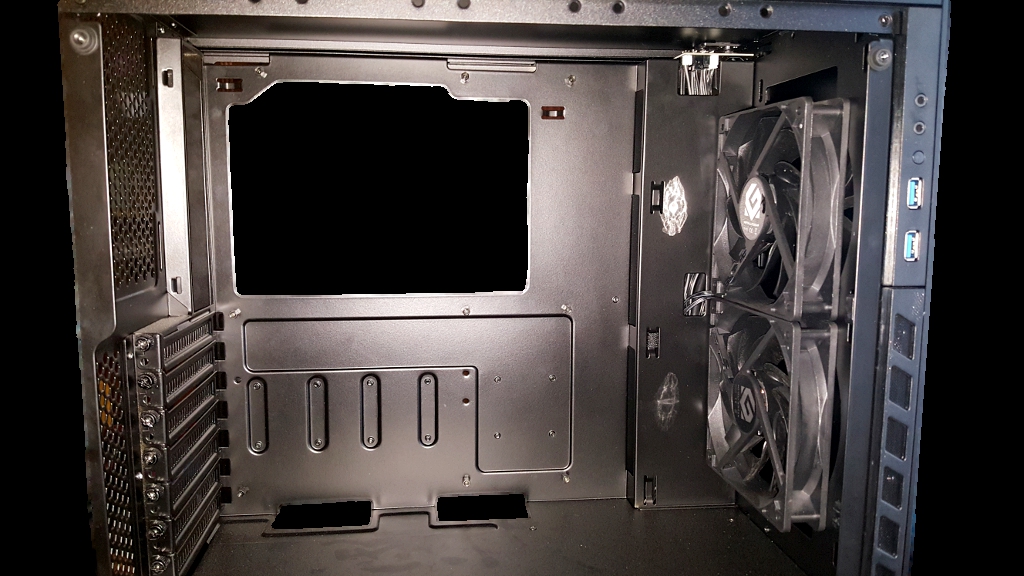
 Next we have a peek at the backside of the 2 x 120mm pre-installed Metallic Gear fans. For liquid cooling, these fans can be replaced by your choice of 120mm, 140mm, 240mm or 280mm radiator. Metallic Gear has not indicated any performance specs for the pre-installed 120mm fans. Also visible to the upper left of the fans is the circuit board for the power switch and RGB lighting switch on the top panel.
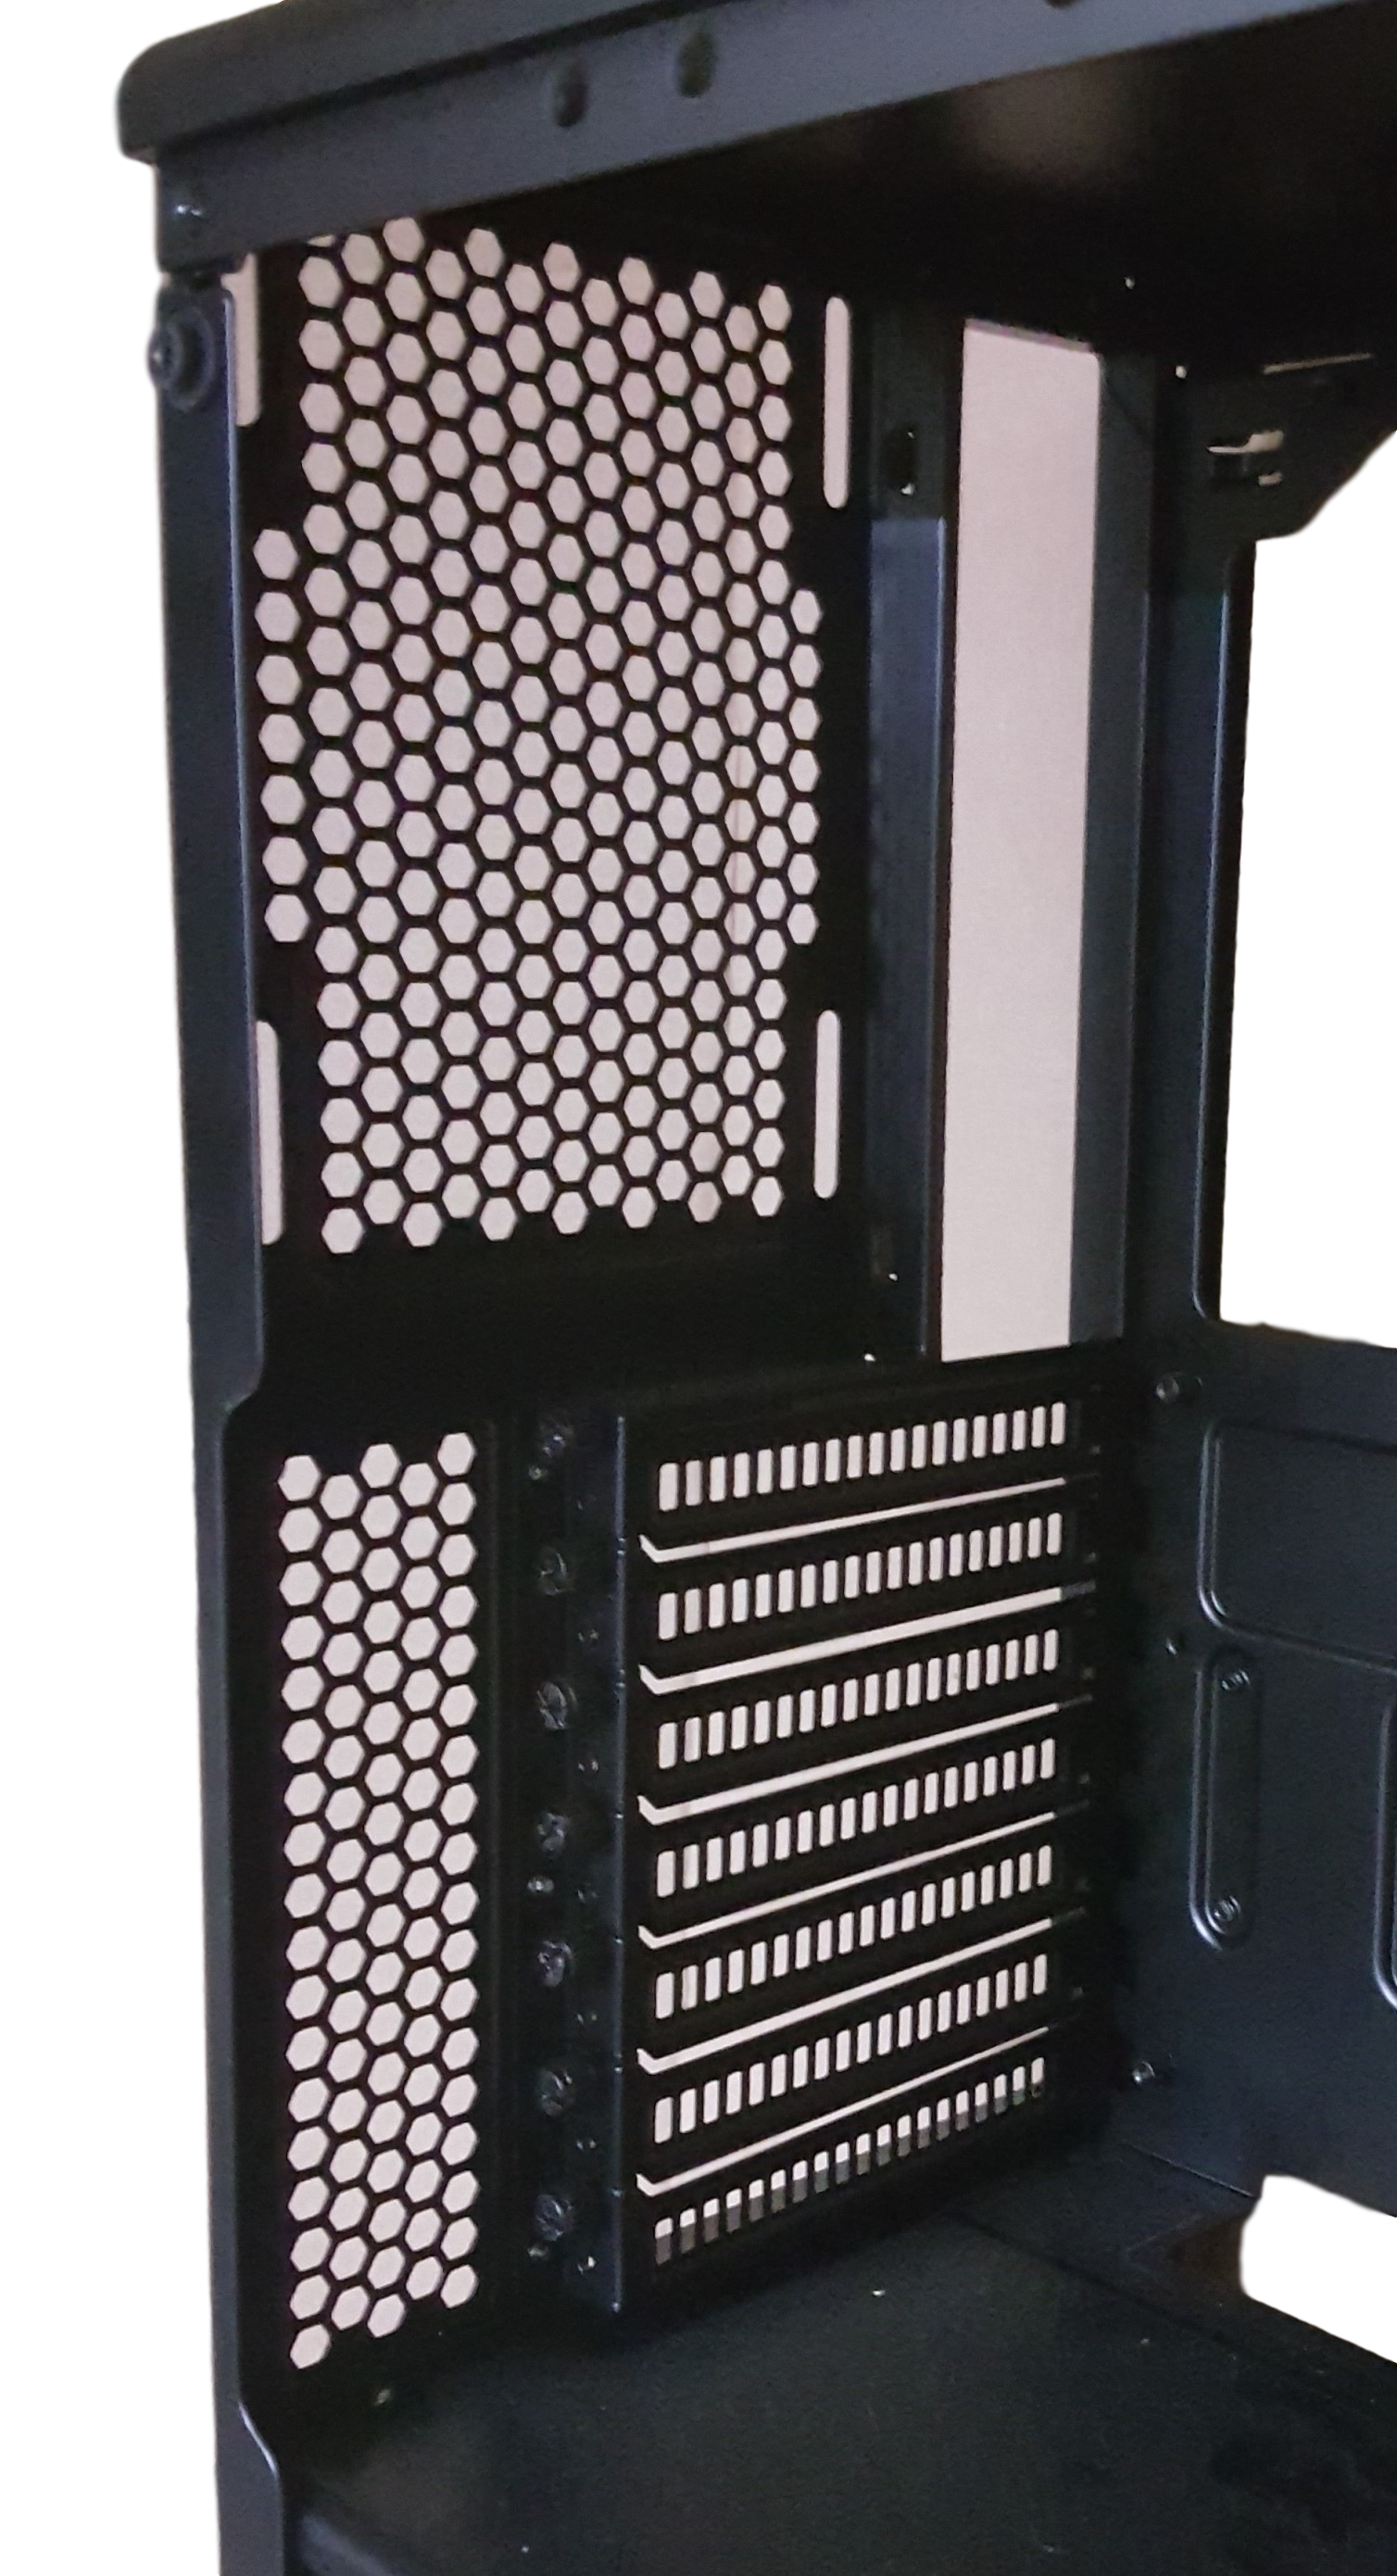
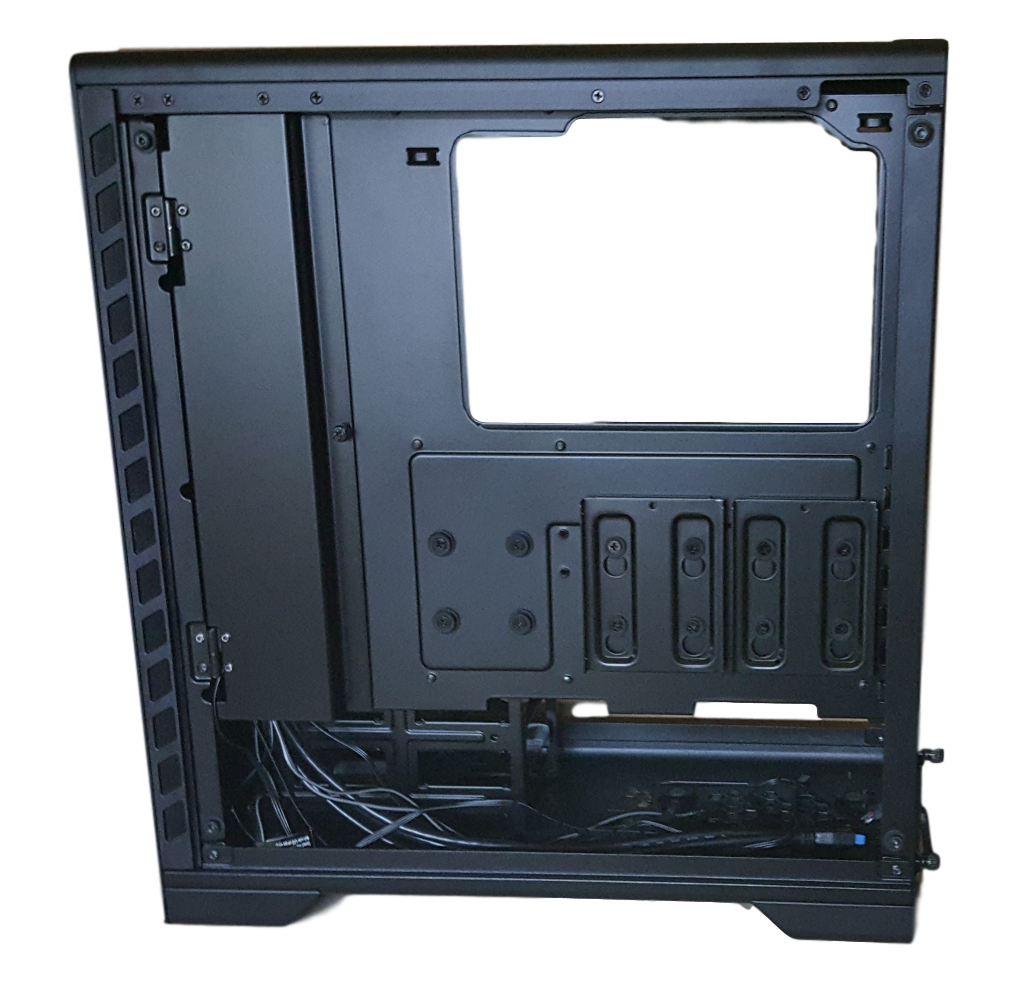
Here we see the inside of the rear panel’s rear fan (or A-I-O radiator/fan) mounting area and the motherboard I/O opening and ventilated expansion slot covers.
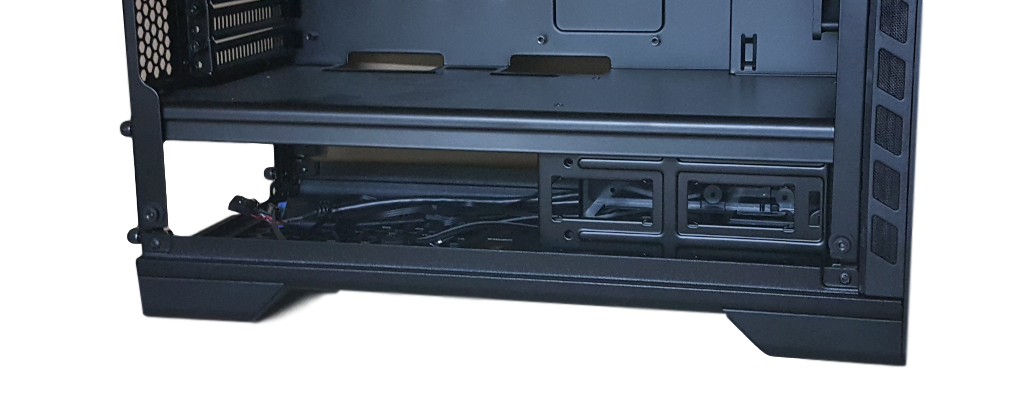
 Next we see the interior of the motherboard mounting tray area, and its large opening to facilitate CPU cooler changeout and maintenance. Below this is the segregated power supply and cable management area.
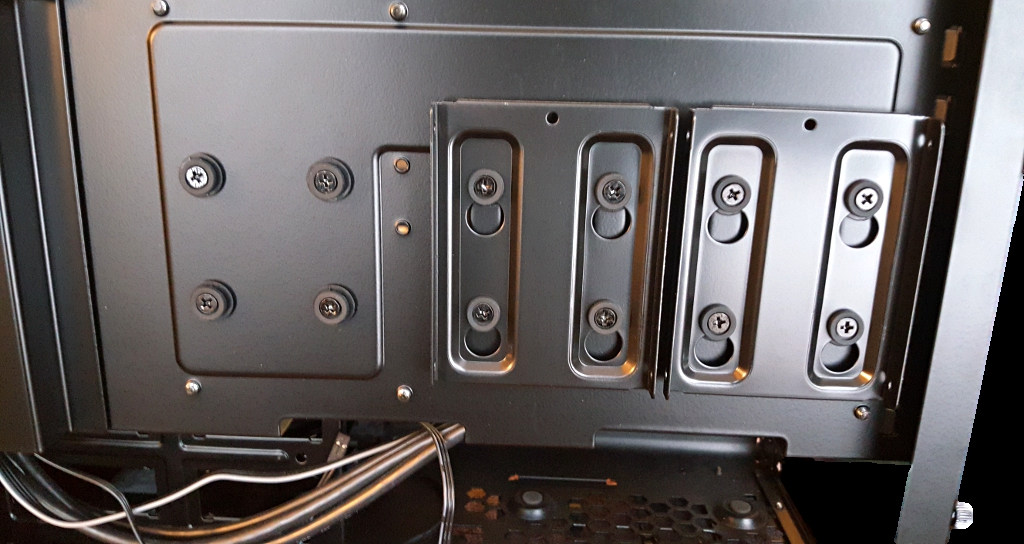
 In this image, we see the back side of the motherboard tray, and the mounting area for SSDs or 2.5″ HDDs. Two SSD mounting brackets are supplied, with the backside of the motherboard tray being able to accommodate a total of 3 such mounting brackets.
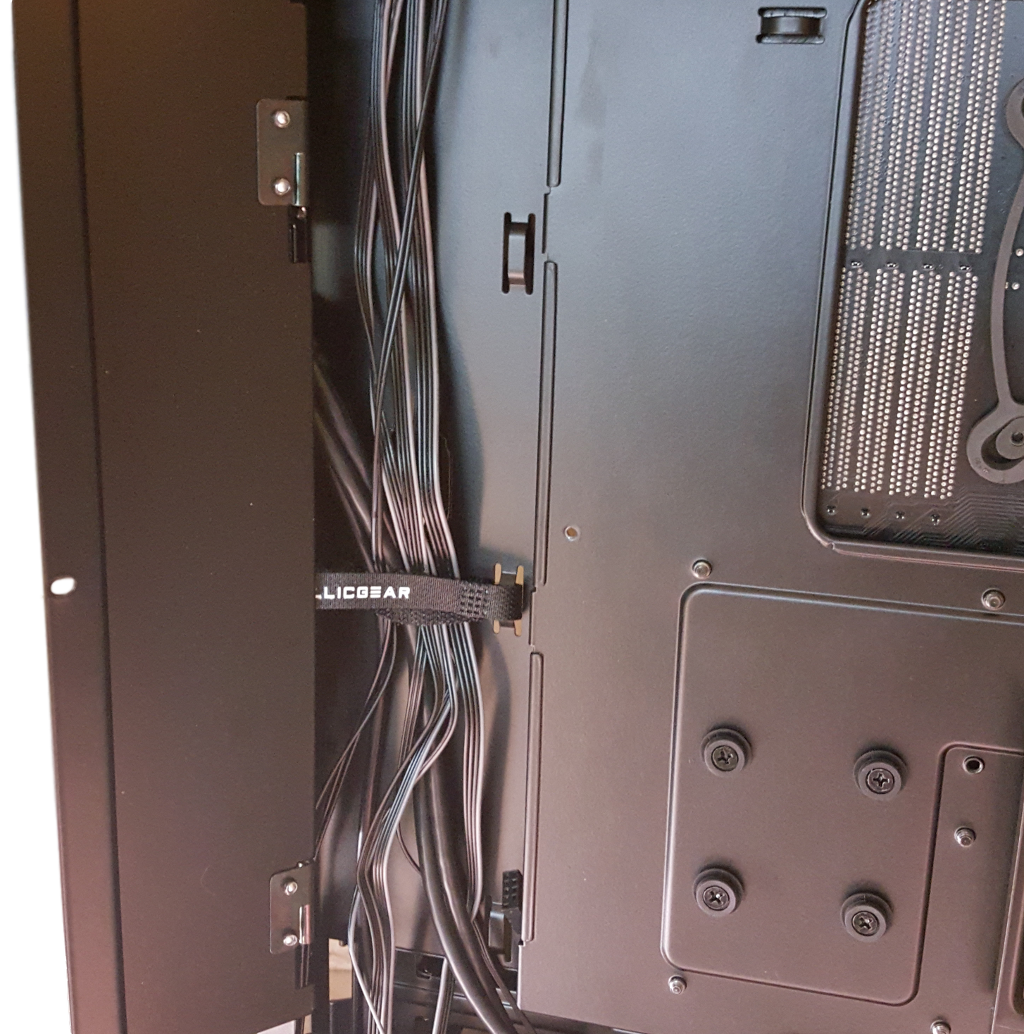
In looking at the backside of the NEO’s motherboard tray, we also note one of its more unique features — a “door” to conceal the bulk of the wiring originating or passing through the front area of this chassis. The first image below shows the “door” in the closed position. Note the hinges at the left and the thumbscrew at center right that secures it in a closed position.

In this next image, we see the “door” in the open position, Looks like you could conceal a whole host of components worth of cabling behind this “door”. There are also several anchor points for cable ties both on the backside of the motherboard tray and behind this “door” as well. The “door” can also be removed completely (very desirable for initial system component installation) by simply opening it and lifting until the hinge pins clear. Reinstall by merely lining the two hinge pins up a letting the “door” drop into place.
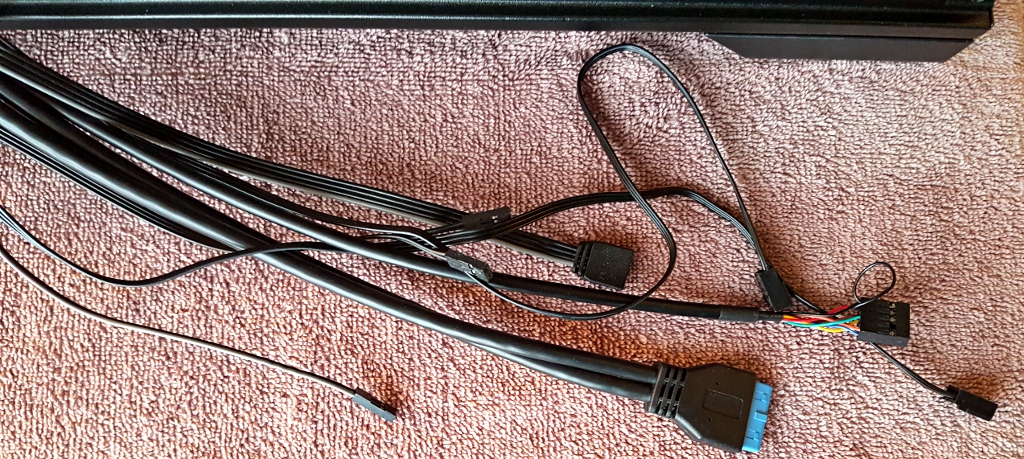
In this image, we see the front panel header connections. There is also a SATA power connector and 2 x 4-pin LED connectors (one proprietary to Phanteks LED strips and one for standard 4-pin LED strips), controlled by the LED switch on the top panel.