FINAL THOUGHTS
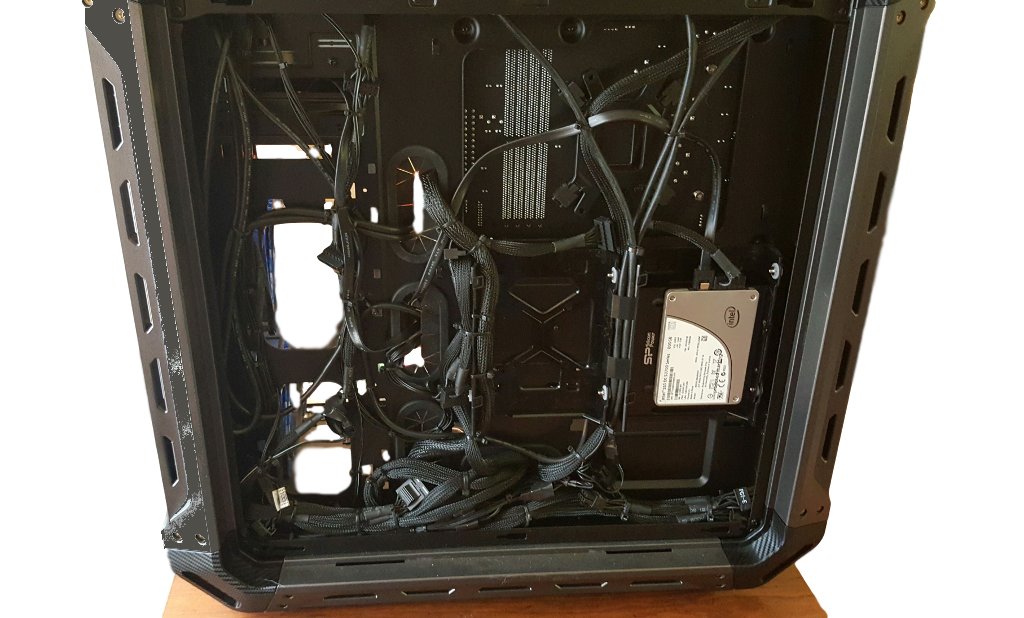
Now that we see that we have a solid performing test system up and running, let’s take a final look at cable management for this build. Below we see the final results of our cable management efforts on the right-hand side of the motherboard tray. Working with a non-modular power supply makes for a number of extra cables to bundle and conceal, but the Panzer Max is roomy enough to accommodate everything we were dealing with. Throw in the cabling for a total of six case fans, connected to a pair of 3-way splitters, and we are in danger of moving into spaghetti territory if we don’t keep it organized.
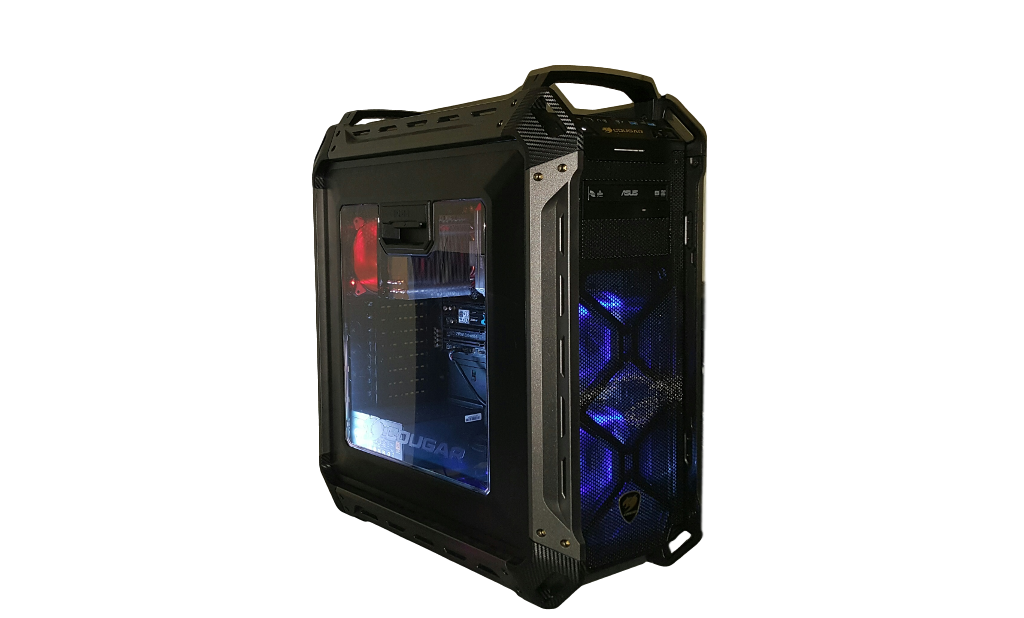
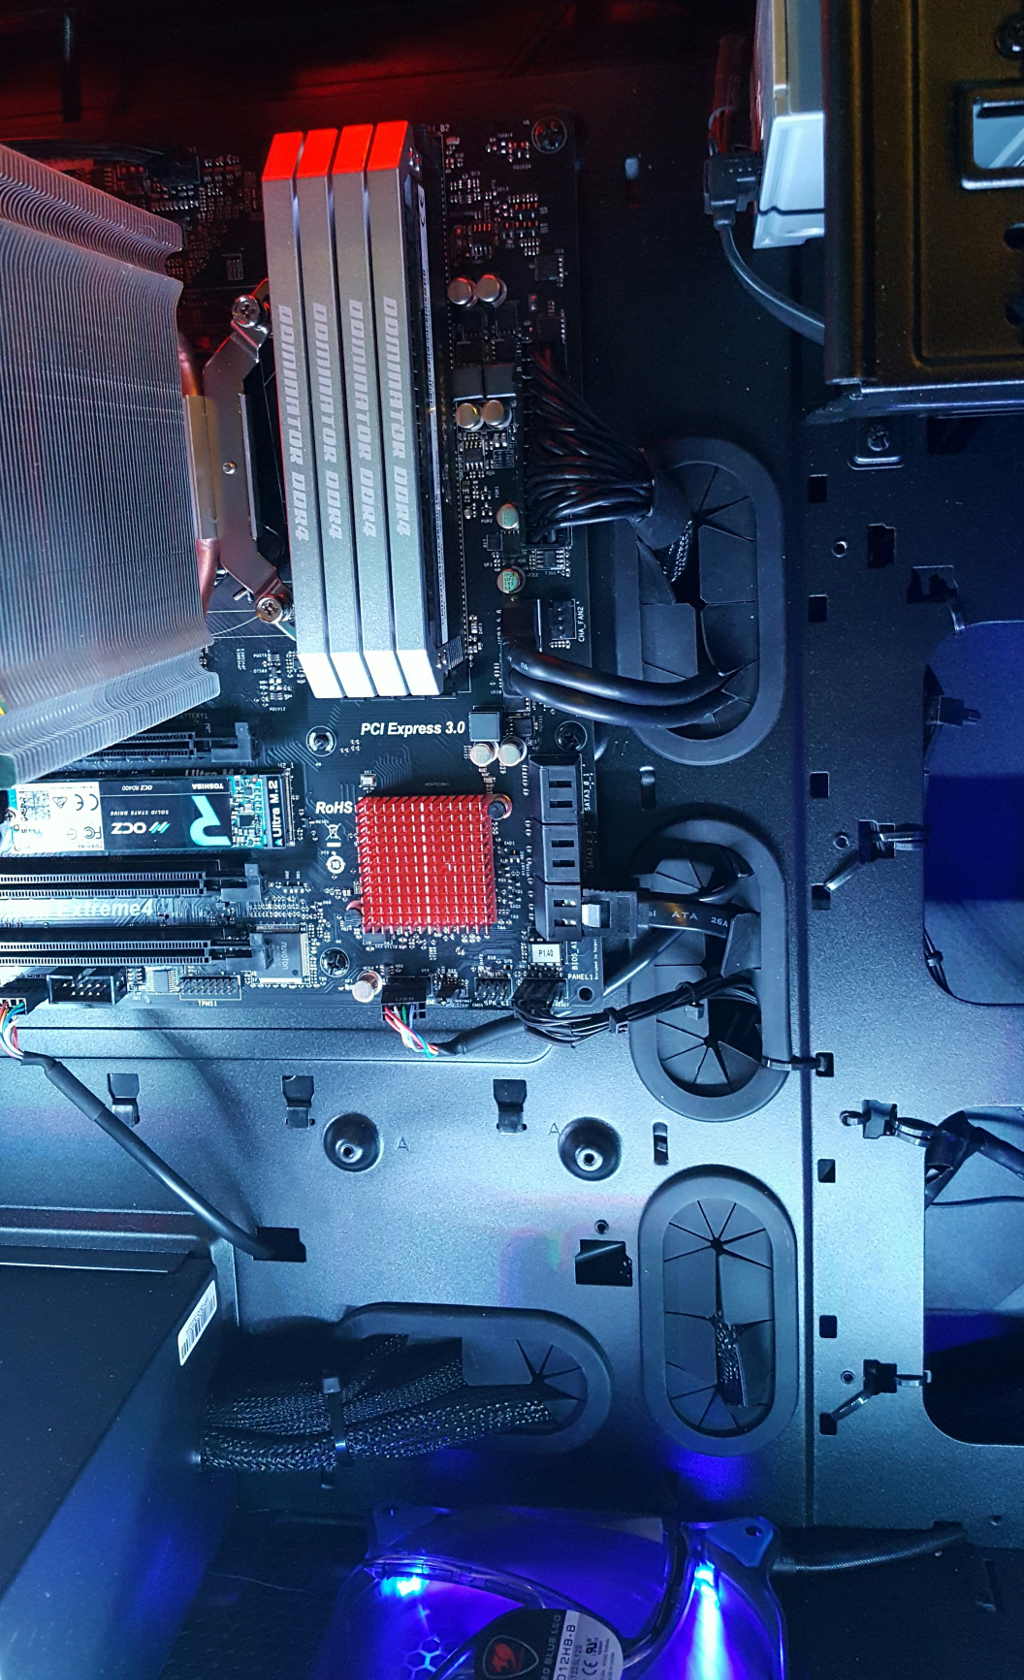
 The efforts on the right-hand side have resulted in what you see (and what you don’t see) on the left-hand side. Only the bare minimum of cabling is visible on the window side of the motherboard, and all are immediately routed out of view, resulting in an extremely tidy build. We have added a couple of 12″ magnetic LED light strips to the outer edge of the chassis to illuminate and show off the interior being viewed through the windowed side panel.
 We will leave you with a quick video clip of the Cougar Attack X3 keyboard and Revenger mouse in action as the system boots up, as well as a peek into the freshly-built interior.
Thanks again to Cougar, Corsair and OCZ for their support and presence in our new test system. Cougar has supplied the Panzer Max chassis, the GX-S 750W PSU, the Attack X3 keyboard and Revenger mouse, and the 6 x CFD120 LED case fans. Corsair has provided the Dominator Platinum memory modules, and OCZ has supplied the RD400 PCIe NVMe M.2 SSD. Stay tuned for upcoming reviews utilizing this build.